
The Richard J Nieves Photography Podcast Episode 8: What is Color Balance?
Welcome to the third episode of the Richard J Nieves photography podcast. I'm Richard J Nieves portrait and wedding photographer, and owner of Richard J Nieves Photography located in the Bronx in New York City. It's great to have you here, ready to listen, learn and use the information we're putting out here for you today.
We'll be diving into the second section of the exposure triangle called shutter speed. Your DSLR or mirrorless camera has a small shutter that rises and lowers in front of your camera sensor at a specific rate managed by you or the camera's preference, depending on your current mode of shooting, the faster your shutter speed closes, the less light reaches your sensor, oppositely, the slower you show to speed, the more light spilling on your sensor.

Episode 8
What is Color balance?
Transcript
Ad Links
Welcome to the 8th episode of The Richard J Nieves Photography Podcast!
I’m Richard J Nieves, portrait and wedding photographer, and owner of Richard J Nieves Photography located in The Bronx in New York City.
When I first picked up a camera, I made the mistake of not considering my color balance.
I’d look at my photos and wonder why everyone had the complexion of an oompah loompah.
I didn’t have my color balance or white balance set correctly for my surroundings.
Color balance, when referring to the tones of a photo, are a combination of cool or warm kelvin’s or temperature, and hues of green or purple.
When adjusting your color balance, you’re goal, for color accuracy, is to balance your colors to make sure your tones stay true to life.
Creatively, you can leave your color balance however you like as long as you are okay with the colors in your photograph.
Fields like fashion, product, or beauty photography require your colors to be as close to reality as possible.
You can use white balance to express a feeling you want to convey to your viewer.
Warm tones convey warmth, intimacy, and comfort. Cool tones can convey cold, distance, and loneliness.
Adjusting skin tones in an image can be fixed by, sometimes, only adjusting your white balance.
<Planoly Ad>
As a new business owner, social media is a great tool to get your name and work out for everyone to see.
I use Planoly to stay organized and automate my social media workflow. I can create all of my posts on a Sunday and have them automatically sent into the world at times and days I choose, or Planoly can choose them for me based on the time when my followers are more active.
Planoly is one of the best business tools I use to stay organized and stress free.
Click the Planoly link in the transcript to start your experience with Planoly, and support this podcast.
Thank you for your support, now let’s get back to the show.
If you’re shooting RAW, white balance can be easily adjusted in post processing if you didn’t set it correctly in camera. If you’re shooting in JPG, it’s highly advised you make sure your white balance is set properly in camera because it is difficult to correct color in post processing on a JPG file. There isn’t enough data within the compressed JPG file to change, where as there’s an abundance of data within a RAW file.
Camera’s vary in the amount of white balance options available to you, but for the most part there’s a few to keep in mind.
Auto white balance allows the camera to set what it considers to be the color balance for your surroundings.
Some cameras have scenes such as incandescent, cloudy, or flash so you can set the white balance depending on your unique situation.
You can even have complete control and set a specific white balance based on your preference.
I’ll include a link to the Wikipedia page for color balance for a more in-depth lesson on the subject.
I’ll also include examples of different color balances in the blog post for this episode in my website, www.richardjnphoto.com/blog.
<HoneyBook Ad>
HoneyBook is my CRM of choice because of the ease of creating leads, managing invoices and contracts, and integration with other apps I already put into my workflow.
I recently started offering Business Solutions for small shops. HoneyBook allowed me to send personalized contracts and reoccurring invoices to my clients. It made the process of working with my clients and getting paid so easy and less stressful than it would be without HoneyBook.
If you follow my link in this episode’s description to HoneyBook, you’ll score 20% off your first year of HoneyBook and you’ll be helping fund more education and tips for photographers. Thank you so much for your support and I really hope you enjoy the HoneyBook experience.
Please follow me on Instagram @rich_photog, that r-i-c-h-underscore-p-h-o-t-o-g
If you’d like to schedule your next portrait session or give us the honor of photographing your wedding, visit my website www.richardjnphoto.com or email katherine@richardjnphoto.com where my partner will guide you along your journey with us.
Don’t forget to keep creating, stay humble, and enjoy the journey.
Catch you later.
Please follow me on Instagram @rich_photog.
If you’d like to schedule your next portrait session or give us the honor of photographing your wedding, visit my website www.richardjnphoto.com or email katherine@richardjnphoto.com where my partner will guide you along your journey with us.
Don’t forget to keep creating, stay humble, and enjoy the journey.
Catch you later.


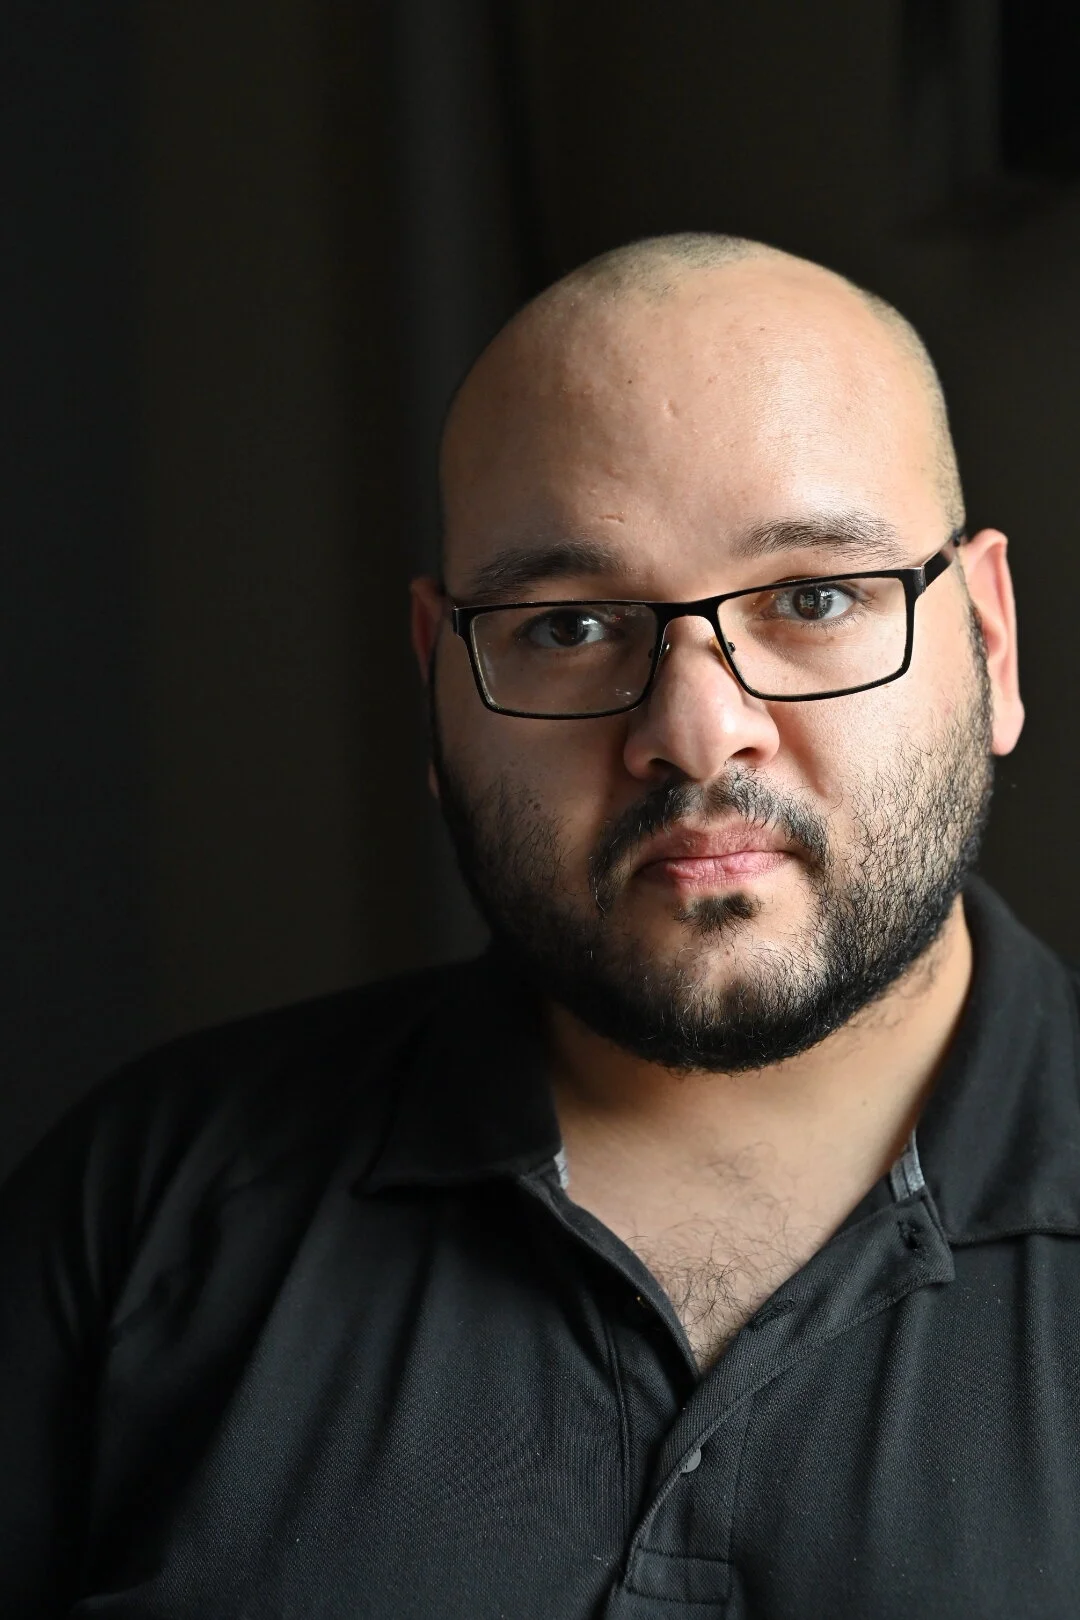

The above examples are of me taken at different white balance settings in my camera ranging from auto, cloudy, incandescent and flash.
The Richard J Nieves Photography Podcast Episode 7: What Is A CRM?
Welcome to the third episode of the Richard J Nieves photography podcast. I'm Richard J Nieves portrait and wedding photographer, and owner of Richard J Nieves Photography located in the Bronx in New York City. It's great to have you here, ready to listen, learn and use the information we're putting out here for you today.
We'll be diving into the second section of the exposure triangle called shutter speed. Your DSLR or mirrorless camera has a small shutter that rises and lowers in front of your camera sensor at a specific rate managed by you or the camera's preference, depending on your current mode of shooting, the faster your shutter speed closes, the less light reaches your sensor, oppositely, the slower you show to speed, the more light spilling on your sensor.

Episode 7
What Is A CRM?
Transcript
Welcome to the 7th episode of The Richard J Nieves Photography Podcast!
I’m Richard J Nieves, portrait and wedding photographer, and owner of Richard J Nieves Photography located in The Bronx in New York City.
Congratulations on starting your photography business!
I know it was daunting to plan the whole thing and get out there, but you did it, and now you need to get paid.
To stay organized, look professional to your clients, and make your life so much easier, you need a CRM. A customer relationship manager.
A CRM is a software that’ll allow you to manage interactions between your company and your clients in an organized way.
With a CRM, you can manage proposals, invoices, dates, appointments, calls, and so much more in one central location, being the app.
When I started, I used email, spreadsheets, the notes app, and money transfer apps to manage all the things my current CRM can manage alone.
I use HoneyBook, but there’s a slew of options for you. Each has a trial period where you can figure out what’s best for you.
With a CRM, you won’t get discombobulated over managing multiple pieces of software in multiple tabs on your browser or shifting through apps on your tablet or smartphone.
In just one location, one app, you’ll find all that you need to keep your business running smooth.
Why I chose and stayed with HoneyBook was the ease of creating leads, managing invoices and contracts, and integration with other apps I already put into my workflow.
I recently started offering Business Solutions for small shops. HoneyBook allowed me to send personalized contracts and reoccurring invoices to my clients. It made the process of working with my clients and getting paid so easy and less stressful than it would be without HoneyBook.
If you follow my link in this episode’s description to HoneyBook, you’ll score 20% off your first year of HoneyBook and you’ll be helping fund more education and tips for photographers. Thank you so much for your support and I really hope you enjoy the HoneyBook experience.
Please follow me on Instagram @rich_photog.
If you’d like to schedule your next portrait session or give us the honor of photographing your wedding, visit my website www.richardjnphoto.com or email katherine@richardjnphoto.com where my partner will guide you along your journey with us.
Don’t forget to keep creating, stay humble, and enjoy the journey.
Catch you later.
The Richard J Nieves Photography Podcast Episode 6: What Is The Sensor?
Welcome to the third episode of the Richard J Nieves photography podcast. I'm Richard J Nieves portrait and wedding photographer, and owner of Richard J Nieves Photography located in the Bronx in New York City. It's great to have you here, ready to listen, learn and use the information we're putting out here for you today.
We'll be diving into the second section of the exposure triangle called shutter speed. Your DSLR or mirrorless camera has a small shutter that rises and lowers in front of your camera sensor at a specific rate managed by you or the camera's preference, depending on your current mode of shooting, the faster your shutter speed closes, the less light reaches your sensor, oppositely, the slower you show to speed, the more light spilling on your sensor.

Episode 6
What Is The Sensor?
Transcript
Episode 6: Sensor
Welcome to the 6th episode of The Richard J Nieves Photography Podcast!
I’m Richard J Nieves, portrait and wedding photographer, and owner of Richard J Nieves Photography located in The Bronx in New York City.
Underneath the hood of your camera is where all of the magic happens. Where the light that enters your camera goes and become to beginning of a photography.
You’ll see it when you take the lens off your DSLR or mirrorless camera:
It’s called the sensor.
The sensor is what takes all the information fed to it by you and the world around you and can produce, for us photographers, two very important products:
A negative or RAW file, and a photograph.
35mm cameras had film that you’d load into them that would produce a negative after you took a picture.
That little strip of film would then be processed in a special room called a dark room.
The equivalent of that now is when you take your memory card, inject it into your computer and upload those digital negatives or RAW files into an image processor such as Lightroom, Capture 1, and many more.
You can’t give your client a RAW file and expect them to share it over social media or print it instantly. That file needs to be put into a one of the aforementioned photo editing software where it can be processed and exported as a proper digital photograph.
That’s why learning how to manipulate light is so important for a photographer. Light reveals everything around us.
The sensor reads all that light, sees how it bounces off objects, and shapes all that information into a negative or processed photo for your use.
If you’ve chosen to shoot JPEG, then it makes it easier to take a photo and get it out into the world. Your camera will use its own color science and formulas to post process your image in camera and give you a proper photograph file to share immediately.
We’ll discuss the advances and disadvantages of shooting in different file formats in a future show.
Please follow me on Instagram @rich_photog, that r-i-c-h-underscore-p-h-o-t-o-g
If you’d like to schedule your next portrait session or give us the honor of photographing your wedding, visit my website www.richardjnphoto.com or email katherine@richardjnphoto.com where my partner will guide you along your journey with us.
Don’t forget to keep creating, stay humble, and enjoy the journey.
Catch you later.
The Richard J Nieves Photography Podcast Episode 5: Using The Exposure Triangle to Make a Photograph
Welcome to the third episode of the Richard J Nieves photography podcast. I'm Richard J Nieves portrait and wedding photographer, and owner of Richard J Nieves Photography located in the Bronx in New York City. It's great to have you here, ready to listen, learn and use the information we're putting out here for you today.
We'll be diving into the second section of the exposure triangle called shutter speed. Your DSLR or mirrorless camera has a small shutter that rises and lowers in front of your camera sensor at a specific rate managed by you or the camera's preference, depending on your current mode of shooting, the faster your shutter speed closes, the less light reaches your sensor, oppositely, the slower you show to speed, the more light spilling on your sensor.

Episode 5
Using The Exposure Triangle to Make a Photograph




Transcript
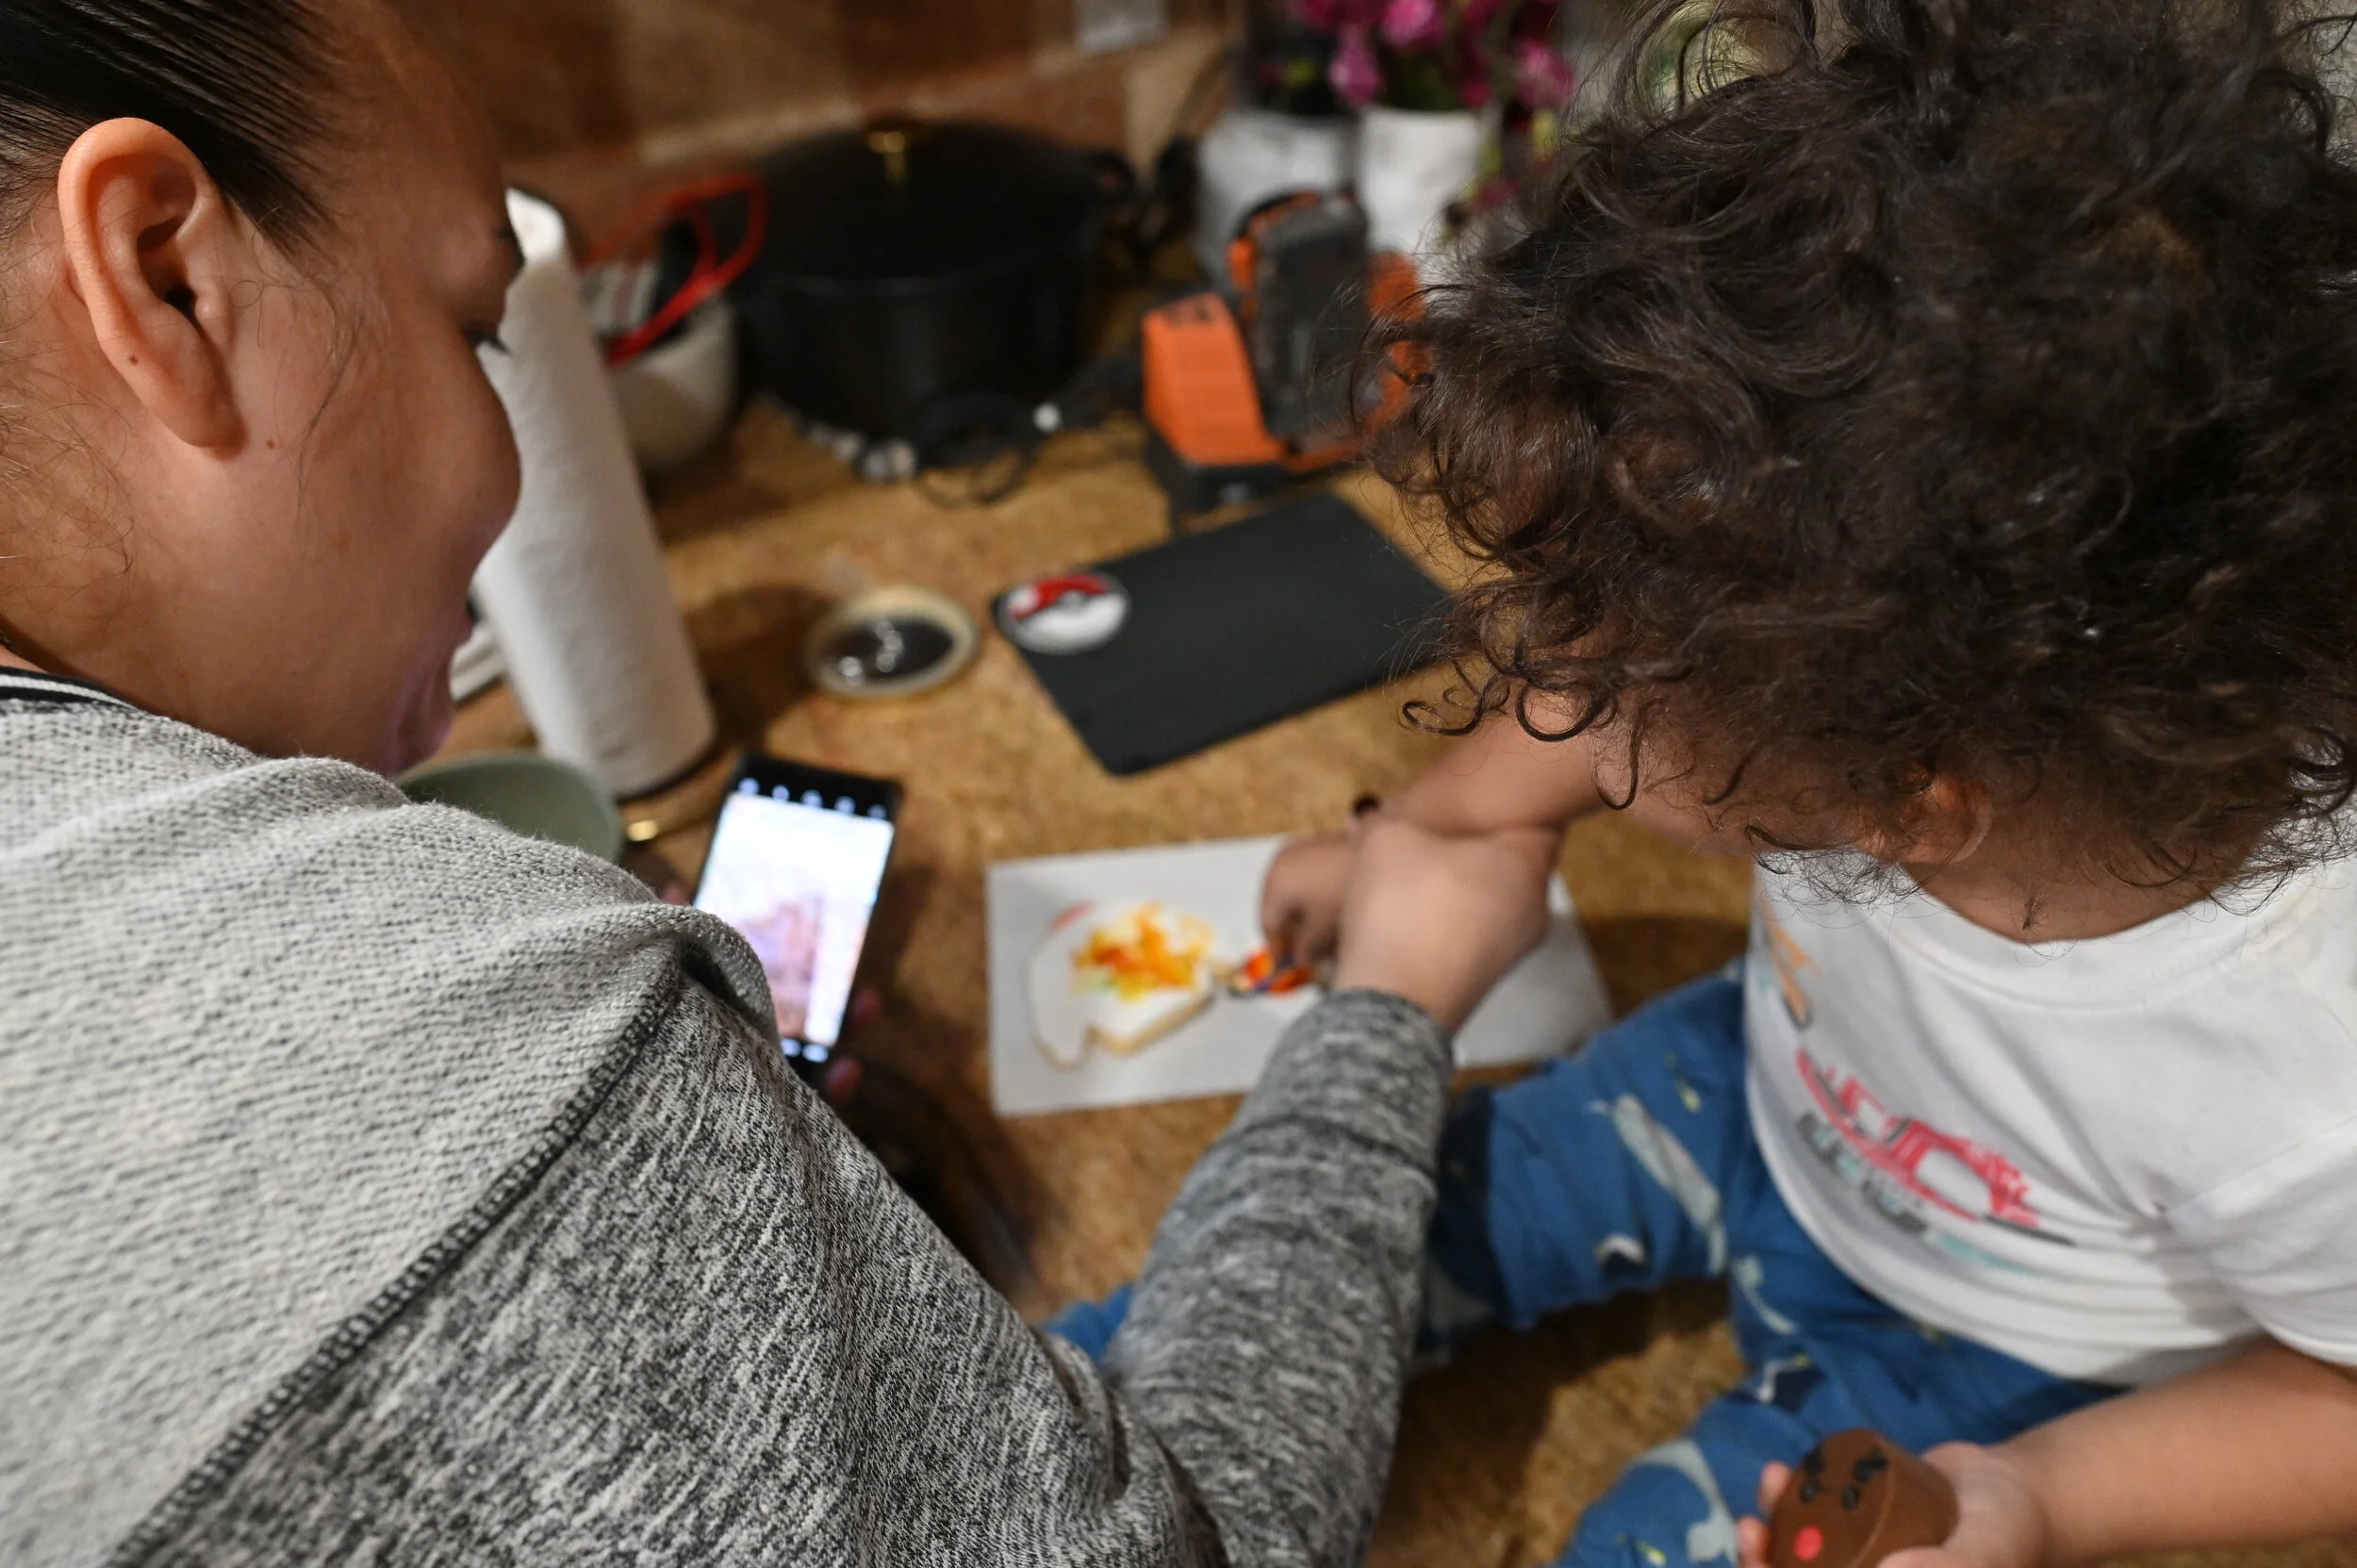
Welcome to the fifth episode of the Richard J Nieves Photograph podcast. I'm Richard J Nieves, portrait and wedding photographer and owner of Richard J Nieves Photography, located in the Bronx in New York City. When taking the picture you intend on making, there is a balance between the three legs of the exposure triangle we've previously discussed the aperture. shutter speed, and ISO that you must manage in order to make the photograph. Along with those, depending on your situation, you must have intent, imagination and adaptability. I'll share with you an example that'll hopefully help you visualize in your mind how best to use the exposure triangle in your photos.
Yesterday, my mother and my kids painted cookie sweaters and gingerbread men. I was there for moral support and to photograph them. My intent in this situation was to capture the love and fun shared between my kids and their grandmother. My imagination wasn't completely off, but instead I had to be present and see the moment as it is in order to find the nuggets of beauty and love to point my camera at. As I was shooting, I took note of my settings quickly before the activity began.
I knew I wanted both of my kids and my mom and focus, so I put my aperture at f/4 so the depth of field was a tad less shallow, but shallow enough that you wouldn't see my laundry behind the kids. When focusing on one of my kids had switched to an aperture of F 2.8, that allowed me to use depth of field to focus on one of my kids.
So you can know they were the subject and they were what you were supposed to be looking at. It also allowed me to see more of the cookie in focus for context while still removing the background distractions. My shutter speed had to be quick enough to capture my fast moving son paint his cookie, but slow enough to let enough light in to actually see what I'm photographing.
I kept it at and above a shutter speed of 1/50th of a second. Usually with children. I shoot a bit faster, like 1/100th of a second to 1/250th of a second, but 1/50th worked for me because he wasn't moving too much. If I shot any faster, the images would be too dark and they wouldn't be salvageable in post-processing.
If I shot any slower, I'd have more light led onto my sensor, but my kids would be a blurring mess. For ISO, since I'm shooting my family and noise isn't really a big deal for me. I delegated my ISO controls to my camera, but instructed it not to go over ISO4000, that's the threshold for which I am comfortable with the noise produced by the high ISO count.
If my ISO was too low, like ISO 100 to 800, I wouldn't have been able to see anything in the photos because my sensor wouldn't have been sensitive enough for the output of my home lighting. I'll have the unedited photos on the blog posts for this episode, over at my blog, www.richardandphoto.com/blog.
Please follow me on Instagram @rich_photog . If you'd like to schedule your next portrait session or give us the honor of photographing your wedding, visit my website, www richardjnphoto.com or email Katherine@richardjandphoto.com where my partner will guide you along your journey with us.
Now don't forget to keep creating, stay humble and enjoy the journey.
The Richard J Nieves Photography Podcast Episode 4: ISO
Welcome to the third episode of the Richard J Nieves photography podcast. I'm Richard J Nieves portrait and wedding photographer, and owner of Richard J Nieves Photography located in the Bronx in New York City. It's great to have you here, ready to listen, learn and use the information we're putting out here for you today.
We'll be diving into the second section of the exposure triangle called shutter speed. Your DSLR or mirrorless camera has a small shutter that rises and lowers in front of your camera sensor at a specific rate managed by you or the camera's preference, depending on your current mode of shooting, the faster your shutter speed closes, the less light reaches your sensor, oppositely, the slower you show to speed, the more light spilling on your sensor.
Episode 4
ISO


The examples above show photos of Grogu and Darth Vader taken at multiple ISO values, with their aperture and shutter speed at f/4 and 1/50th respectively. The room they were taken in was lit with a minimus amount of daylight pouring in from the left side.
Image 1: ISO100
Image 2: ISO400
Image 3: ISO1000
Image 4: ISO5000
Image 5: ISO128000
Image 6: ISO25600
Image 7: ISO51200
Take note of the differences in exposure between each photo and amount of grain as you raise the ISO. There’s a simple trade off you’ll need to make in order to get your desired effect.
Transcript
Welcome to the fourth episode of The Richard J Nieves Photography Podcast. I'm Richard J Nieves, portrait and wedding photography, and owner of Richard J Nieves Photography located in the Bronx in New York City. It's great to have you here, ready to listen, learn and use the information we're putting out here for you today.
On today's episode, we'll be going over the ISO, the third portion of the exposure triangle, and probably one of the more frustrating, but useful aspects of photography that can truly make or break an image. The values of ISO usually range from 100 to 51,200, like my Nikon Z6, but it may change a little from camera to camera.
The ISO controls your sensor's sensitivit to light. The smaller the number, the less sensitive it is, whereas it is incredibly sensitive at higher ranges. The ISO is the biggest factor to consider when choosing your time of photographing. If you're shooting at night or in a dark space, expect your ISO value to range fairly high. That'll allow your camera to essentially see at night. If you're shooting in a dimly lit space at ISO 100, you're probably going to get a pretty dark image.
Now, if you're shooting in a space with tons of available light, whether that is daylight or a flash, you're going to want to keep the ISO at a fairly low value, like a hundred, the negative aspect of ISO was the fact that when you cranked up that ISO value, you start to introduce a lot of noise into the image.
Noise can make your image look grainy and sharpness is affected heavily in a negative way. With modern cameras, high ISO values are not a major issue, but with older cameras or less advanced cameras, they just don't have the best ISO performance. In specific use cases like shooting a wedding or a concert in a dark venue using only available light, your ISO will be high out of necessity. If you're shooting product or portraits in a studio, where you have access to powerful lighting tools, you'll see your ISO values go way down. Thankfully, most modern cameras have the capability to control ISO or pretty much all settings automatically for you.
They're smart enough to know when enough is enough, but you can also set parameters to fit your photography needs. I'll have samples in the blog post for this episode, over on my blog, www.richardjandphoto.com/blog. Please follow me on Instagram @Rich_Photog.
If you'd like to schedule your next portrait session or give us the honor of photographing your wedding. Visit my website, www.richardjnphoto.com or email Katherine@richardjnphoto.com where my partner will guide you along your journey with us. Don't forget to keep creating, stay humble, and enjoy the journey.
The Richard J Nieves Photography Podcast Episode 3: Shutter Speed
Welcome to the third episode of the Richard J Nieves photography podcast. I'm Richard J Nieves portrait and wedding photographer, and owner of Richard J Nieves Photography located in the Bronx in New York City. It's great to have you here, ready to listen, learn and use the information we're putting out here for you today.
We'll be diving into the second section of the exposure triangle called shutter speed. Your DSLR or mirrorless camera has a small shutter that rises and lowers in front of your camera sensor at a specific rate managed by you or the camera's preference, depending on your current mode of shooting, the faster your shutter speed closes, the less light reaches your sensor, oppositely, the slower you show to speed, the more light spilling on your sensor.
Episode 3
Shutter Speed


The examples above show photos of a fan taken at various shutter speeds. 1/8000, 1/2500, 1/1000, 1/500, 1/200, 1/80, 1/20, 1 second, and 30 seconds respectively. The Aputure was f/4 and the ISO varied between shots.
Take note of the differences in exposure between each photo. The faster the shutter speed, the darker the photo, where as the slower the shutter speed, the more blown out the photo is.
Transcript
Welcome to the third episode of the Richard J Nieves photography podcast. I'm Richard J Nieves portrait and wedding photographer, and owner of Richard J Nieves Photography located in the Bronx in New York City. It's great to have you here, ready to listen, learn and use the information we're putting out here for you today.
We'll be diving into the second section of the exposure triangle called shutter speed. Your DSLR or mirrorless camera has a small shutter that rises and lowers in front of your camera sensor at a specific rate managed by you or the camera's preference, depending on your current mode of shooting, the faster your shutter speed closes, the less light reaches your sensor, oppositely, the slower you show to speed, the more light spilling on your sensor.
I forgot to mention this aspect with aperture in the last post. When your aperture or f-stop, is that a lower number? zero point 95 also referenced as being wide open. The more light is being led onto the sensor. Whereas when you're shooting at an f-stop of F 25, for example, There's a substantial amount of light being blocked by your lens.
The value representing shutter speed on your camera is represented as fractions of a second. For example, my Nikon Z6 can start from 30 seconds, which is the longest available value my camera can manage outside of keeping the shutter open indefinitely, all the way to one eight thousands of a second, which is the fastest my shutter speed will go. Each individual camera has its own maximum and minimum shutter speed.
We'll delve further into the implications of light making contact with your sensor in an upcoming episode, covering the sensor in your camera. When you're capturing a subject, the most important aspect to remember when using shutter speed is if your subject is moving fast, you want a faster shutter speed to quickly capture the moving target.
When you're photographing something that isn't moving very much, such as a client for a portrait session or still objects, you'll typically shoot at a much slower shutter speed. Your shutter speed also affects the sharpness of your photo when in different ranges of motion. When shooting with faster shutter speeds, your photo will geometrically be more in focus compared to shutter speeds.
If you're moving while photographing. When shooting at a slow shutter speed, you typically want to have your camera stable using tools such as a tripod or something fashioned by you so you won't have any unwanted blurring in your image. You can get creative using your shutter speed. Maybe you want to photograph someone in motion, but still sharp while the background is out of focus to show us the subject is moving at faster speeds than usual. Shutter speed adjustment along with aperture will accomplish that for you. I'll have photos with examples in the blog post for this episode, over on my website, www.richardjnphoto.com/blog. Thank you so much for making it to the end of this episode of the Richard J. Nieves photography podcast. It really means the world to me, for you to listen to this information and hopefully incorporate it into your journey with photography.
Please follow me on Instagram at @rich_photog that's R I C H underscore P H O T O G. If you'd like to schedule your next portrait session or give us the honor of photographing your wedding. Visit my website. www.richardjnphoto.com or email Katherine@richardjanphoto.com where my partner will guide you along your journey with us. Don't forget to keep creating. Stay humble and enjoy the journey. Catch you later. .
The Richard J Nieves Photography Podcast Episode 2: Aperture

Episode 2
Aperture


Every photo was taken using the Nikon Z6 with a Sigma 105mm, f/2.8 lens on an FTZ adapter.
image 1 and 2 were taken at f/3.
Image 3 was taken at f/22.
Image 4-6 are examples of bokeh taken at shutter speeds of 1/20th, 1/25th, and 1 second intervals respectively.
Transcript
Welcome to the second episode of the Richard J Nieves photography podcast. It's great to have you here to ready to listen and learn a little something from me. What going to learn about today is the aspect of a photo I previously mentioned in episode one called the aperture. To recap, the aperture is the element of a lens that controls how blurry the background and the foreground of your subject is. You know what I'm talking about, even if you don't recognize the term. You've seen photos where the focus of the photo is a person, a place, a thing in focus, but you can't really see what's in front of them or behind them.
That's what the aperture of the lens controls. They also call this feature the depth of field of a photo. It surely is a feature, seeing as you can buy lenses with different aperture ratings at wildly different price points. When changing the aperture your camera, you have to know the values involved in measuring aperture.
That value you can start as low as 0.95 to as high as 22. That value is called an f-stop. You'll find it's locked in your camera with an F and a slash followed by the numbers just mentioned. The part that took me for a whirl when I first started photography was the understanding that the smaller the number, the less in focus your background or foreground will be.
Whereas it's the polar opposite with larger numbers. If I'm taking a photo of my adorable two year old playing at F/22, I can see the bit of Farina he had for breakfast still on his cheek that I missed when cleaning from more than six feet away from him when shooting portraits, that shallow background and foreground is celebrated among double tappers on Instagram, but there's also a place for getting as much in focus as you can.
Beauty, fashion, or portrait photography for instance, where getting the most of the product in focus is more important than that's shallow background. One term you'll hear a lot when talking about aperture or depth of field is Bokeh. Bokeh is essentially the quality of background rendered by your camera when you have an extremely shallow depth of field. When you see those awesome photos and when someone is in focus and the background is incredibly out of focus, you'll sometimes see sources of light turned into almost balls of illumination. The way those little spheres come out in your picture can change depending on the quality of your lens and how the camera renders your photo after capture.
I know I threw a lot out there, at you involving just one aspect of the exposure triangle, but I hope the info was concise enough for you to understand and use the next time you're taking a photo. I'll be including photos with examples in the blog post. For this episode, over at my website, www.richardjnphoto.com/blog to show you the aperturer in use. Be on the lookout for the next episode, when we'll discuss the next portion of the exposure triangle, shutter speed.
If you've gotten this far. Thank you so much for listening. I think we'll try and keep this streak going Monday through Friday until we start getting into heavier topics and interviews with other photographers.
Remember, keep creating, stay humble and enjoy the journey. Catch you later. .
The Richard J Nieves Photography Podcast Episode 2: Introduction to The Recipe

Checkout my podcast on all your favorite podcasting platforms!
Transcript:
Episode 2: Introduction to The Recipe
[00:00:00] Welcome to the Richard J Nieves Photography podcast, where we're sharing knowledge, experience and skills with photographers just beginning their journey. I'm Rich, a published photographer and filmmaker. I've been practicing photography for more than a decade. And servicing clients quality, professional photography services for two years.
Now it's my time to service you listeners. Let's get started.
[00:01:00] Listen, I love food. I had dreams of being a chef before I became a photographer. I love the way it binds people together, all because of one specific goal: to experience the end product of a creator. That creator being the chef or cook, and the end product being a delicious meal. Photography isn't all that different in that regard, a picture taken by a photographer with heart and soul can bring people together to experience the combined memory and feeling in a photo.
Now like with any meal, a photo is made with multiple ingredients. Three of the most important ingredients are combined into a set called the exposure triangle. That exposure triangle consists of the aperture, the shutter and the ISO values. Put simply, the aperture allows you to control the depth of field.
[00:02:00] This value controls how blurry the background and foreground are around your subject. The shutter is a little literal wall in front of the cameras sensors that goes up and down at a specific time set by you. This value allows you to photograph fast moving objects sharply. The ISO allows you to change how sensitive your sensor is to light.
This value allows you to use your camera in dark places where light is scarce. All these settings allow you to tell a story in your own creative way. I'm really simplifying things here for you so you can get a grasp of these important settings, but. There's so much more to learn from them. That's why I'll go more in depth in future episodes and on my website at www.richardandphoto.com/blog. Links will be in the show notes.
Okay. Everyone show's over. Thank you so much for listening. It really means a lot for you to give me this moment of your day. Please take the time to create, inspire and learn every moment you can. Catch you later.

Grace's 19th Birthday Celebration
Photographing this birthday was absolutely a wonderful experience. Her family created this amazing moment for Grace that I KNOW she will remember for the rest of her life. All the love given by everyone around her was palpable.
Photographing this birthday was absolutely a wonderful experience. Her family created this amazing moment for Grace that I KNOW she will remember for the rest of her life. All the love given by everyone around her was palpable.


My fondest moment was also one that still hurts my bones. It was time for me to pickup and go. My back was stiff. My knees and arms were sore. It was almost 1am. Just as I was pitting my lenses in my bag, Grace stepped on stage before her guests and began to give a speech that chilled me to the core. It was authentic. It was real. It was inspiring to hear such a young woman give such wisdom to her elders and equals. I pulled out my camera quickly, got on my knees and started shooting her powerful moment on stage.


Inna's Birthday Photoshoot
Inna was such a joy to photograph in studio. She was a little timid. Seeing as this was her first photoshoot, who could blame her?
Inna was such a joy to photograph in studio. She was a little timid. Seeing as this was her first photoshoot, who could blame her?
She came in swinging. Her confidence found a way to shoot straight through the timidity and shone so bright in her photos.
She brought two beautiful dresses. The first included graphics of butterflies, which in turn influenced the first background. The second was this fantastic black dress that my partner, who did her makeup, noted brought out so much confidence in Inna, it was overwhelming. It was fantastic to witness the butterfly leaving the cocoon.


Search Posts
Post Archive
- Wedding Photography
- wedding planning
- photography
- podcast
- Wedding Videography
- Engagement Photography
- Engagement Session
- education
- Engagement Sessions
- wedding photography
- Weddings
- family photography
- Film Photography
- Wedding Planning Tips
- Portrait Photography
- Wedding Film
- Adventure
- Advice
- Bridal Style & Fashion
- Event Photography
- Help
- Suggestions
- Tips
- Wedding Inspiration
- birthday
- Bachelorette Party
- Backyard Celebrations\
- Birthday Photoshoot
- Boudoir Photography
- Bridal Boudoir Photos
- Bridal Party Inspiration
- Charity
- Donation
- Exploring
- Family Photos
- Groom & Groomsmen Inspira
- Jewish Wedding
- Jewish Wedding Traditions
- Korean Wedding
- Location
- NYC
- New Jersey Winter Wedding
- Personal
- Photography Adventures
- Real Weddings
- Travel Photography
- Unique Details
- Update
- Wedding Bouquets
- announcement
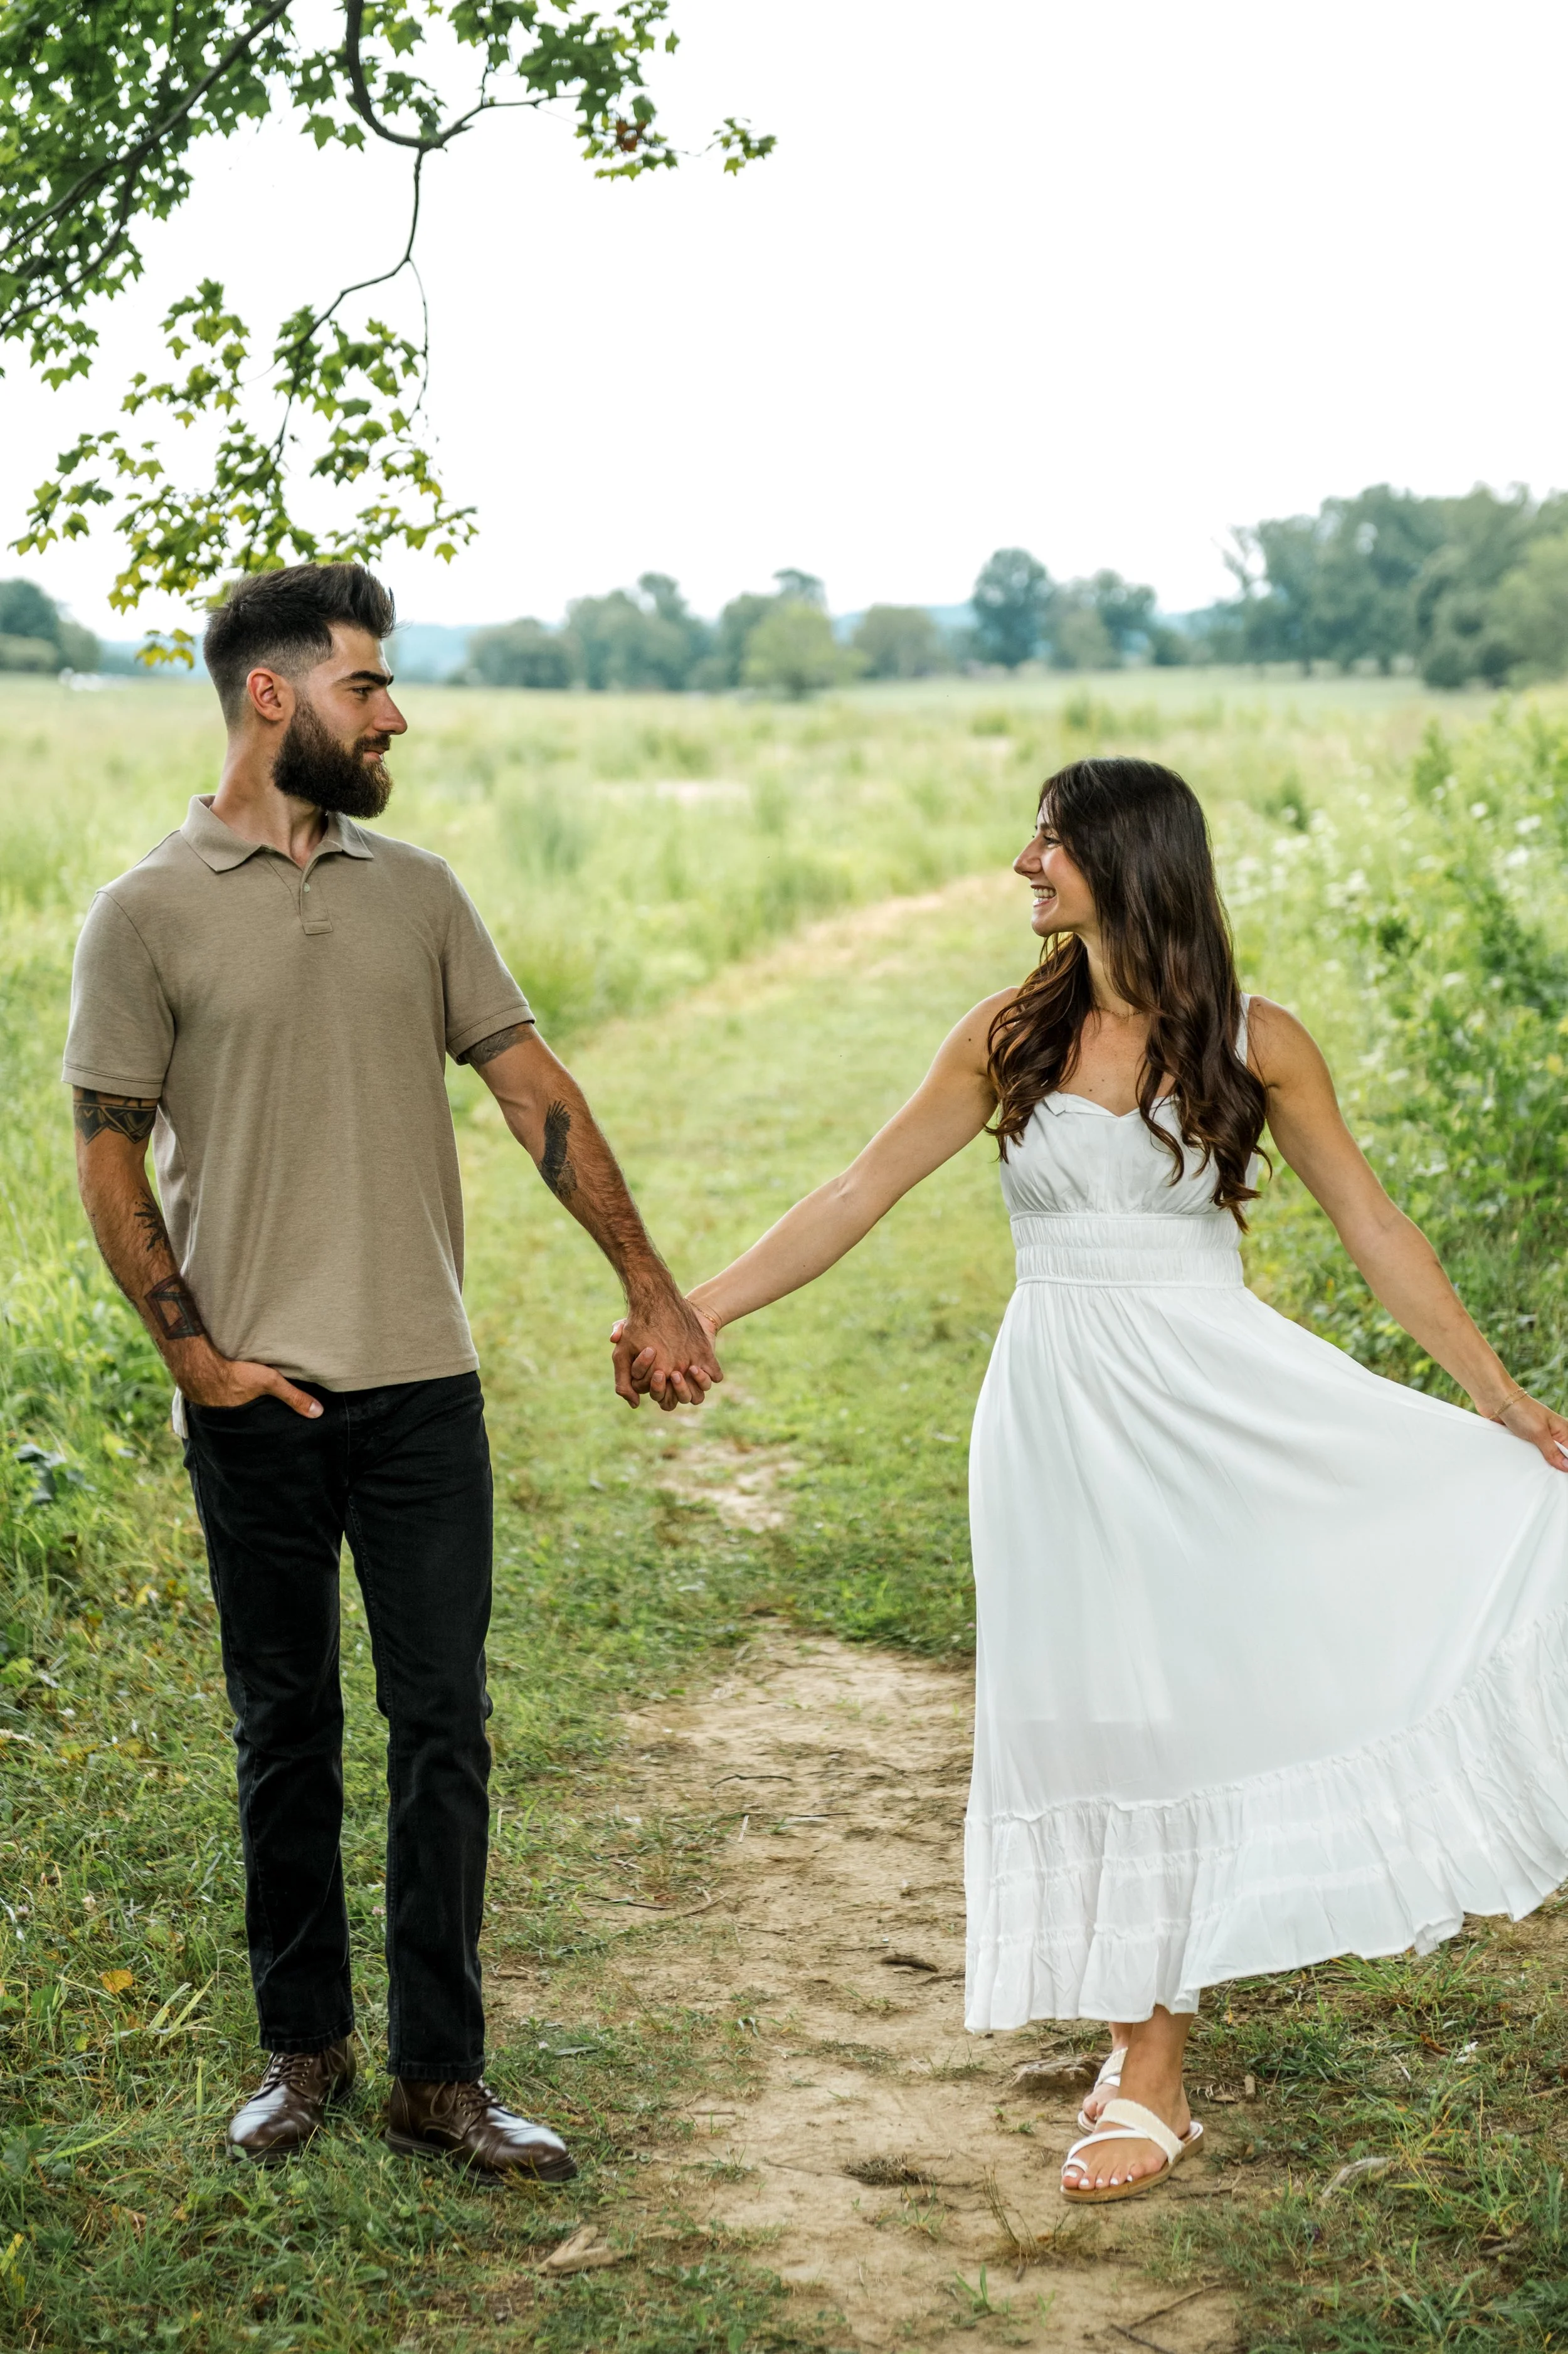
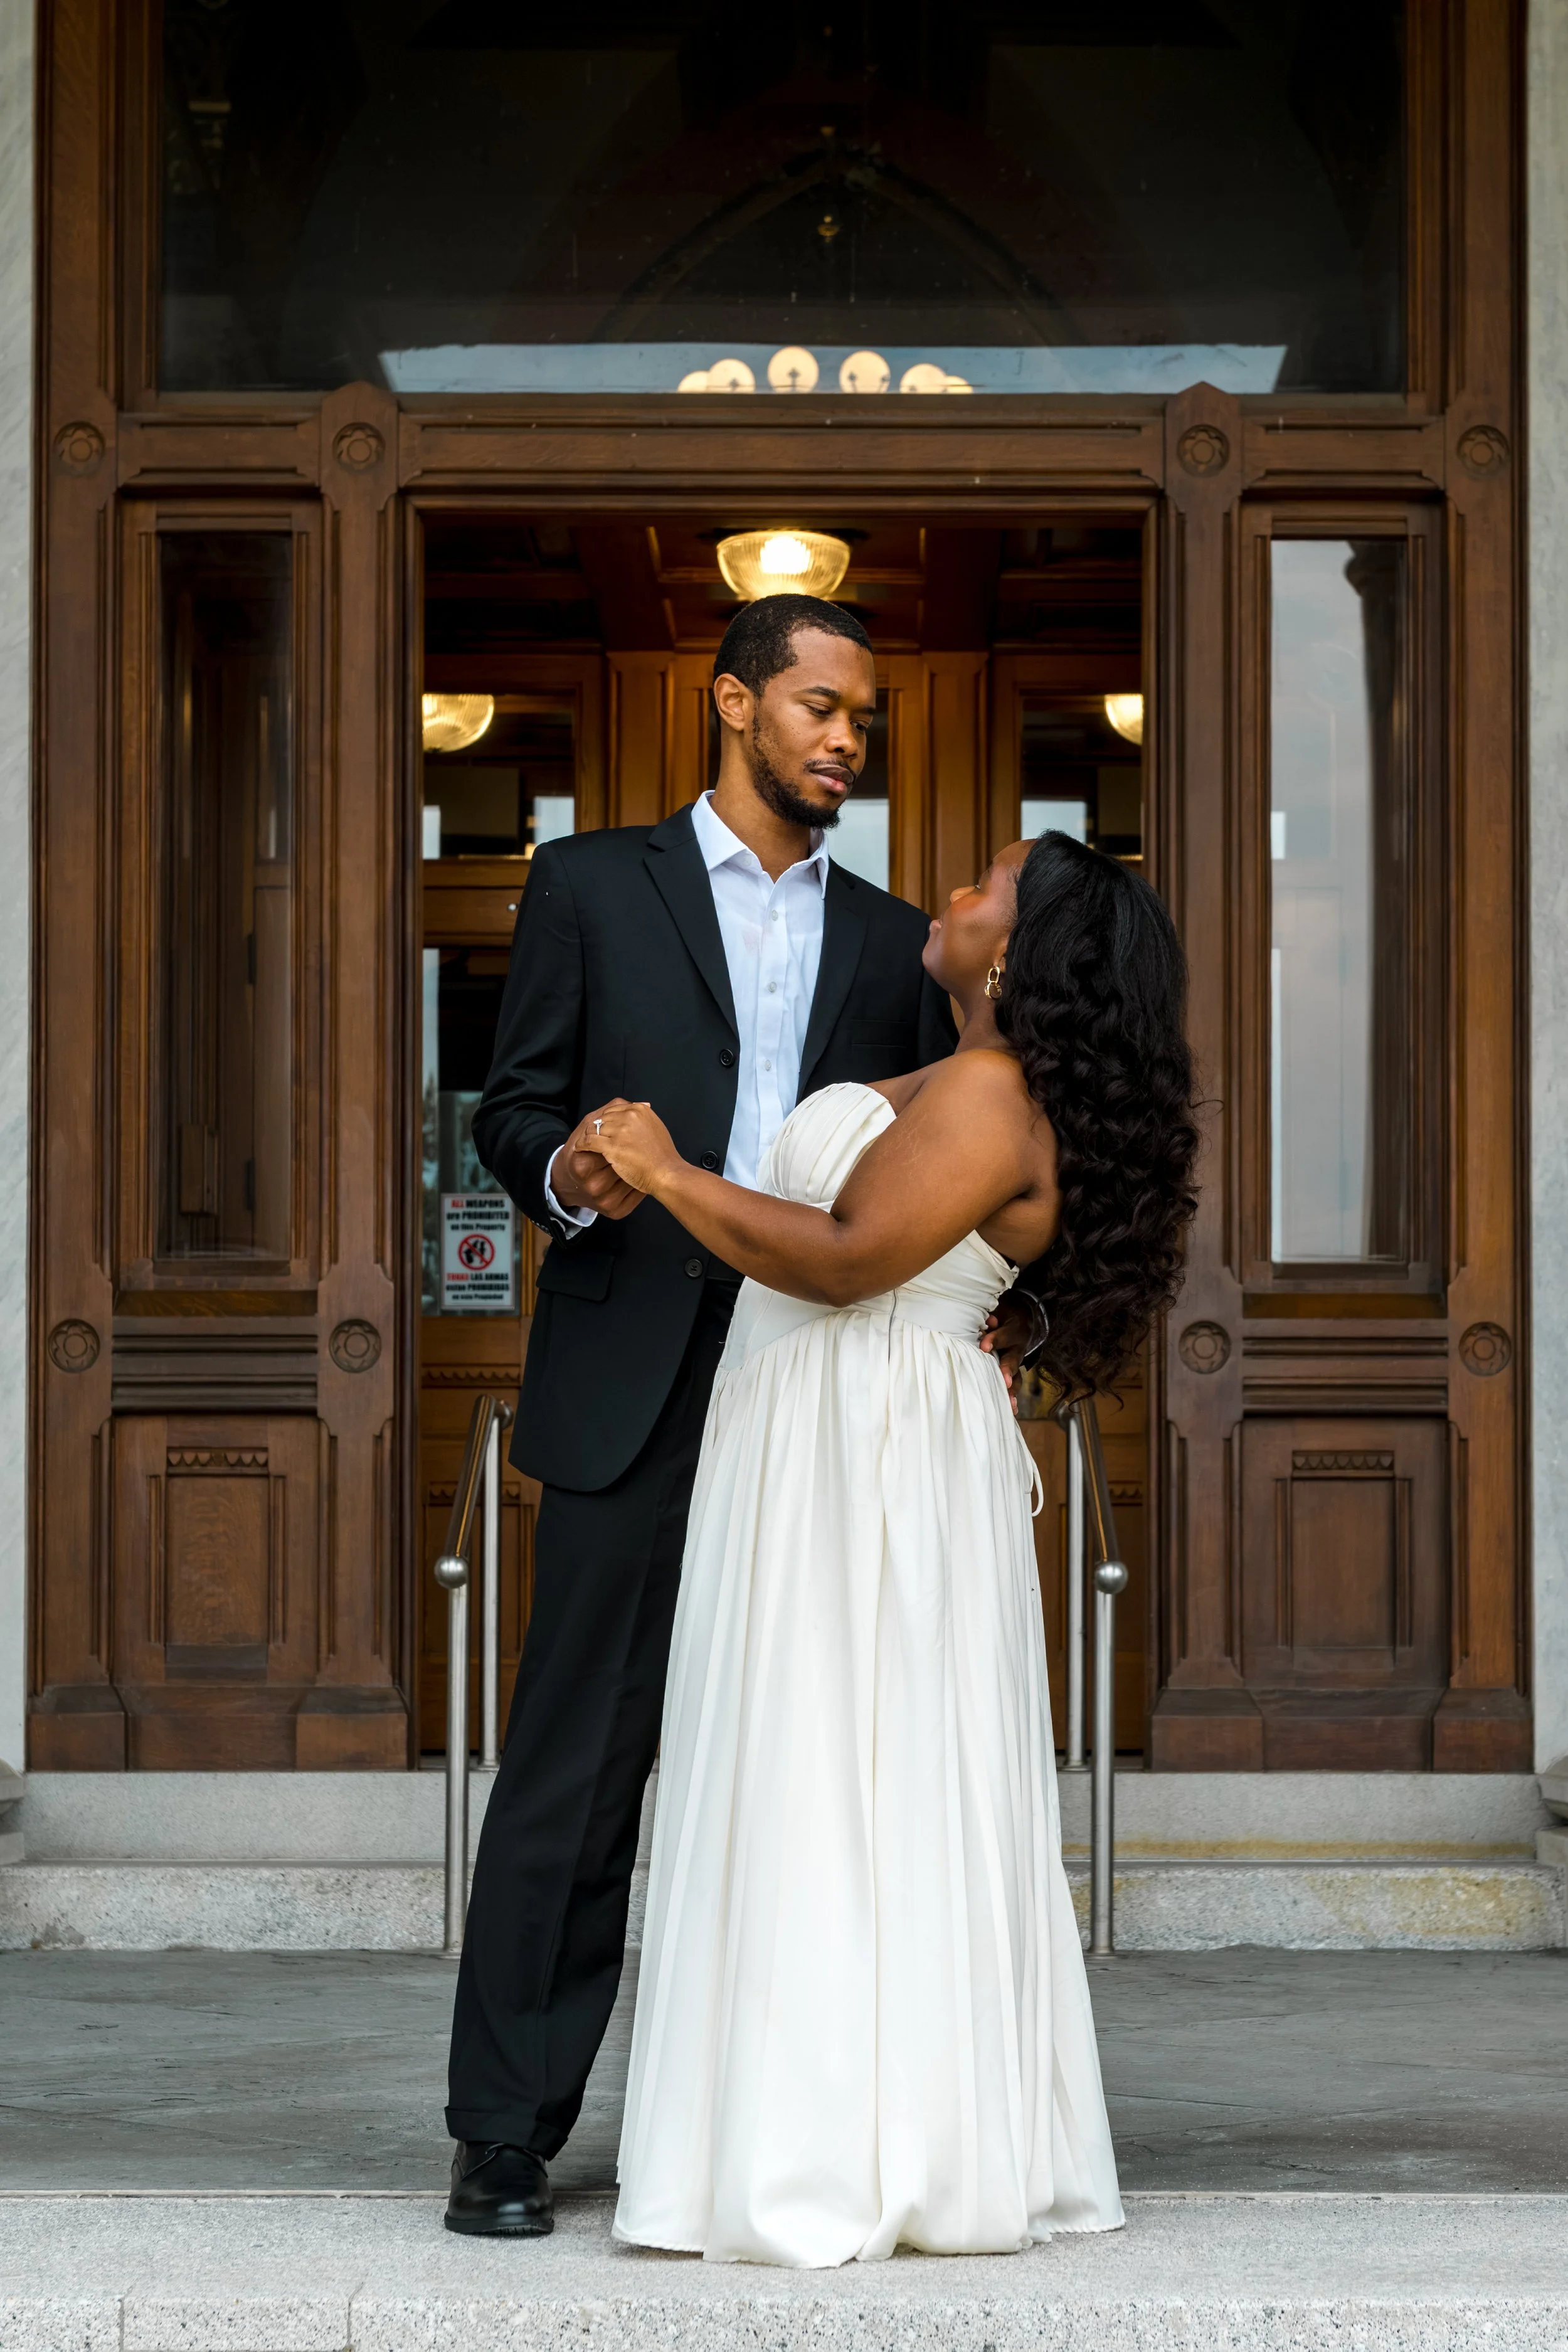
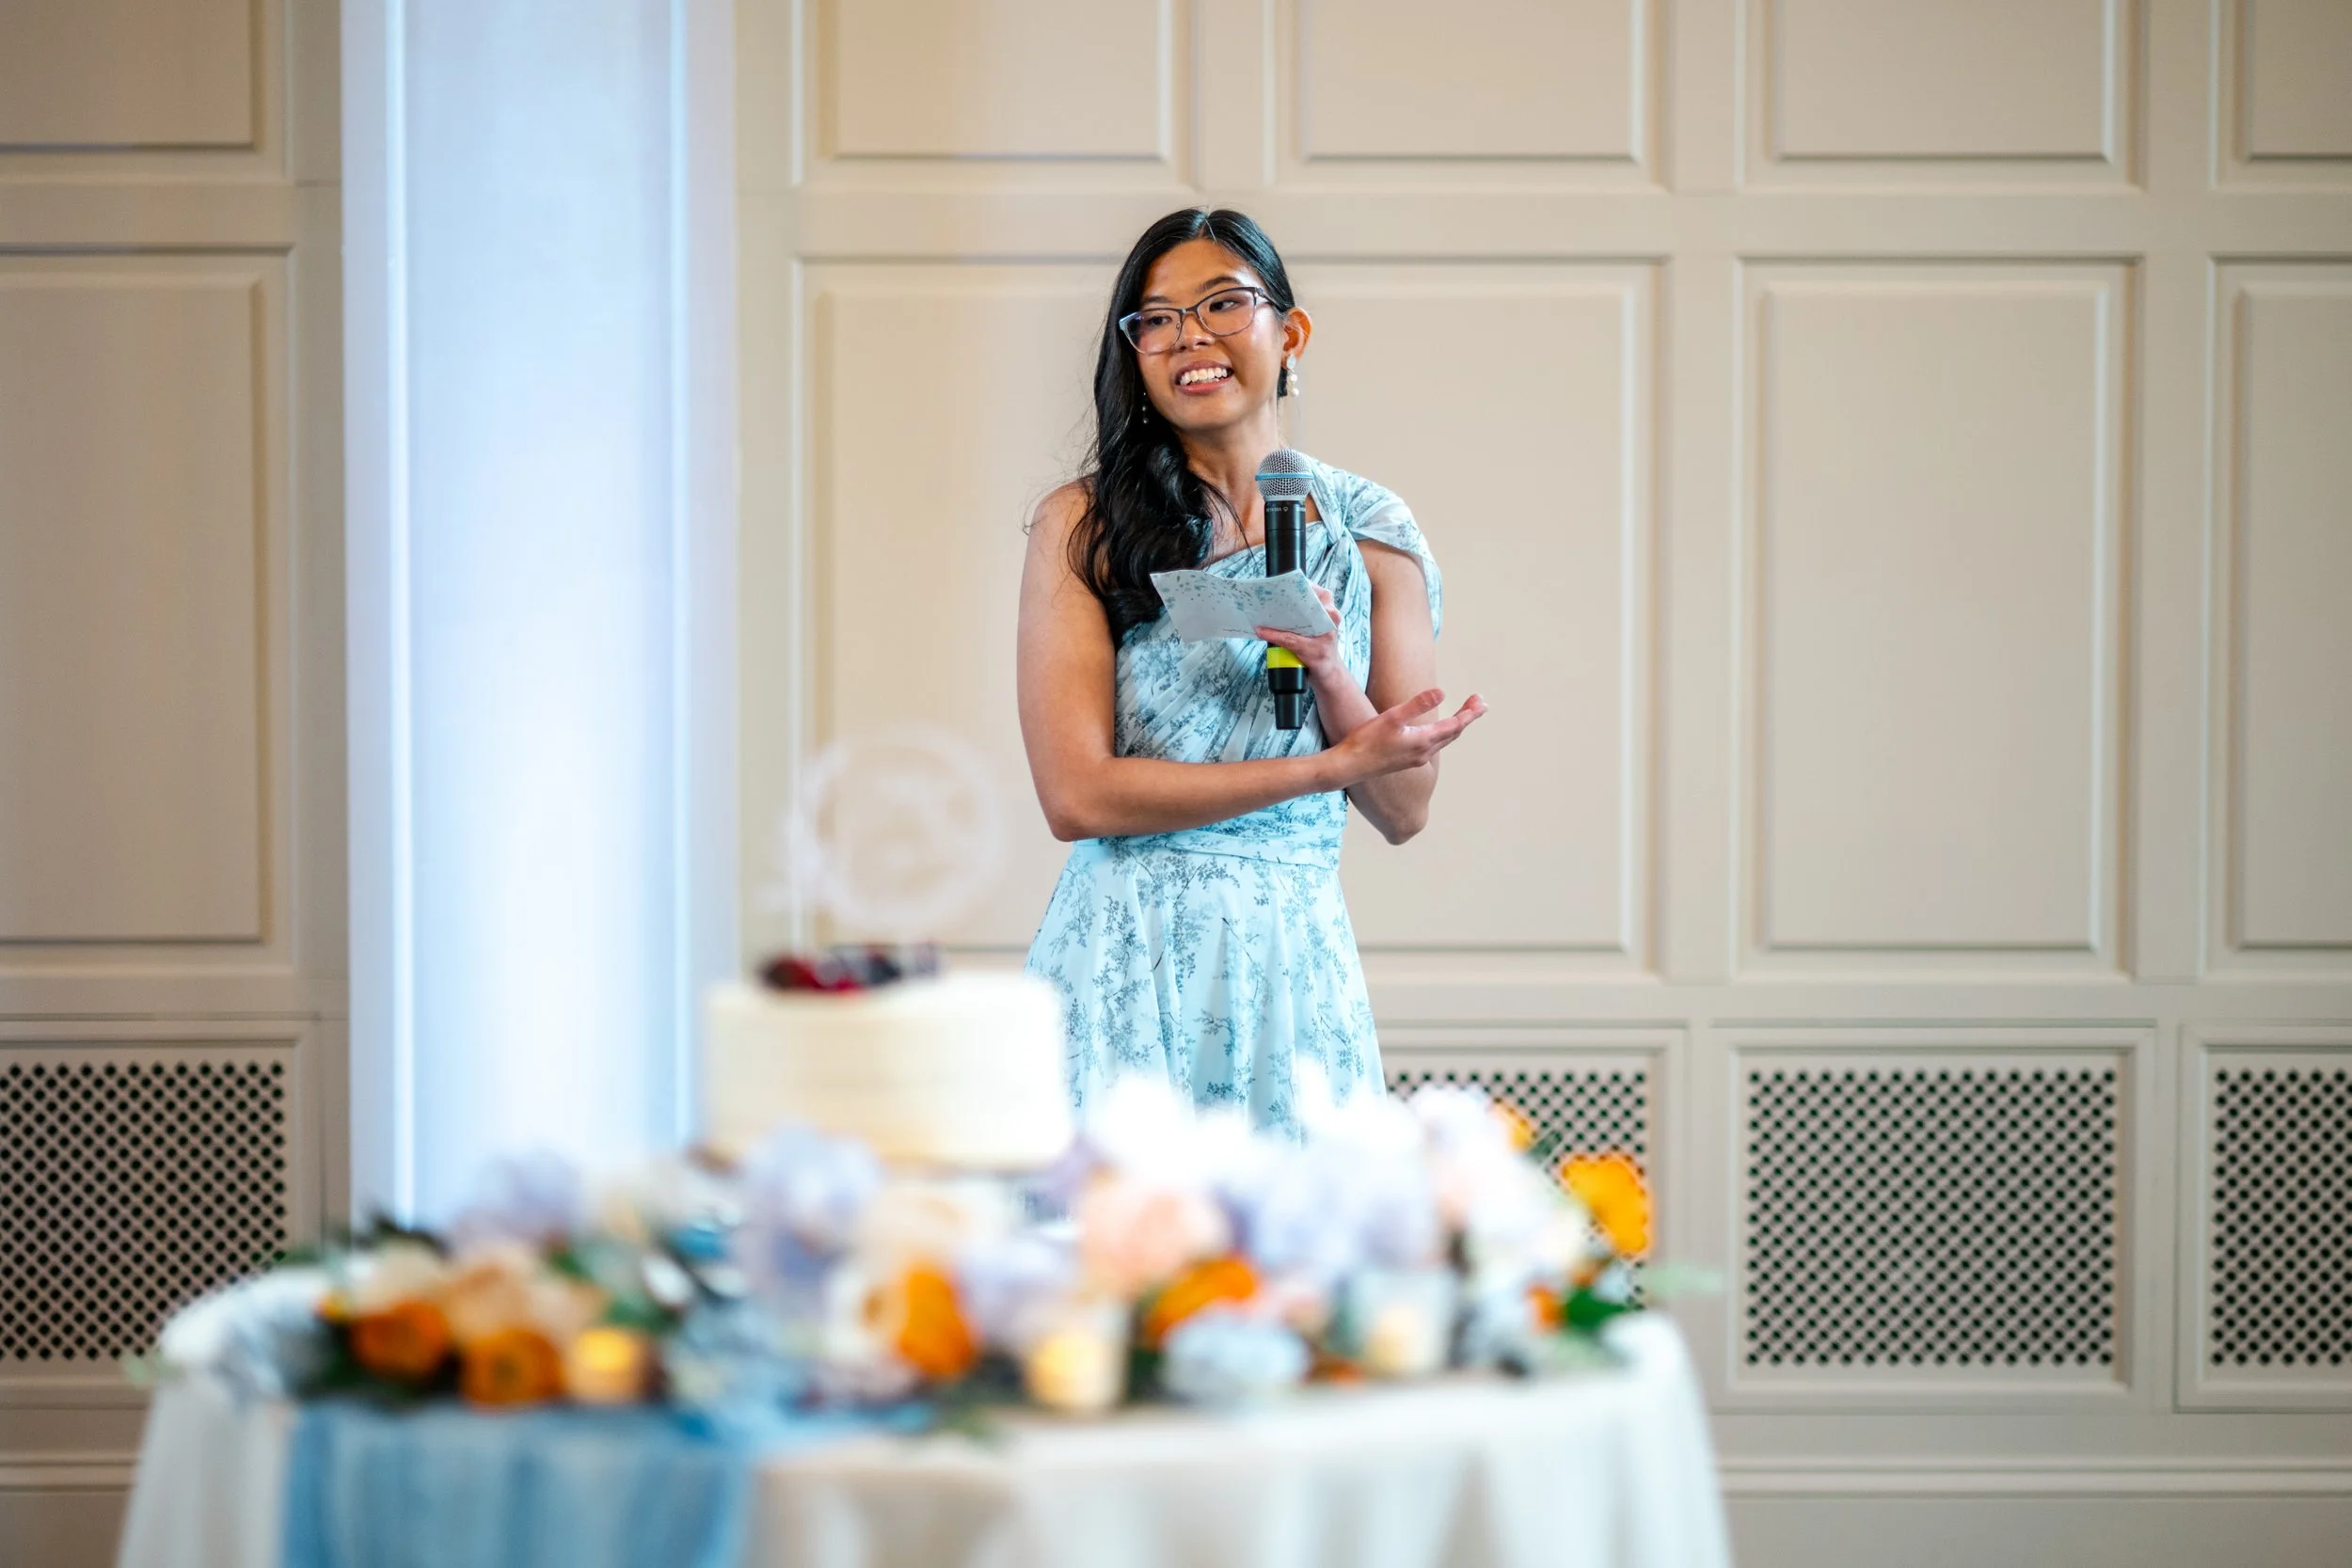
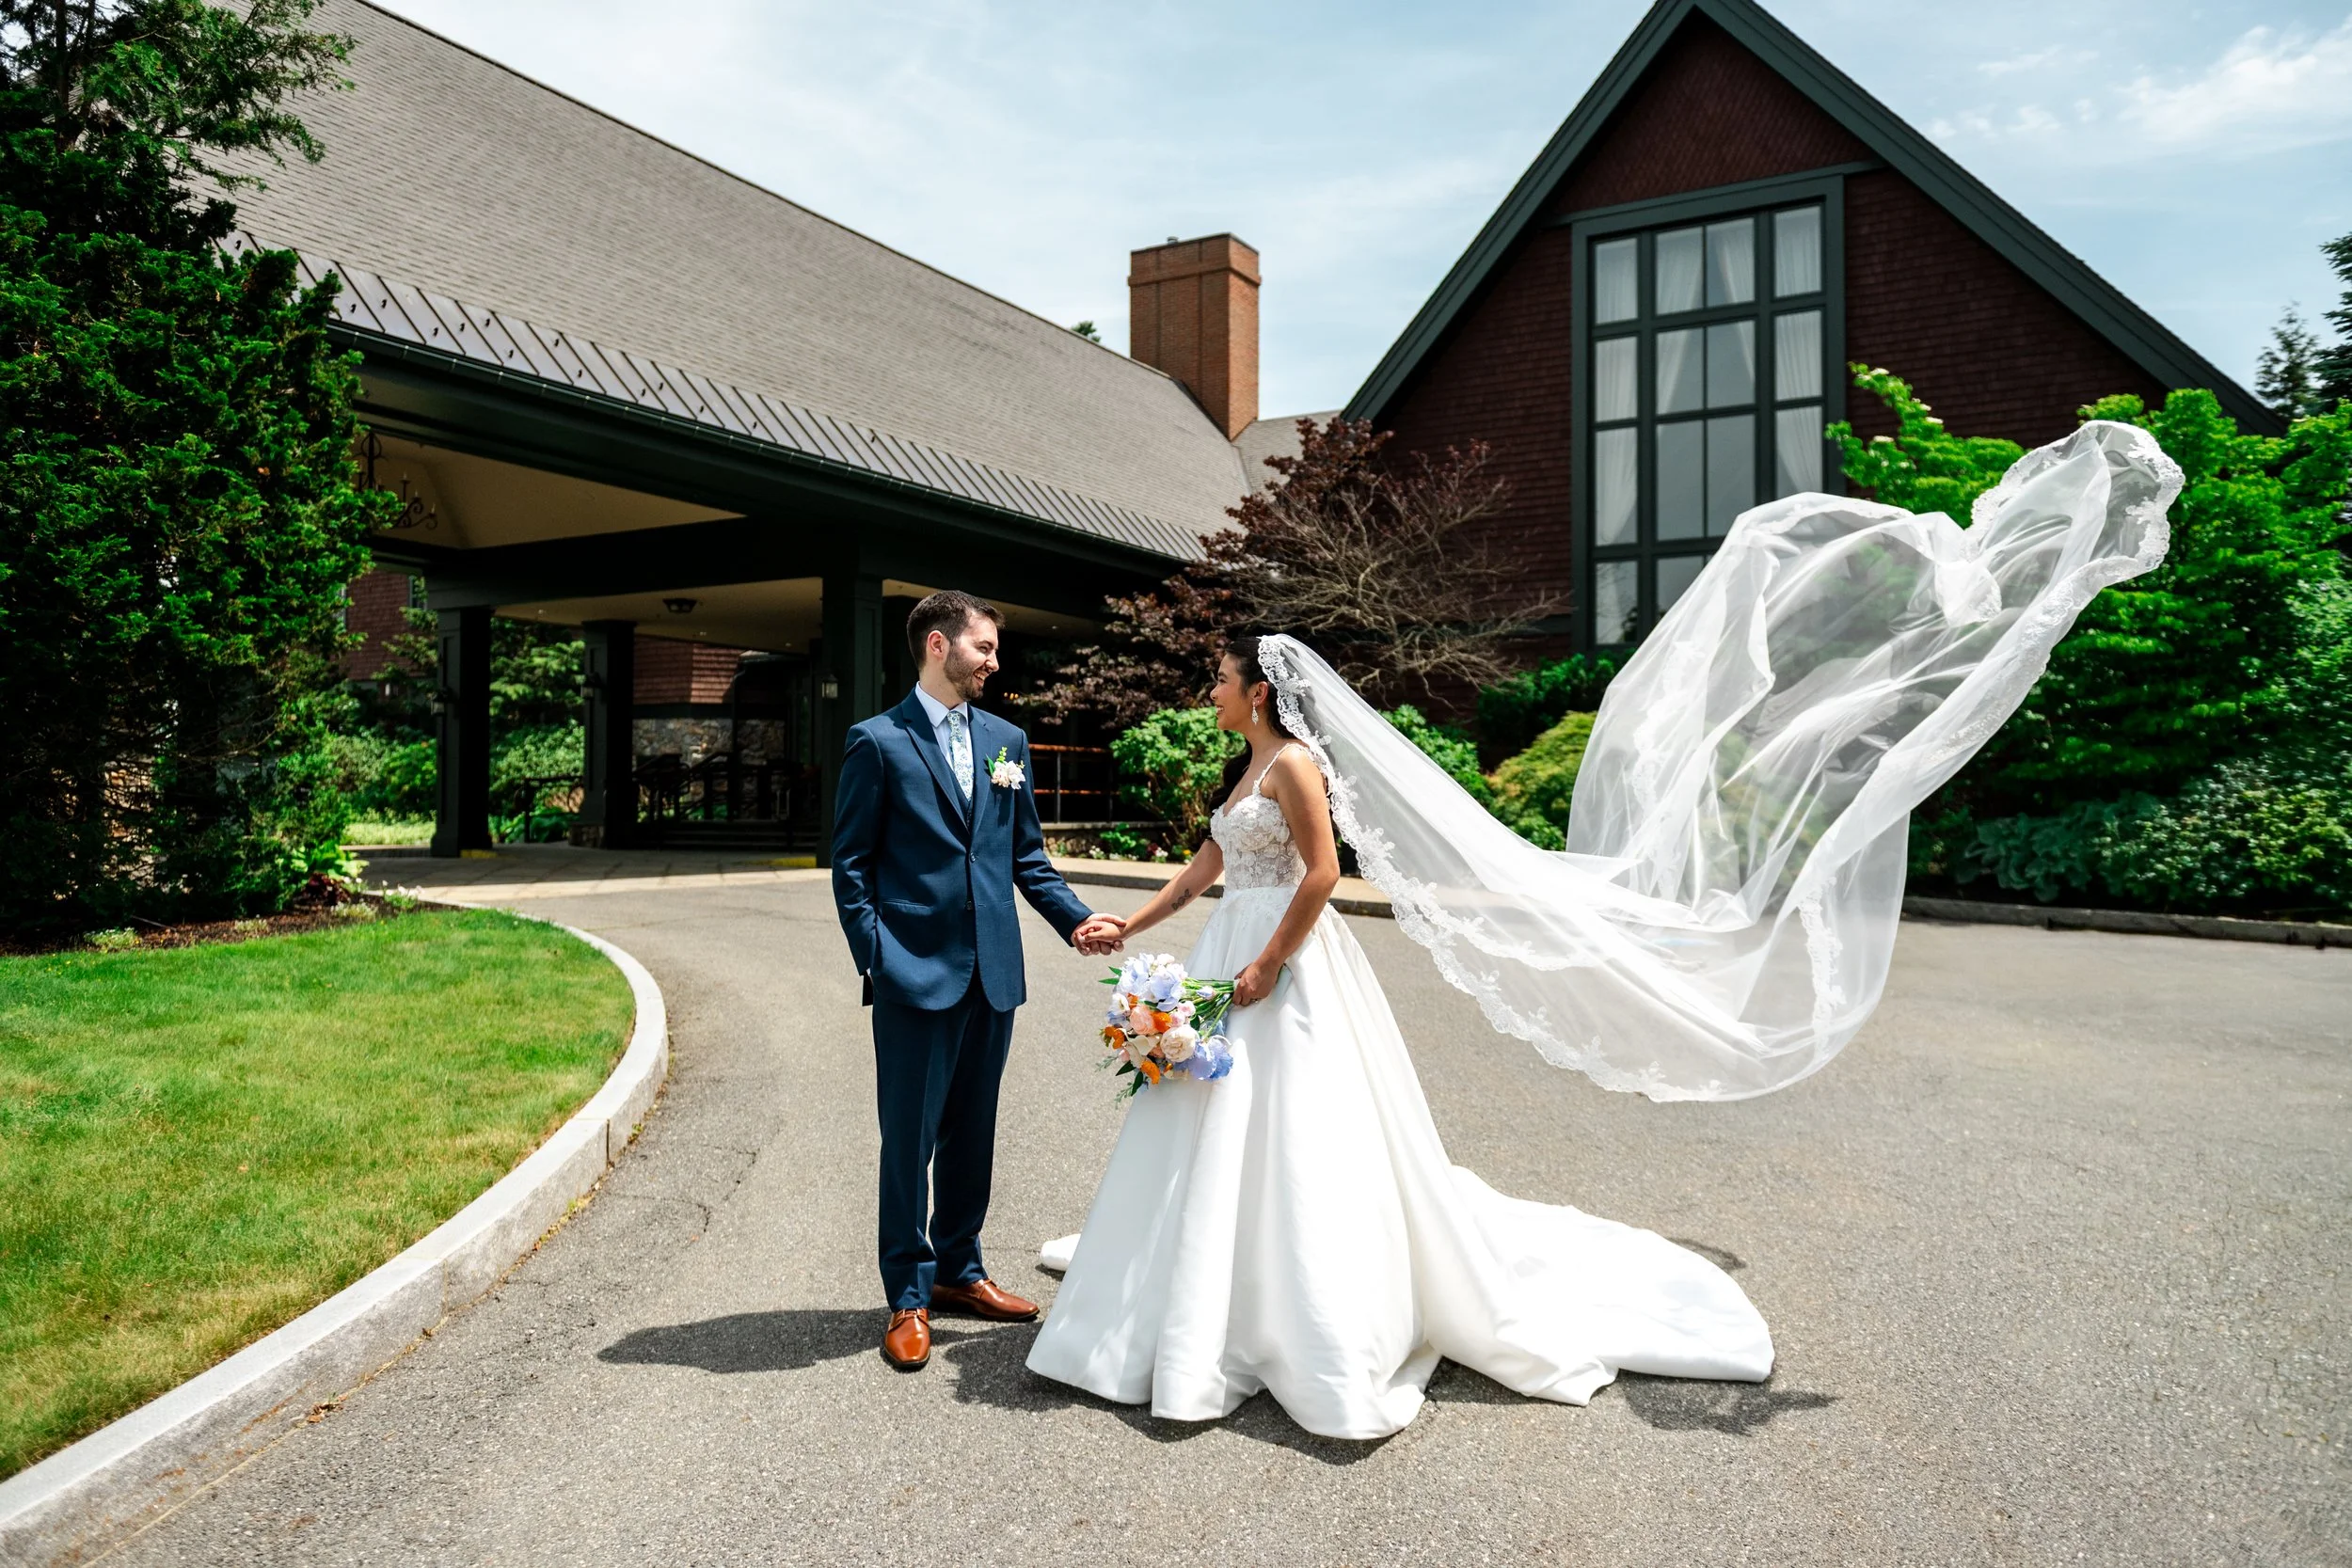
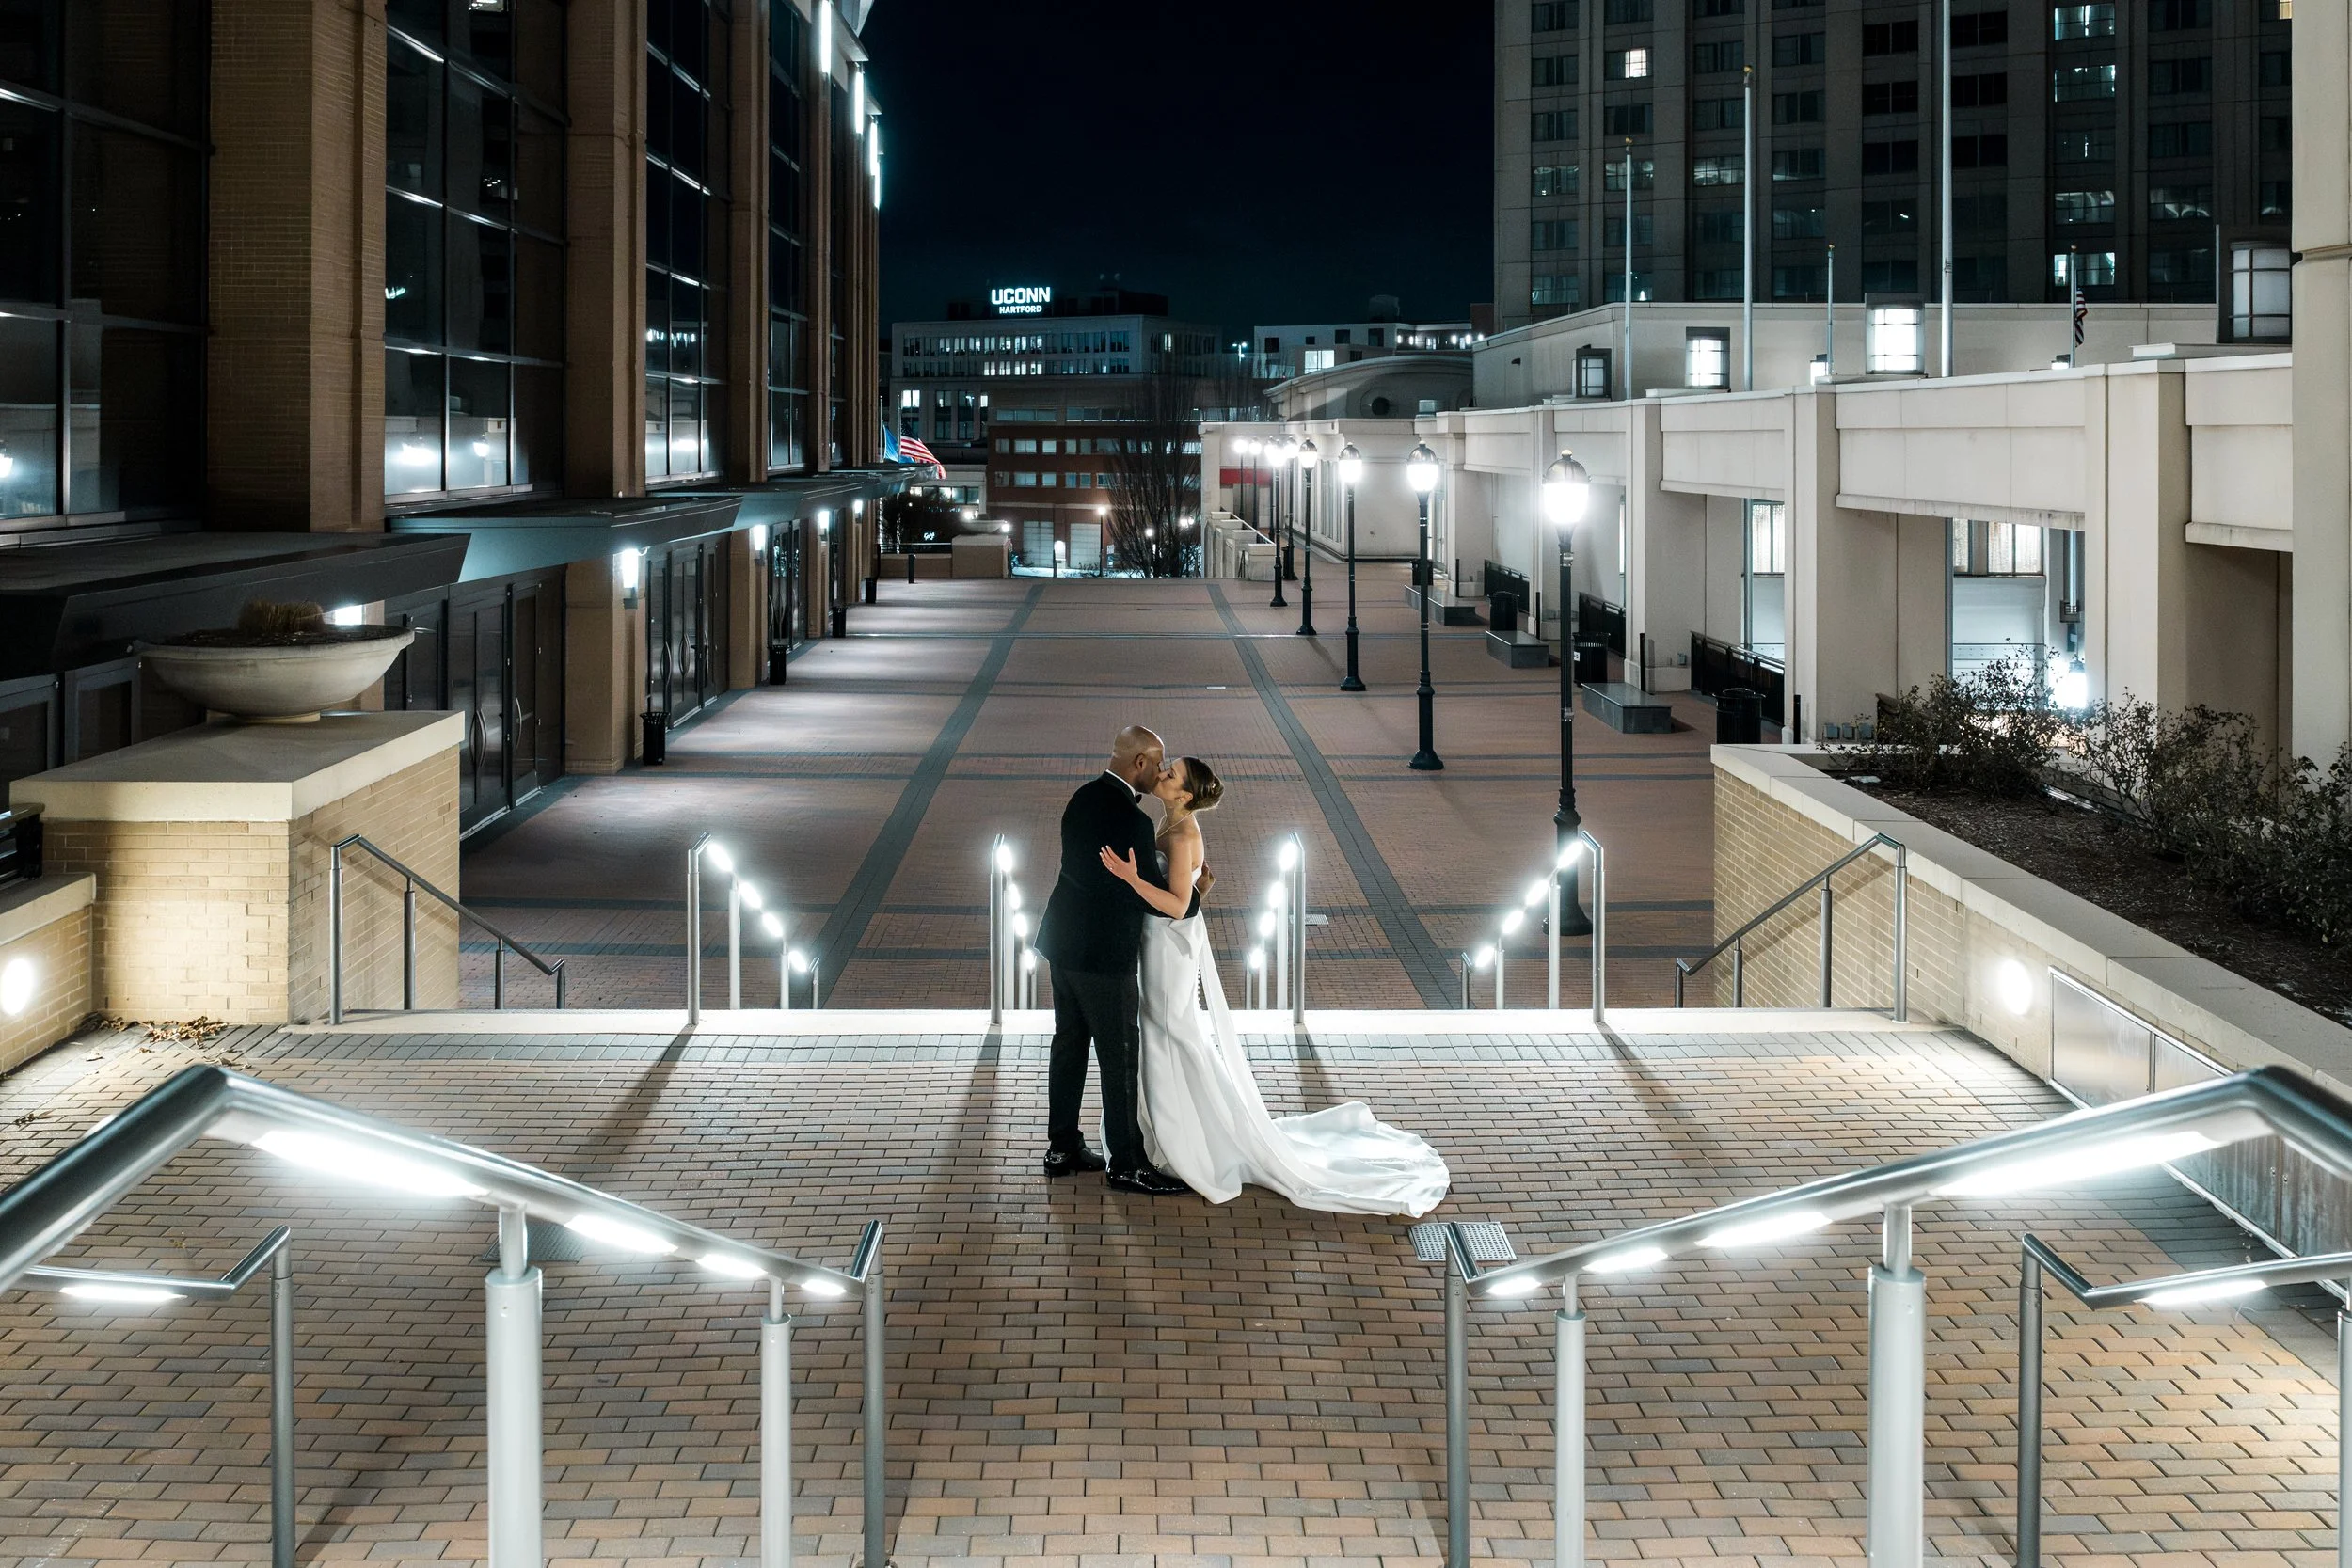


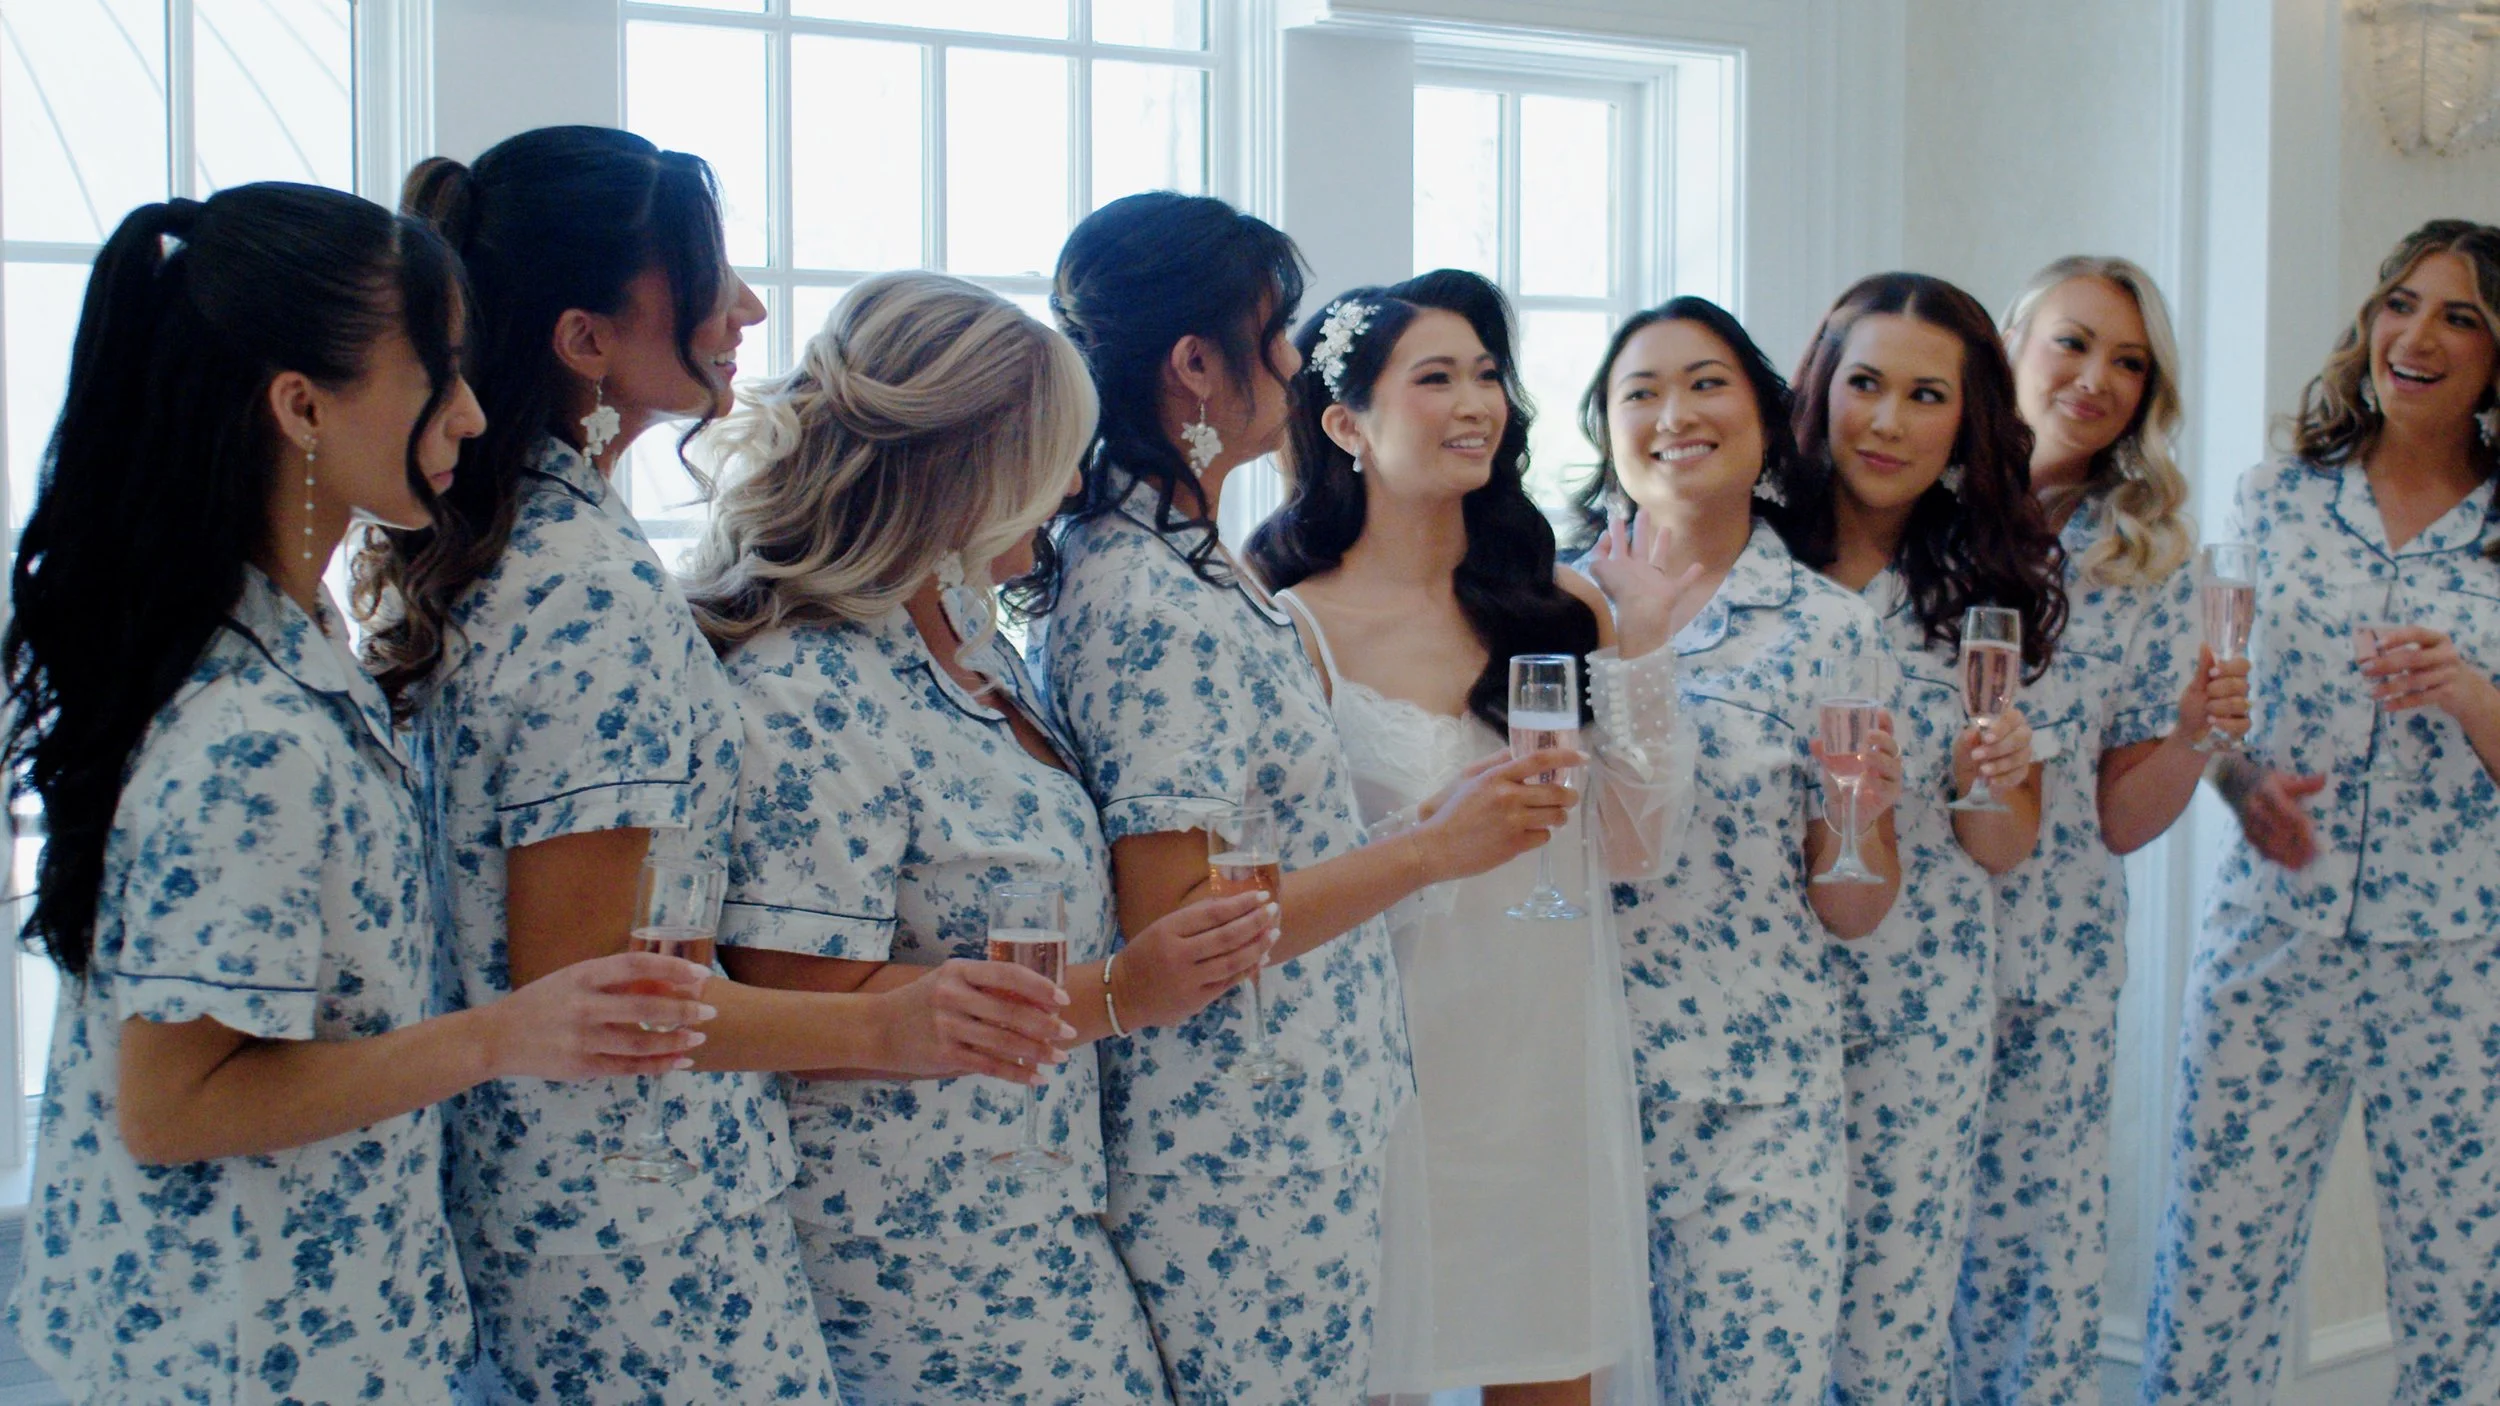
From quiet, emotional morning preparations in Easton to an unforgettable, high-energy reception at Mainline Catering and Events, Caitlin and Dale’s wedding day was filled with unscripted, genuine moments. Take a look inside their full wedding story.