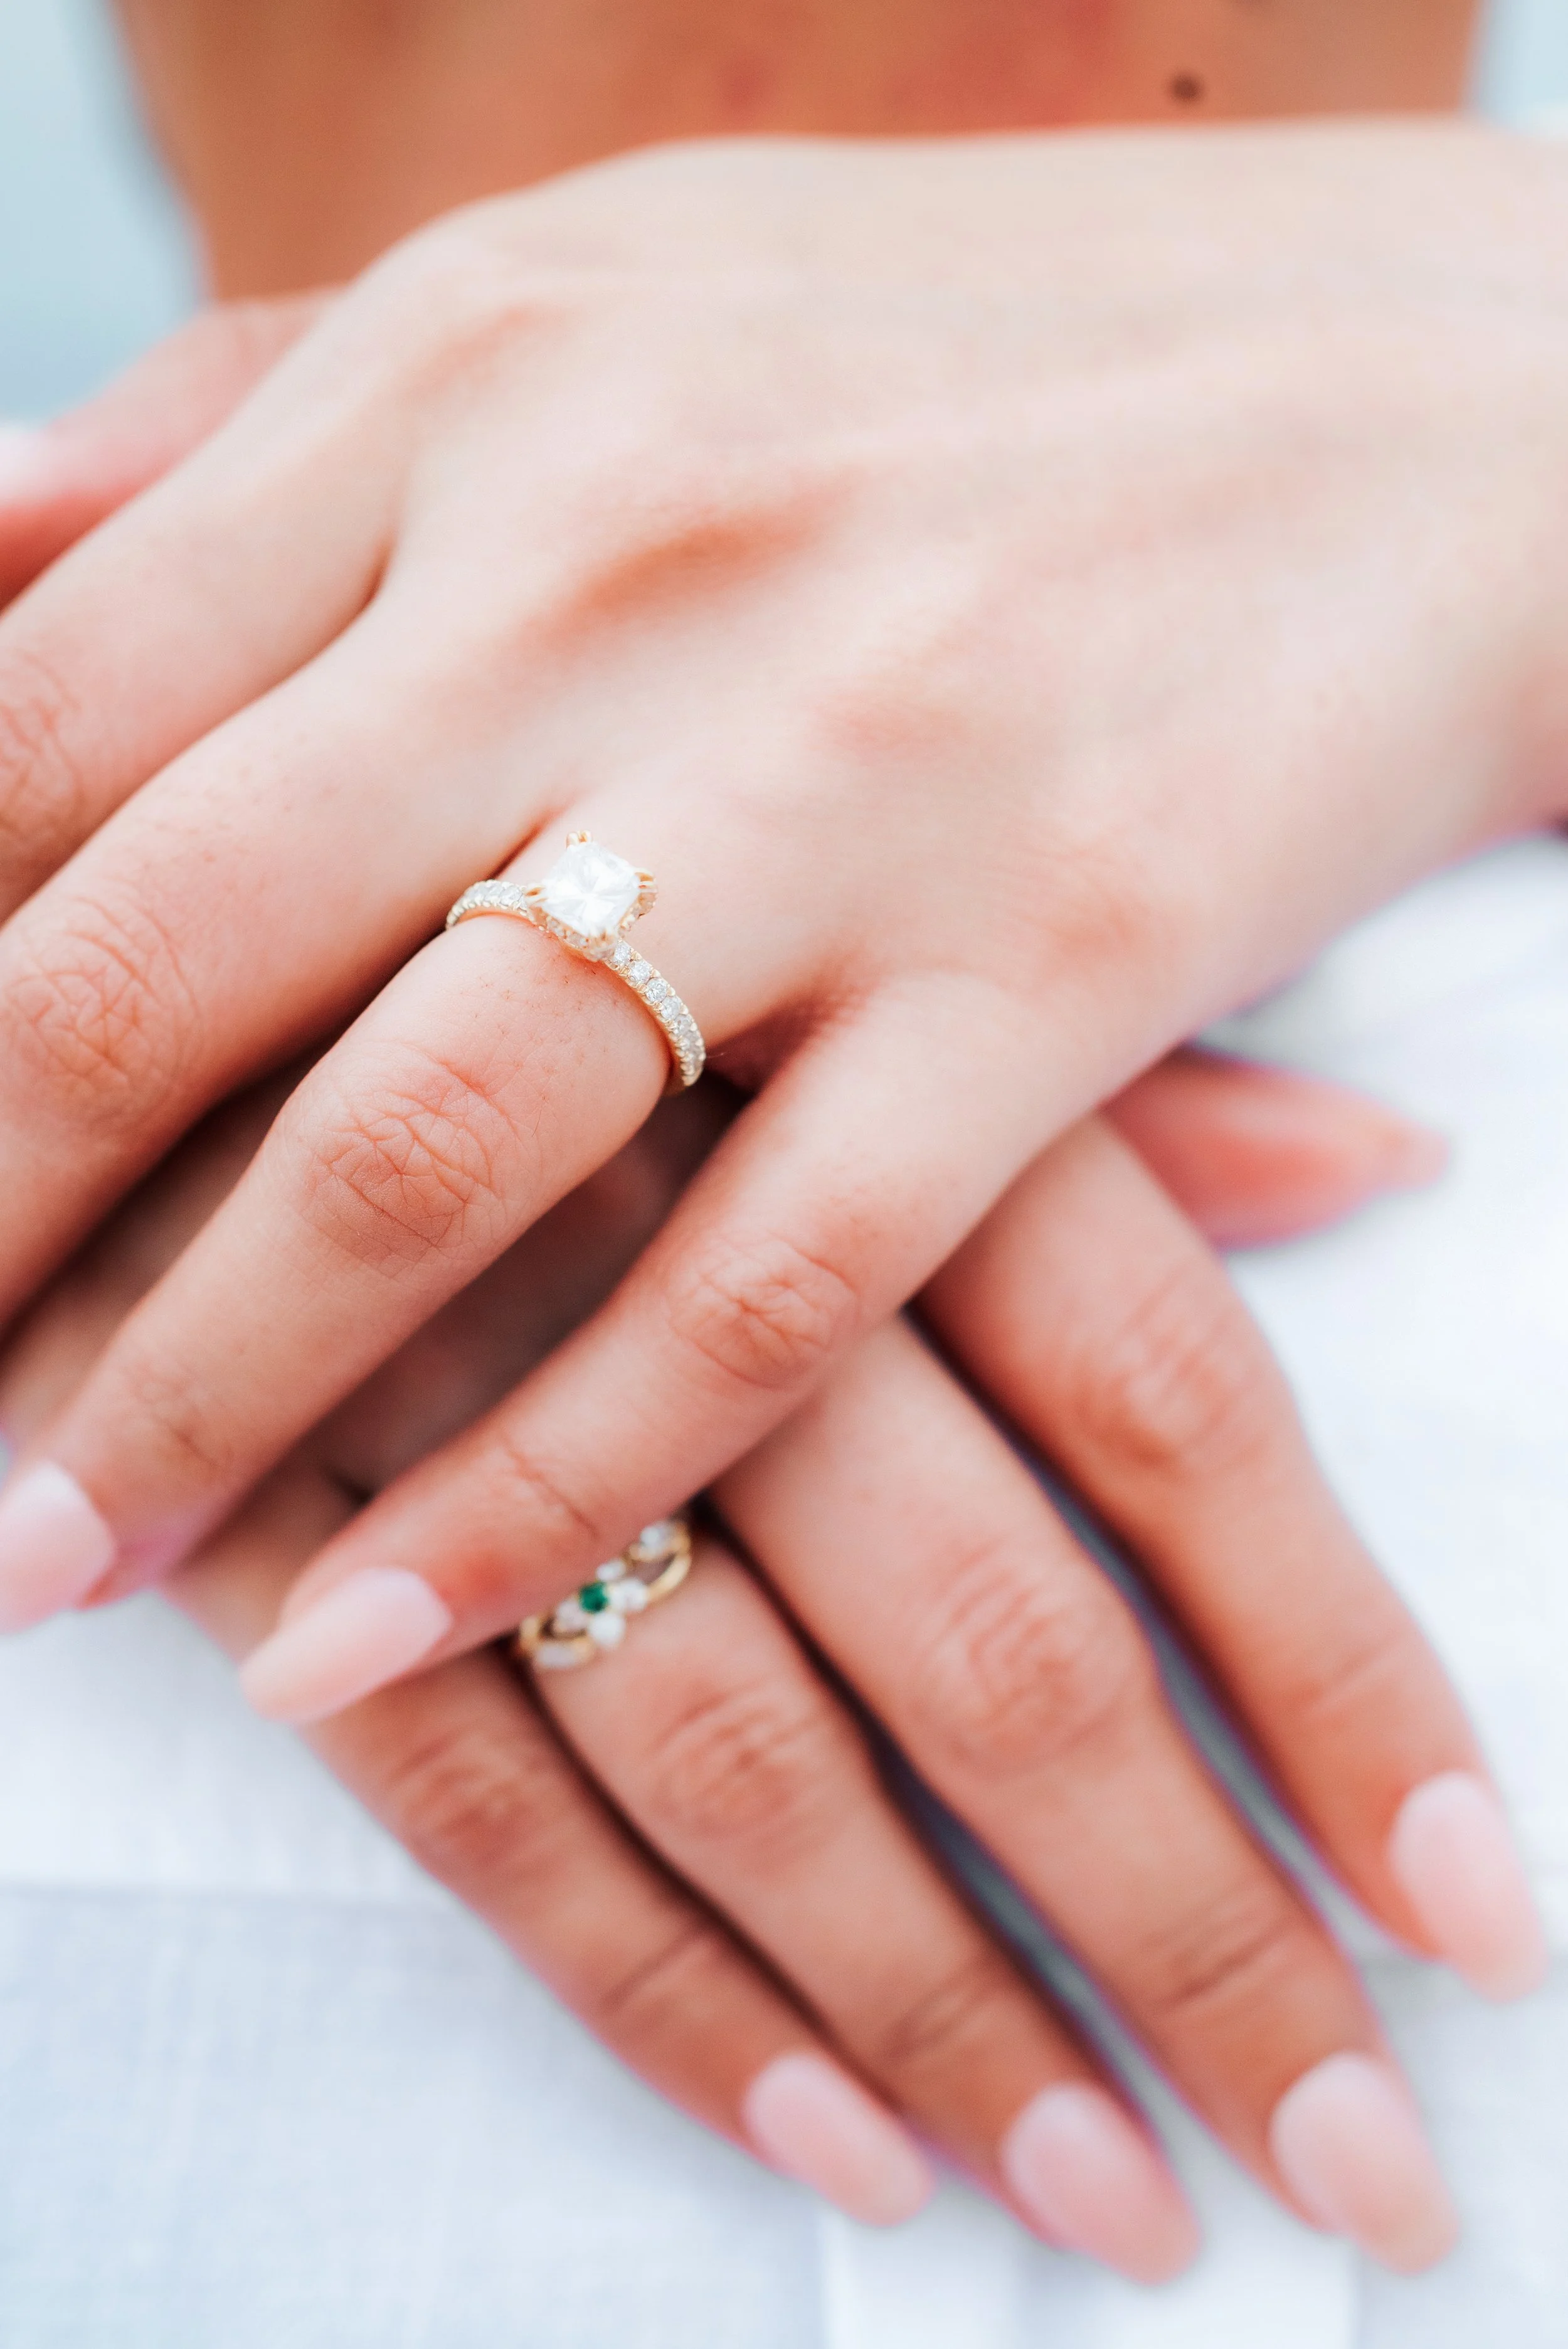
Karina and Zach's Engagement Session | Sandy Hook, NJ

For engagement sessions, I recommend my couple’s choose a place that means something to them. I want the place to help jog memories they enjoy and that will allow us to build up those feelings as we photograph together.


Karina and Zach chose Sandy Hook because it was the location of their first date. It was a great choice.

It was my first time going there. I was truly in awe at how serene it was at the time.


FYI if you want to get into the beach area we were in, you need to pay $20. They take cash, card, and contactless payment!
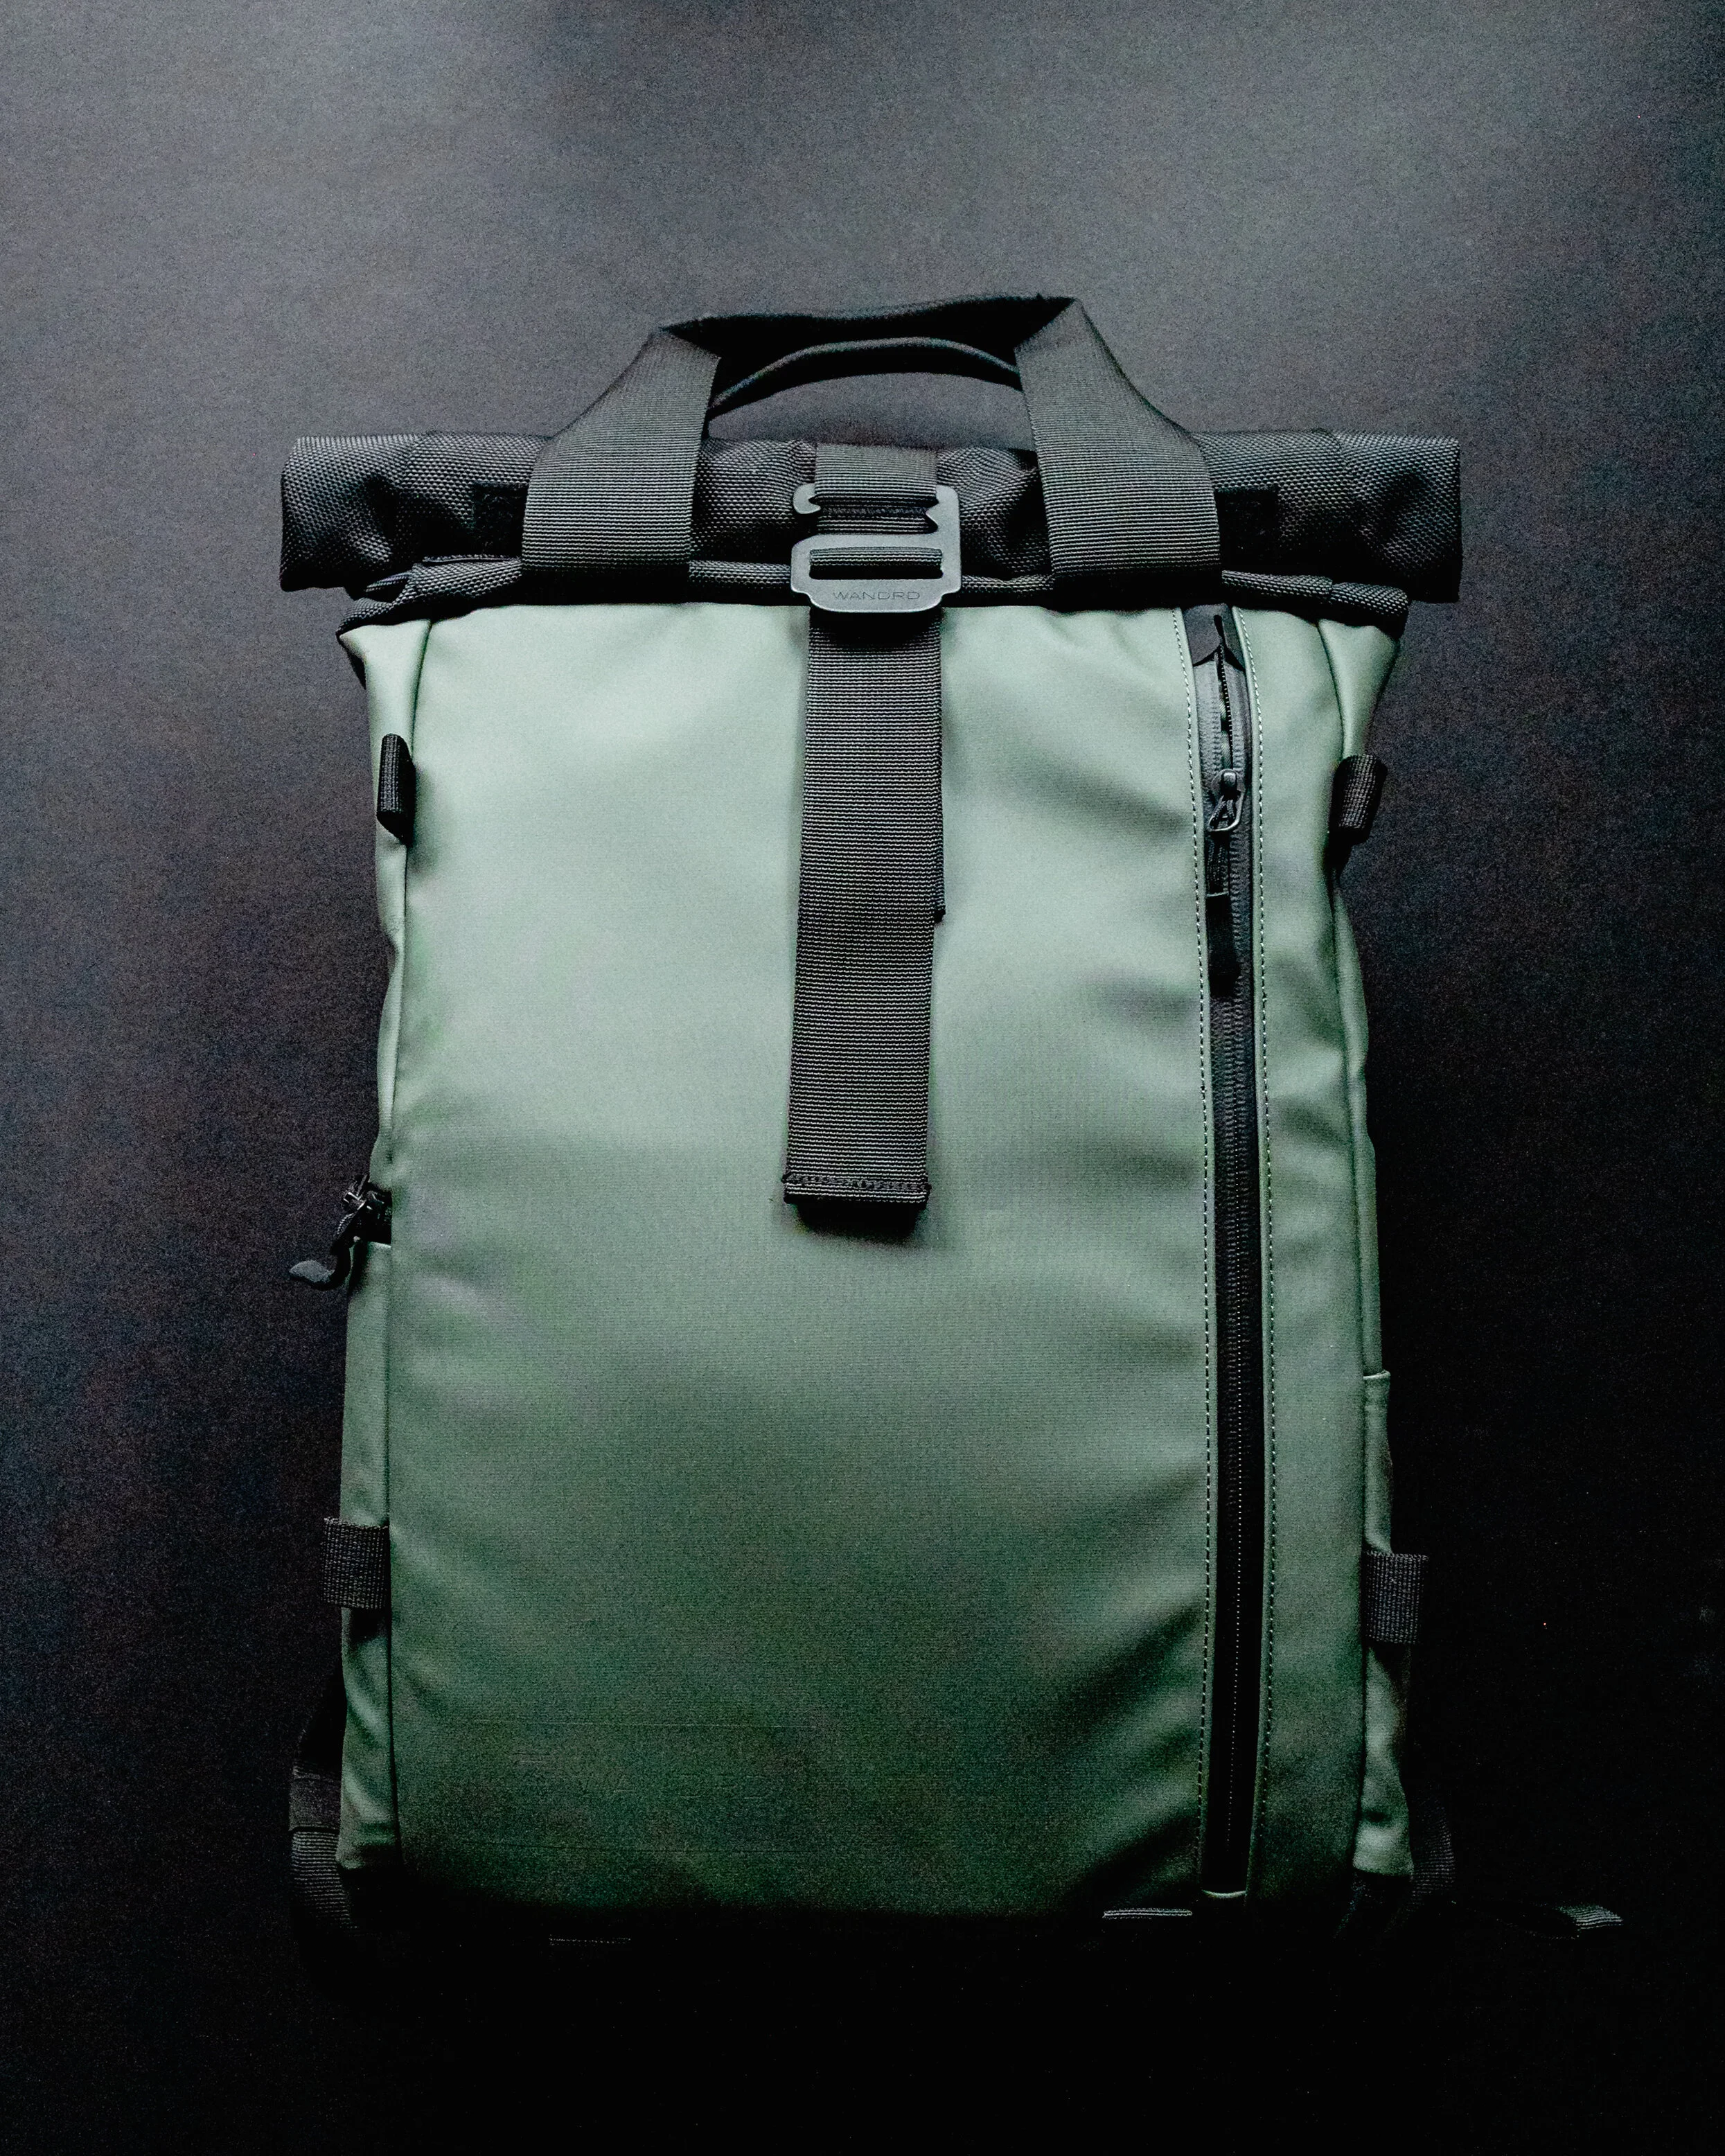
The Best Camera Bag For Wedding Second Shooters: The Wandrd Prvke Lite

I feel like, as a photographer, a lot of us end up with a lot of camera bags for different circumstances.
I have 4 bags in my rotation depending on the job at hand. The one I’m sharing today, the Wandrd Prvke Lite, is my go to for small photography jobs or when I’m second shooting a wedding and need a small kit.


It’s incredibly light, weighing at only 2.5lbs. I’ve had back problems for years, so to have something so light and well padded do the job like it does is incredible.


It can pack all of the gear I need. For second shooting a wedding, I carry 2 Nikon Z series bodies, 4 Nikon S series prime lenses, 2 on camera flashes, batteries, memory cards, and other odds and ends id need to support those items. It stores it all without feeling bulky.

I’m also a big fan of the color. I know it’s a small, inconsequential thing, but that Wasatch Green looks pretty dope.
The Richard J Nieves Photography Podcast Episode 24: How I Make Money As A Photographer in 2021
On this episode, I'll share the ways I make money a living as a photographer in 2021.

Episode 24
How I Make Money As A Photographer in 2021
On this episode, I'll share the ways I make money a living as a photographer in 2021.
KEH
20% off your first year of HoneyBook
Get 30% Off Your Annual Membership of Skillshare
Podcast Episodes on Apple Podcasts
Where I get my music for the podcast
Please follow me on Instagram @rich_photog, that r-i-c-h-underscore-p-h-o-t-o-g
If you’d like to schedule your next portrait session or give us the honor of photographing your wedding, visit my website www.richardjnphoto.com or email katherine@richardjnphoto.com where my partner will guide you along your journey with us.
Transcript
The first way I make money as a photographer is by photographing weddings. It's my most lucrative source of income.
As a new photographer, you can get started photographing weddings by offering your services as an assistant or second shooter for photographers whose style inspires you.
You can also, during the beginning of your career in order to build a portfolio, offer to photograph weddings of friends for little to no cost. All you require is the rights to use those images for your portfolio. The biggest disclaimer is you definitely have to tell your couple you're just beginning this journey and you may not have as much expertise in wedding photography as a more seasoned photographer. Set the stage so your clients know what to expect. You may even meet or blow past their expectations.
You can listen to episodes 19 to 22 of this podcast for details on equipment you'd need to photograph your weddings along with lighting tips and suggestions.
...
The second way I make money as a photographer is by offering portraiture and headshot services.
To build your portfolio, if that's the avenue you'd like to follow, I'd highly recommend finding local facebook groups with other photographers, models, or anybody else who you can collaborate with. Each party involved gets something out of the agreement. Everybody gets photos for their portfolios and connections to some really great people.
I now have the opportunity to work on short films as a sound technician and director of photography because of someone I met in a facebook group.
...
Before we get to the last section of this show, please follow me on Instagram @rich_photog, that r-i-c-h-underscore-p-h-o-t-o-g
If you’d like to schedule your next portrait session or give us the honor of photographing your wedding, visit my website www.richardjnphoto.com or email katherine@richardjnphoto.com where my partner will guide you along your journey with us.
If you're a small business or know someone who is starting their own small business and needs photography or videography, please send them our way so we can best serve them and you.
Let's get back to the show.
...
The third way I make money as a photographer is by working with other small businesses to fulfill their photography and videography needs.
In the beginning of 2020, I started offering reoccurring services for small businesses who needed what we at Richard J Nieves Photography provide on a monthly, quarterly, or yearly basis.
At first, due to the state of the world at the time, i didn't get a-lot of traction, but I have since started working with small businesses I found on instagram and from my own connections.
If this is something you want to do, the best advice I can offer is to not be afraid to pitch yourself to companies. They may need your services, and if you enter their world at just the right time, you may spark a lucrative relationship. Send an email or find their social media accounts. Instagram has been very useful for contacting companies who may need photography or videography.
...
Lastly, I implore you to say yes to the jobs that come your way that you want to do, but you may fear you're not up to the task. Don't doubt yourself. You've put in the work to learn this craft. You've put in the time to listen to people like me who want you to learn and succeed.
Take that fear of making a mistake and turn it into the fuel that makes you get the job done. Never refuse work because you feel like you're not good enough. You most certainly are.
Transcript
Welcome to the 23rd episode of The Richard J Nieves Photography Podcast!
I’m Richard J Nieves, published portrait and wedding photographer, and owner of Richard J Nieves Photography located in New York City.
TTL stands for "Through The Lens" metering. Like I stated in episode 21, it is a setting that allows your speed light to communicate with your camera and base your exposure off their combined measuring of ambient light. It detracts the work you have to put into exposing your photo.
TTL has one goal, to light your subject as well as possible. That's fantastic when you're shooting quick moments that need that extra bit of oomph in the exposure.
It's great for new wedding photographers who's priority is the client's satisfaction with their photos. The need to perfectly light a scene is put in the back pocket when the hug with the best grandma in the world and a bride is lit well enough that it can be delivered and get a reaction.
Since the priority of TTL is to expose the subject well, the background exposure takes a hit. TTL doesn't care if the background is well exposed. That is something that can be adjusted in post. It's up to you where you set your compromises. If that's an issue, you can always manually set your flash power if you know what you're doing.
Since there is that bit of control taken away by using TTL, you may feel like part of your artistic pedigree is lessened. I assure you, it is not. You are as much of an artist as you were before you decided to use TTL. You may feel like you are less of a photographer because you use TTL. Again, I assure you, you are as much of a photographer as one who dials in their settings.
Before we discuss one last bit about TTL flash units, I'd like to ask you to please follow me on Instagram @rich_photog, that r-i-c-h-underscore-p-h-o-t-o-g
If you’d like to schedule your next portrait session or give us the honor of photographing your wedding, visit my website www.richardjnphoto.com or email katherine@richardjnphoto.com where my partner will guide you along your journey with us.
...
One more thing to consider when using a flash unit with TTL is those units are more expensive than their manual counter parts. Depending on the brand, prices may be drastically different between units. Again, that's your call to make. I would always opt for a unit with TTL because I can always take the reins when I feel the need to.
The Richard J Nieves Photography Podcast Episode 23: TTL
In episode 21 where we discussed tips for using on and off camera flash during a wedding, I referenced a very handy feature of most modern flash units called TTL. We'll be discussing the practical ways it can change your photography for the better.

Episode 23
TTL
In episode 21 where we discussed tips for using on and off camera flash during a wedding, I referenced a very handy feature of most modern flash units called TTL. We'll be discussing the practical ways it can change your photography for the better.
KEH
20% off your first year of HoneyBook
Get 30% Off Your Annual Membership of Skillshare
Podcast Episodes on Apple Podcasts
Where I get my music for the podcast
Please follow me on Instagram @rich_photog, that r-i-c-h-underscore-p-h-o-t-o-g
If you’d like to schedule your next portrait session or give us the honor of photographing your wedding, visit my website www.richardjnphoto.com or email katherine@richardjnphoto.com where my partner will guide you along your journey with us.
Transcript
Welcome to the 23rd episode of The Richard J Nieves Photography Podcast!
I’m Richard J Nieves, published portrait and wedding photographer, and owner of Richard J Nieves Photography located in New York City.
TTL stands for "Through The Lens" metering. Like I stated in episode 21, it is a setting that allows your speed light to communicate with your camera and base your exposure off their combined measuring of ambient light. It detracts the work you have to put into exposing your photo.
TTL has one goal, to light your subject as well as possible. That's fantastic when you're shooting quick moments that need that extra bit of oomph in the exposure.
It's great for new wedding photographers who's priority is the client's satisfaction with their photos. The need to perfectly light a scene is put in the back pocket when the hug with the best grandma in the world and a bride is lit well enough that it can be delivered and get a reaction.
Since the priority of TTL is to expose the subject well, the background exposure takes a hit. TTL doesn't care if the background is well exposed. That is something that can be adjusted in post. It's up to you where you set your compromises. If that's an issue, you can always manually set your flash power if you know what you're doing.
Since there is that bit of control taken away by using TTL, you may feel like part of your artistic pedigree is lessened. I assure you, it is not. You are as much of an artist as you were before you decided to use TTL. You may feel like you are less of a photographer because you use TTL. Again, I assure you, you are as much of a photographer as one who dials in their settings.
Before we discuss one last bit about TTL flash units, I'd like to ask you to please follow me on Instagram @rich_photog, that r-i-c-h-underscore-p-h-o-t-o-g
If you’d like to schedule your next portrait session or give us the honor of photographing your wedding, visit my website www.richardjnphoto.com or email katherine@richardjnphoto.com where my partner will guide you along your journey with us.
...
One more thing to consider when using a flash unit with TTL is those units are more expensive than their manual counter parts. Depending on the brand, prices may be drastically different between units. Again, that's your call to make. I would always opt for a unit with TTL because I can always take the reins when I feel the need to.
The Richard J Nieves Photography Podcast Episode 22: How To Use Natural Light for Weddings
In the last episode, I shared some advice I've gained through my years of shooting events using on and off camera flash. On this episode, we'll take all that gear away and discuss using the natural light available to you when it's there.

Episode 22
How To Use Natural Light for Weddings
In the last episode, I shared some advice I've gained through my years of shooting events using on and off camera flash. On this episode, we'll take all that gear away and discuss using the natural light available to you when it's there.
KEH
20% off your first year of HoneyBook
Get 30% Off Your Annual Membership of Skillshare
Podcast Episodes on Apple Podcasts
Where I get my music for the podcast
Please follow me on Instagram @rich_photog, that r-i-c-h-underscore-p-h-o-t-o-g
If you’d like to schedule your next portrait session or give us the honor of photographing your wedding, visit my website www.richardjnphoto.com or email katherine@richardjnphoto.com where my partner will guide you along your journey with us.
Transcript
Natural light is absolutely my favorite form of light. It can be temperamental, but rewarding when using it correctly and managing the highs and lows of daylight. You even get natural light modifiers in the form of clouds. What more could you ask for?
The first example is when you're getting your detail shots. Have access to a window or can take the details outside, but not too far from where they need to be? You can get work done!
Play with the direction of light and see where light falls and where it doesn't.
One piece of kit I'd suggest you carry if you know you're aiming to use natural light is a small reflector. You can battle deep shadows and lift them. All that light you can bounce off that little reflector could enhance a portrait or detail shot in some pretty magnificent ways.
When using natural light to illuminate your subjects, whether they're your couple or their family, place them in a spot of shadow in order to protect all the detail you can in your image.
By having them under direct sunlight, you'll be setting yourself up for disaster. By placing your subjects under direct sunlight, you create harsh, overhead shadows that are unflattering. You can you lose detail in your highlights if done incorrectly. Worst of all, the experience of the guests standing under a hot sun and trying to stand still so you can take a photo is excruciating and disruptive to the enjoyment of the wedding. Please, move your subjects into a shadowed area where they can express their joy for the event while looking good too.
Remember that reflector I mentioned before? If you have the space and an assistant or second photographer working with you, it may be wise to carry a larger reflector to light your couples when shooting them alone. Like mentioned previously, you can bounce all that amazing light onto your clients if they aren't near a reflective surface like the side of a building.
...
Before we get to the last tip I have for shooting with natural light, I want to ask you for a favor.
Before we get to our last tip, Please follow me on Instagram @rich_photog, that r-i-c-h-underscore-p-h-o-t-o-g
If you’d like to schedule your next portrait session or give us the honor of photographing your wedding, visit my website www.richardjnphoto.com or email katherine@richardjnphoto.com where my partner will guide you along your journey with us.
Lastly, it would mean a lot if you left a 5 star review on Apple Podcasts to support what we're doing here on the podcast and get it out to more photographers who may benefit from this information. Let's get back to the show.
...
The last tip I have for you, which can pretty much be applied to most of the information I share on this podcast, is to learn the different forms of natural light as seen by your camera.
Natural light comes from one source; the sun, and is typically "modified" by natural occurrences like cloud coverage or clear blue skies. That light can be direct. It can be diffused by clouds. It can be cut by physical objects like trees and buildings. Learn how your camera sees this information and interprets it for you. Eventually, you will learn how well a face looks when faced directly at the light or away from it. You'll learn how to compose a scene to hide or use a natural background to emphasize your subjects.
Like I tell my daughter and I'll be telling my son, it's all the practice that'll make you a master at whatever you're setting your energy on.
Thank you so much for listening.
Don’t forget to keep creating, stay humble, and enjoy the journey. Catch you later.
The Richard J Nieves Photography Podcast Episode 21: Consider These Tips When Using On and Off Camera Flash At Weddings
One of the keys to fantastic wedding photography is the ability to use different forms of light to shape your photos in unique ways.
Today, we'll be discussing tips and suggestions for using on and off camera flash to make sure you get the shots that'll have your clients singing your praises.

Episode 21
Consider These Tips When Using On and Off Camera Flash At Weddings
In the last episode we talked about my lens recommendations for wedding photographers. Today, we'll talk about some of my favorite gear that's imperative to my wedding photography workflow.
KEH
20% off your first year of HoneyBook
Get 30% Off Your Annual Membership of Skillshare
Podcast Episodes on Apple Podcasts
Where I get my music for the podcast
Please follow me on Instagram @rich_photog, that r-i-c-h-underscore-p-h-o-t-o-g
If you’d like to schedule your next portrait session or give us the honor of photographing your wedding, visit my website www.richardjnphoto.com or email katherine@richardjnphoto.com where my partner will guide you along your journey with us.
Transcript
One of the keys to fantastic wedding photography is the ability to use different forms of light to shape your photos in unique ways.
Today, we'll be discussing tips and suggestions for using on and off camera flash to make sure you get the shots that'll have your clients singing your praises.
Welcome to the 21st episode of The Richard J Nieves Photography Podcast!
I’m Richard J Nieves, published portrait and wedding photographer, and owner of Richard J Nieves Photography located in New York City.
The first bit of advice I'd like to give is to not aim your on-camera flash directly at your subject, unless it's a stylistic choice.
When you aim your on-camera flash without any form of diffusion directly at your subject, you're going to put hard, direct light on them that isn't very flattering to most people. The highlights may get blown out and you'll have an unusable image.
Instead, aim your flash at a wall behind you or a ceiling to bounce the light which will evenly spread and diffuse the light source, thus creating a better image.
My second tip is to build the wherewithal to know when it’s OK and when it’s not OK to use on and off-camera flash.
I recently photographed a birthday where there wasn’t a lot of ambient light to go around. I definitely needed my on-camera flash in order to properly expose the moments that I knew would matter most to my client. However, most of the time I was shooting at a fairly high ISO without flash.
Moments when the client was in focus and had all the attention on them or when a performer was working, those are the moments where I decided to use my flash.
I made the judgment to not interfere with the experience of the guests by having a flash constantly go off in their faces so that I can get a proper exposure.
Knowing my cameras strengths and limitations with ISO, I was able to get photos that mattered to my client without having to use flash. I’d let them know before I sent the gallery that I made this judgment. They appreciated it so much that I was forthright with them and I was still able to provide what they were looking for from my services.
As I just mentioned, the next nugget of advice is to know your hardware like the back of your hand.
I recently got some side work recording video introductions for therapists to their clients. For this, I had to pickup a field recorder. Besides my Rodecaster Pro which I use to record this, I haven't had much experience with recorders like the Zoom H5 I purchased.
As soon as I got home, I tested out the hardware. I made sure I knew exactly how to use the device for my needs.
Now if I hadn't practiced with the unit before going on the job, my performance would have been terrible and sloppy. I would have been wasting my client's time while I figured out my new hardware. That's one of the biggest mistakes you can make as a photographer or anybody in the customer service field; wasting your clients time.
Next, Don’t overdue it. Know when enough is enough. Setting up too many flashes may end up being a detriment to you. You run the risk of ruining the experience for your clients and their guests by flooding their field of view with flashes. I understand you want to make sure you light the moments that you know matter most to your clients, but their experience trumps a perfectly lit photo of a speaker making a toasting.
Before we get to the final tip, please follow me on Instagram @rich_photog, that r-i-c-h-underscore-p-h-o-t-o-g
If you’d like to schedule your next portrait session or give us the honor of photographing your wedding, visit my website www.richardjnphoto.com or email katherine@richardjnphoto.com where my partner, and my soon to be wife, will guide you along your journey with us.
I'm so excited about that little tidbit, I just want to tell everyone.
Lastly, it would mean a lot if you left a 5 star review on Apple Podcasts to support what we're doing here on the podcast and get it out to more photographers who may benefit from this information. Let's get back to the show.
...
The final tip I’d like to share is it’s okay to use TTL. Most modern speed lights have TTL capabilities.
For anyone who is not sure what TTL is, essentially it is a setting that allows your speed light to communicate with your camera and base your exposure off their combined measuring of ambient light. Essentially, it's automating another part of your photography workflow.
It is a tool for you to use to quickly get a proper exposure. There should be no shame in using the tools that you have in your kit to get the shot for your client. Just because you don’t want to constantly re-configure your settings doesn’t make you any less of a photographer than someone who does.
For this event that I previously mentioned, most of the time, I was shooting with TTL. My camera settings, for the most part, were at 1/160th shutter speed and f/2.8. My ISO hovered between 1000 and 8000. I didn’t want to keep adjusting my power setting every time I changed my ISO. I’d lose moments I couldn’t get back if I kept putting my brain power to adjusting settings over finding the memories.
Quick disclaimer; don't take this advice and think you shouldn't learn how to control your light source. Use TTL when it's appropriate, but know when to take control when you have to. TTL will be incredibly helpful in moments when exposure consistency that you get from. manually controlling your light output is trumped by the moment needing to be photographed quickly.
To reiterate,
Aim your flash away from your clients.
Build the ability to judge whether you actually need flash or not.
Know your gear before you work with it.
Don't overuse flash.
Finally, Consider using TTL.
I'll include links to my preferred flash gear for weddings in the show notes. If you're interested, I'll cover them in depth in a further episode. Please let me know if thats something you want to hear in the blog post for this episode over on www.richardjnphoto.com/blog
Thank you so much for listening.
Don’t forget to keep creating, stay humble, and enjoy the journey. Catch you later.
The Richard J Nieves Photography Podcast Episode 20: Gear Suggestions for Weddings
In the last episode we talked about my lens recommendations for wedding photographers. Today, we'll talk about some of my favorite gear that's imperative to my wedding photography workflow.

Episode 20
Gear Suggestions for Weddings
In the last episode we talked about my lens recommendations for wedding photographers. Today, we'll talk about some of my favorite gear that's imperative to my wedding photography workflow.
KEH
20% off your first year of HoneyBook
Get 30% Off Your Annual Membership of Skillshare
Podcast Episodes on Apple Podcasts
Where I get my music for the podcast
Nikon S Series 20mm 1.8, 24mm 1.8, 35mm 1.8, 50mm 1.8, 85mm 1.8, 24-70mm 2.8, 70-200mm 2.8
DP Review’s Mount-Specific Lens Purchasing Guides
Items I Discussed In This Episode.
Links listed are affiliate links and I may receive a payment for each purchase made using these links.
Holdfast Moneymaker
Gnarbox 2.0 SSD
Peak Design Sling V2, 6L
Please follow me on Instagram @rich_photog, that r-i-c-h-underscore-p-h-o-t-o-g
If you’d like to schedule your next portrait session or give us the honor of photographing your wedding, visit my website www.richardjnphoto.com or email katherine@richardjnphoto.com where my partner will guide you along your journey with us.
Transcript
My first piece of kit I'd like to share is a gift I got last christmas. The Holdfast Moneymaker.
As a wedding photographer, you'll want to make sure you have a backup camera. In some cases, you'll want a backup for your backup. For me, since I shoot with prime lenses, I'll have one camera body with a wide lens and another with a tighter focal length. The Holdfast Moneymaker is a harness I wear that'll allow me to have those two cameras at my side at all times so i can swap between the two at a moments notice.
The second is the Gnarbox 2.0 SSD. This portable hard drive is special because I can backup to it while I'm working. It has an integrated SD card slot and a female USB-C slot so I can backup my photos during the wedding day quickly and discreetly, vs. having to pull out a laptop and sit somewhere, meddle with files and miss fleeting moments.
Next up is the Peak Design sling. I have the first generation in 5L. It is so handy when I need to carry extra lenses, a flash unit, extra batteries or memory cards. It's light weight and fits my frame well. It's easy to get what I need quickly and get back to shooting.
The last bit I'll share is a small LED light panel. I use the Aputure MC. A small LED which is not only bi-color, but it can also span the color spectrum. I can add a hint of color to my portraits to make them interesting if the moment is suitable for it. I absolutely love how portable and powerful this little light is. When I'm shooting short videos during the wedding day, i may use this for some fill light as needed.
Thank you so much for listening. I hope you find these suggestions helpful in building your wedding photography kit.
Don’t forget to keep creating, stay humble, and enjoy the journey. Catch you later.
The Richard J Nieves Photography Podcast Episode 19: Wedding/Event Lens Suggestions
If you're a new photographer, you may be thrown by the choices of lenses out there for you to use. If you're aiming to be a wedding photographer, this episode will be advantageous for you because we'll be discussing lens suggestions for weddings and events.

Episode 19
Wedding/Event Lens Suggestions
If you're a new photographer, you may be thrown by the choices of lenses out there for you to use. If you're aiming to be a wedding photographer, this episode will be advantageous for you because we'll be discussing lens suggestions for weddings and events.
KEH
20% off your first year of HoneyBook
Get 30% Off Your Annual Membership of Skillshare
Podcast Episodes on Apple Podcasts
Where I get my music for the podcast
Nikon S Series 20mm 1.8, 24mm 1.8, 35mm 1.8, 50mm 1.8, 85mm 1.8, 24-70mm 2.8, 70-200mm 2.8
DP Review’s Mount-Specific Lens Purchasing Guides
Please follow me on Instagram @rich_photog, that r-i-c-h-underscore-p-h-o-t-o-g
If you’d like to schedule your next portrait session or give us the honor of photographing your wedding, visit my website www.richardjnphoto.com or email katherine@richardjnphoto.com where my partner will guide you along your journey with us.
Transcript
Welcome to the 19th episode of The Richard J Nieves Photography Podcast!
I’m Richard J Nieves, portrait and wedding photographer, and owner of Richard J Nieves Photography located in The Bronx in New York City.
We'll start with the widest focal length, and move into the tightest. I also am an advocate for prime lenses because of the image quality you'll get from a fixed perspective. However, I will also suggest some zooms at the end.
Most of my suggestions will have f-stops of 1.8. 1.8 primes tend to be much more affordable than their 1.4 and 1.2 counterparts. The wide open depth of field is also a great creative choice like 1.4 or 1.2. The differences in aperture, to me, are minimal.
My first suggestion is a 20mm 1.8. That's wide enough to capture family photos and groups. You'll be able to photograph story and context with wider lenses. Shots of venues and other locations during the wedding day will require a lens this wide. You can also use a 24mm, which will have less distortion, but you'll have to step back if you need the wider view.
My next suggestion is a 50mm 1.8. Known in our industry as a "nifty fifty," it is a fantastic focal length for portraits and story telling. With most 50mm lenses having minimal distortion, you can easily use this to photograph scenery, your clients and their guests while still giving them room to breath. A 35mm is also a good choice, but, for me, it's still a little too wide for most portraits i'd like to take and not wide enough for scenery. But again, that's my opinion and it may suit your style of photography.
Before we get to my last suggestion, please do me a huge favor by following me on Instagram @rich_photog, that r-i-c-h-underscore-p-h-o-t-o-g
If you’d like to schedule your next portrait session or give us the honor of photographing your wedding, visit my website www.richardjnphoto.com or email katherine@richardjnphoto.com where my partner will guide you along your journey with us.
Lastly, it would mean a lot if you left a 5 star review on Apple Podcasts to support what we're doing here on the podcast and get it out to more photographers who may benefit from this information. Let's get back to the show.
Alongside those is the 85mm 1.8. My go to for portraits. This lenses focal length compresses and renders photos so beautifully, my clients end up loving the look it provides. You can capture candid moments while giving those moments space to happen.
Now if you'd prefer having one lens with which you can have the convenience of zooming in or out, I'd recommend the 24-70 2.8 and 70-200 2.8 lenses. They'll cover the ranges I just discussed while allowing you to not have to worry about constant movement and lens switching.
I'm not suggesting you get these to be lazy during your work, but rather to minimize the amount of lenses you're carrying, to save time when having to switch lenses when the moments calls for a wider focal length over a tighter one, and for situations when you can't get very close to your subject like during a ceremony or a speech.
I'll leave links to suggested lenses for most camera systems and to some of my favorite lenses for the Nikon Z6 in the show notes.
Thank you so much for listening to my wedding photography lens suggestions. I hope you find some value in these suggestions, and if you do get any of these lenses, I hope they serve you well.
Don’t forget to keep creating, stay humble, and enjoy the journey. Catch you later.
The Richard J Nieves Photography Podcast Episode 18: Buying Used Gear
When you’re just starting your photography business and your funds are limited, you may have to consider buying second hand gear. That’s not always so bad. That may even be one of the best things you can do for your business.

Episode 18
Buying Used Gear
When you’re just starting your photography business and your funds are limited, you may have to consider buying second hand gear. That’s not always so bad. That may even be one of the best things you can do for your business.
KEH
20% off your first year of HoneyBook
Get 30% Off Your Annual Membership of Skillshare
Podcast Episodes on Apple Podcasts
Where I get my music for the podcast
Please follow me on Instagram @rich_photog, that r-i-c-h-underscore-p-h-o-t-o-g
If you’d like to schedule your next portrait session or give us the honor of photographing your wedding, visit my website www.richardjnphoto.com or email katherine@richardjnphoto.com where my partner will guide you along your journey with us.
Transcript
Welcome to the 18th episode of The Richard J Nieves Photography Podcast!
I’m Richard J Nieves, portrait and wedding photographer, and owner of Richard J Nieves Photography located in The Bronx in New York City.
Photography gear is incredibly expensive. There’s no doubt about that. So whenever I can get my hands on a photography related item I’ve been coveting used at a great discount, I’m on it like a glass of water in the dessert and I’ve been thirsty for days.
When buying used, you can find some incredible bargains. You can find items with minor cosmetic damage, but for the most part the equipment works in perfect condition.
Most of the time, people are upgrading or switching to something new. The items could be good as new.
When buying used, vet the sellers if you’re using a site like Amazon or eBay. Read their seller reviews. Ask to try the item before you complete the purchase if you’re buying in person.
A website I recently found out about for quality, used photography gear has been KEH. They have great prices for used gear, and you can sell your used gear on there as well. They're not a sponsor, but I found them really handy for finding great prices on Nikon lenses.
I also find used gear on B&H photo video located in downtown Manhattan. They have great prices and friendly, knowledgable staff. They're also not a sponsor.
Be smart, trust your instincts, and with some luck you can find the gear you need to provide the best photography service without breaking the bank.
The Richard J Nieves Photography Podcast Episode 17: Back Up Your Back Ups
We’ve talked about camera storage back in episode 14. Now we're going to go through the process after you take your photos and get back to your computer. Getting them onto multiple storage devices so you can have backups on backups.

Episode 17
Back Up Your Back Ups
We’ve talked about camera storage back in episode 14. Now we're going to go through the process after you take your photos and get back to your computer. Getting them onto multiple storage devices so you can have backups on backups.
How to Move Your Lightroom Photos to an External Drive
Let's Talk About Backup for Photographers & Filmmakers
Wedding Photography: My Photo Backup Workflow
20% off your first year of HoneyBook
Get 30% Off Your Annual Membership of Skillshare
Podcast Episodes on Apple Podcasts
Where I get my music for the podcast
Please follow me on Instagram @rich_photog, that r-i-c-h-underscore-p-h-o-t-o-g
If you’d like to schedule your next portrait session or give us the honor of photographing your wedding, visit my website www.richardjnphoto.com or email katherine@richardjnphoto.com where my partner will guide you along your journey with us.
Transcript
Welcome to the 17th episode of The Richard J Nieves Photography Podcast!
I’m Richard J Nieves, portrait and wedding photographer, and owner of Richard J Nieves Photography located in The Bronx in New York City.
When I first started photography, I thought I lived in a world where nothing wrong could happen. I was exempt from software malfunctions. Then my Lightroom Catalogue, the file that contained all my cherished data in Lightroom, got corrupted and I failed to keep proper backups. Thousands of photos lost. I learned my lesson the hard way.
If you're just beginning your photography business, I implore you get some affordable solutions until you can afford higher end storage solutions.
<Honeybook Ad>
Honeybook is my CRM of choice for Richard J Nieves Photography because of its all in one design.
I can send proposals, contracts, and invoices all from within the app. I can even include email chat threads with my clients all from within Honeybook. It's a jam packed CRM solution for business owners.
Honeybook integrates with all the other apps in my workflow including Quickbooks and Zoom.
If you use the link in the show notes, you'll receive 20% off your first year of HoneyBook and you'll be supporting this show.
I hope you enjoy your first year of Honeybook,
Now let's get back to the show.
I recommend you purchase at least 2-3 affordable HDD external hard drives with lots of storage.
For under $100, you can get hard drives with terabytes of storage.
I also suggest you get an external SSD hard drive to work off of.
A good one will cost roughly $150-$200, but they're worth the cost.
When you're initially off-boarding your files from your camera's memory card, copy them, not move them, to one of your large hard drives. Those are your first copies.
After you've gone through those photos and chosen your favorites, copy those to your SSD. Those are your second copies.
The reason you want to work off of an SSD is because they typically have much faster read and write speeds compared to HDDs.
If you purchased more than one inexpensive second hard drive, copy all of your files to the second hard drive for redundancy. Those are your third copies.
I also recommend you spend $6 every month and pay for an online backup service like BackBlaze. They're not a sponsor, but I really love that, for an affordable rate, they'll backup whatever drives I ask of them. Those will be your 4th copies.
Backups will not only allow all the work you've done to not be in vein should you have a malfunction, but it allows you to have the peace of mind knowing your client's memories are in tact and always available.
There's better storage solutions available, but you're paying a high price for the technology and convenience for items such as hard drive enclosures featuring RAID arrays or NAS systems.
If you're just starting with a limited budget, this solution could hold you down until you can upgrade.
I'll leave links to my favorite YouTube videos featuring more in-depth solutions and recommendations for storage gear, I'll also include links to my favorite storage HDDs and SSDs in the show notes and blog post for this episode on www.richardjnphoto.com/blog.
If you have another way of managing photography storage, please leave a comment on the blog or on my instagram post for this episode. My username is rich_photog.
<Skillshare Ad>
Skillshare has been one of the best resources I have for learning everything from photography, videography, to writing and programing.
There's courses from everybody including lifestyle and productivity skills, graphic design, music production, entrepreneurship, and much more.
I used it to get a handle on Premiere Pro to edit my first short film.
Get 30% Off Your Annual Membership using the link in the show notes.
Search Posts
Post Archive
- Wedding Photography
- wedding planning
- photography
- podcast
- Wedding Videography
- Engagement Photography
- Engagement Session
- education
- Engagement Sessions
- wedding photography
- Weddings
- family photography
- Film Photography
- Wedding Planning Tips
- Portrait Photography
- Wedding Film
- Adventure
- Advice
- Bridal Style & Fashion
- Event Photography
- Help
- Suggestions
- Tips
- Wedding Inspiration
- birthday
- Bachelorette Party
- Backyard Celebrations\
- Birthday Photoshoot
- Boudoir Photography
- Bridal Boudoir Photos
- Bridal Party Inspiration
- Charity
- Donation
- Exploring
- Family Photos
- Groom & Groomsmen Inspira
- Jewish Wedding
- Jewish Wedding Traditions
- Korean Wedding
- Location
- NYC
- New Jersey Winter Wedding
- Personal
- Photography Adventures
- Real Weddings
- Travel Photography
- Unique Details
- Update
- Wedding Bouquets
- announcement
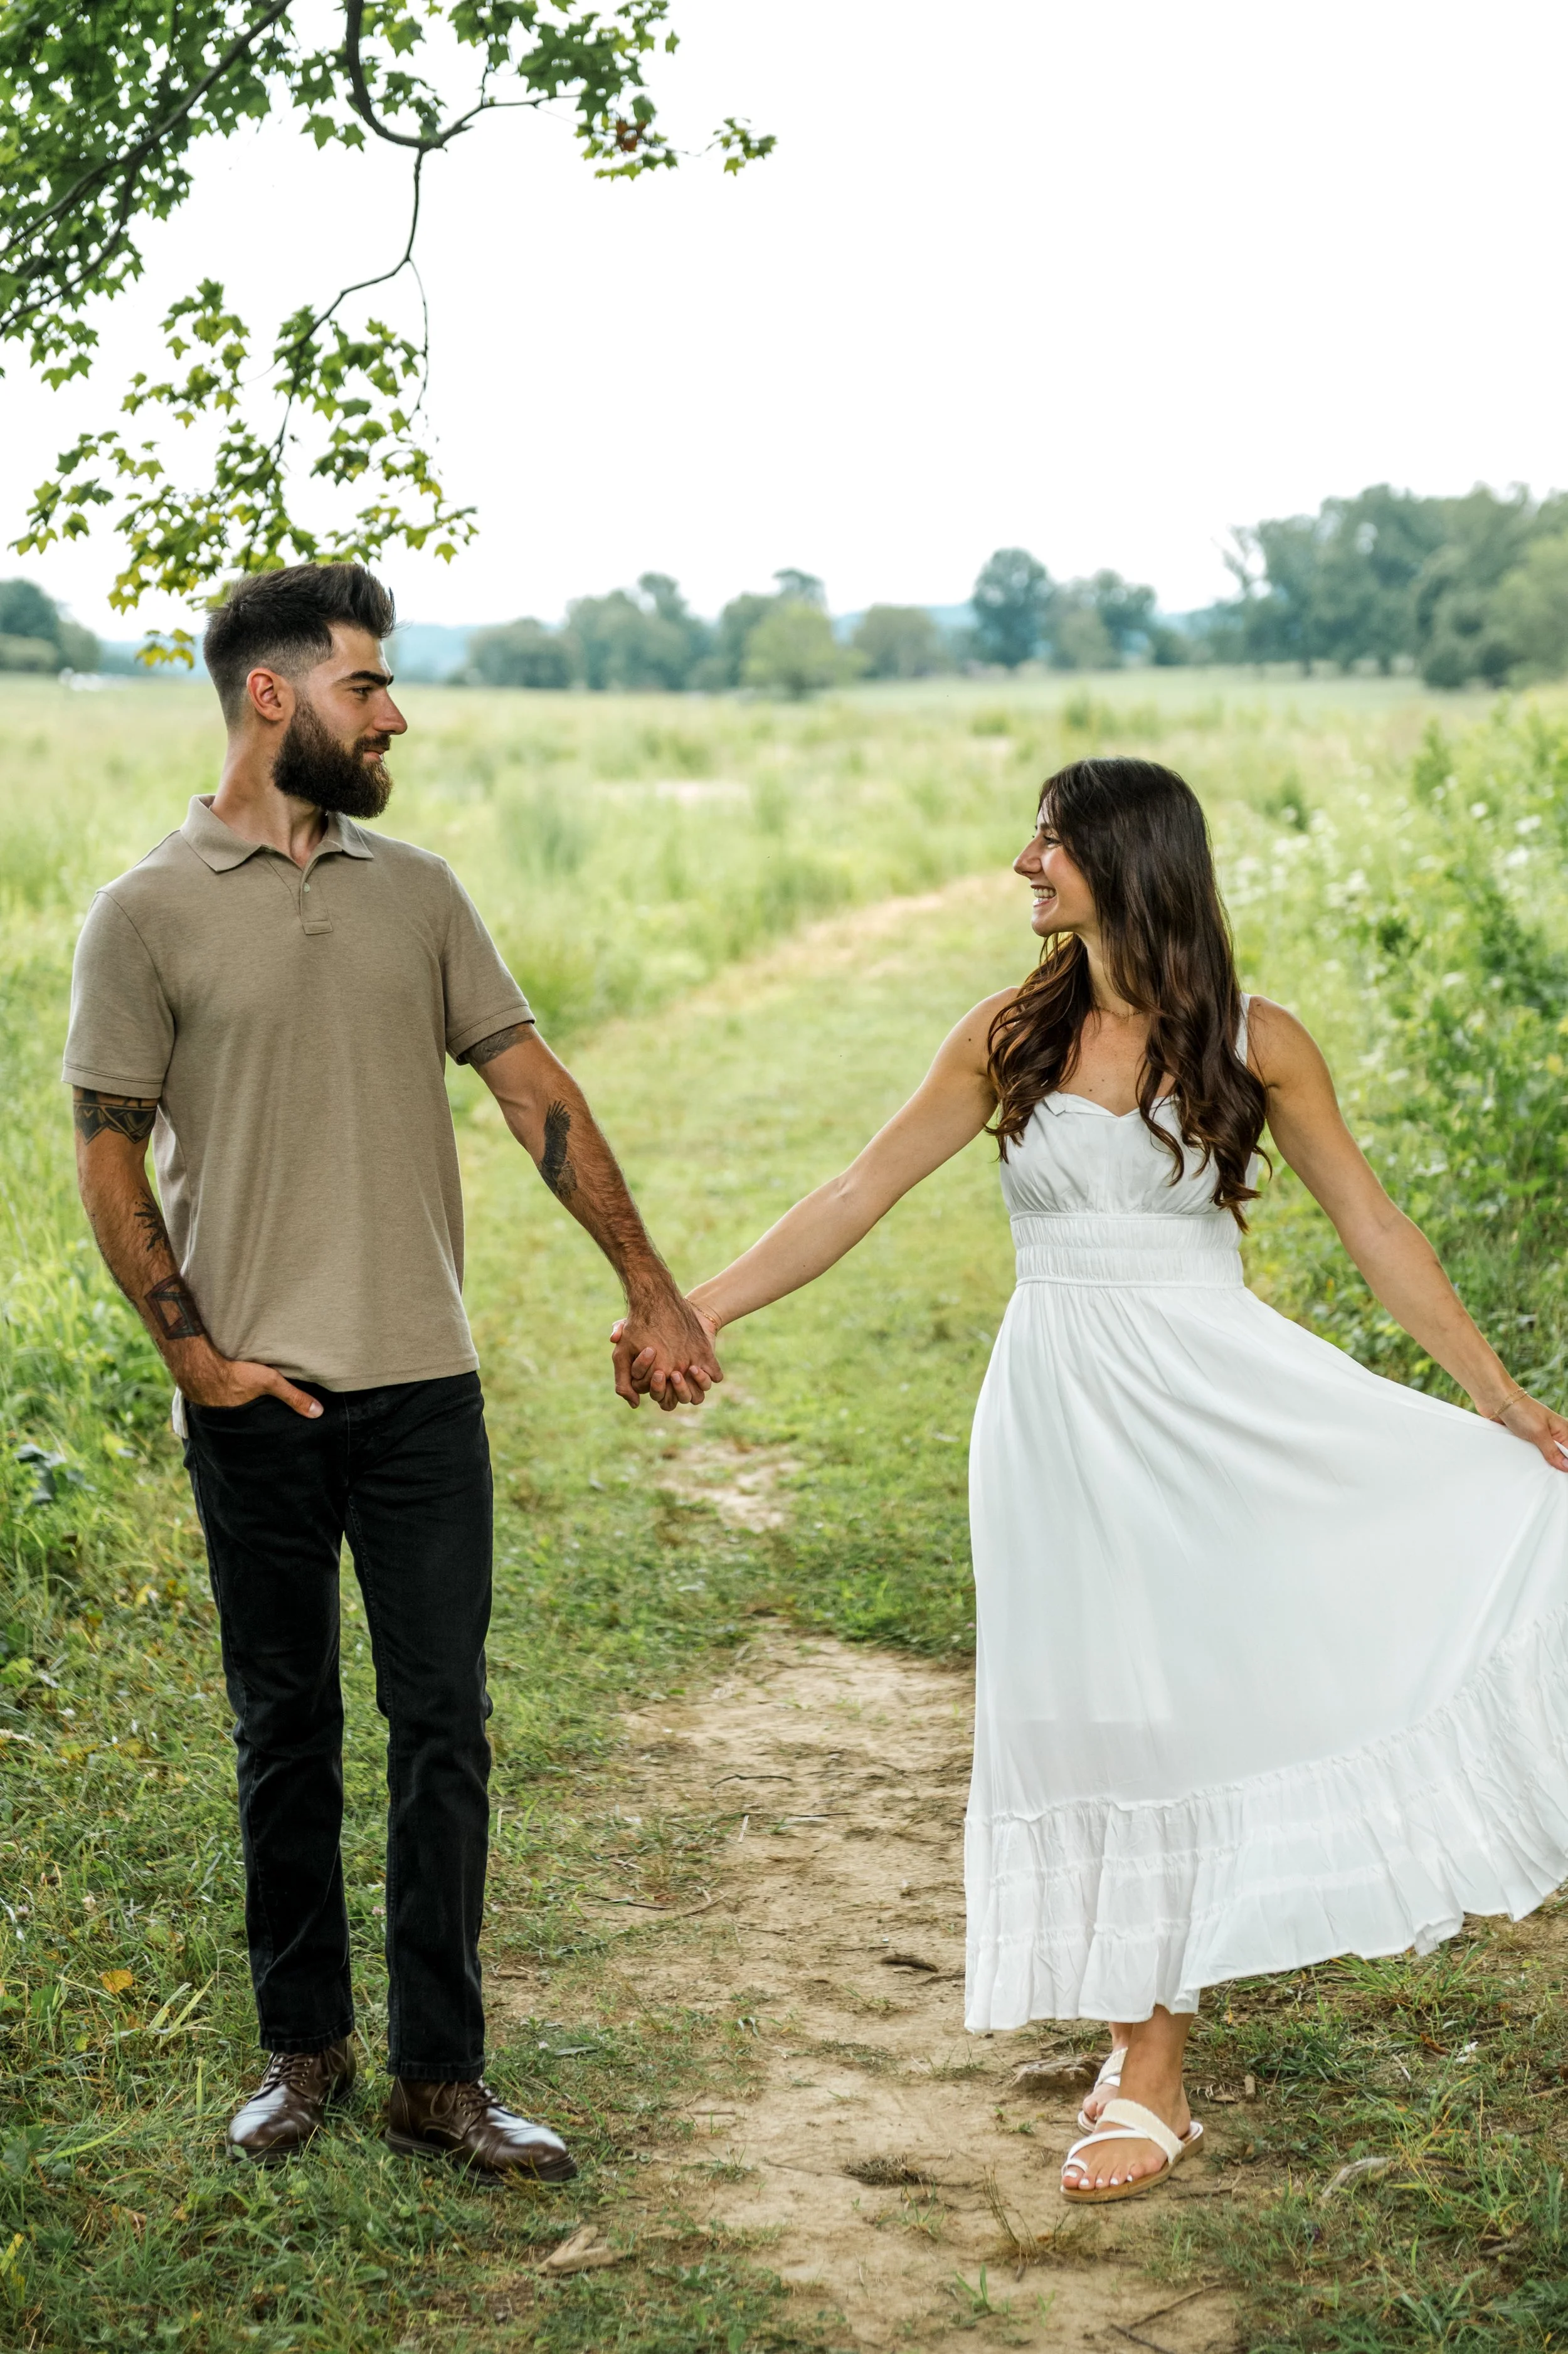
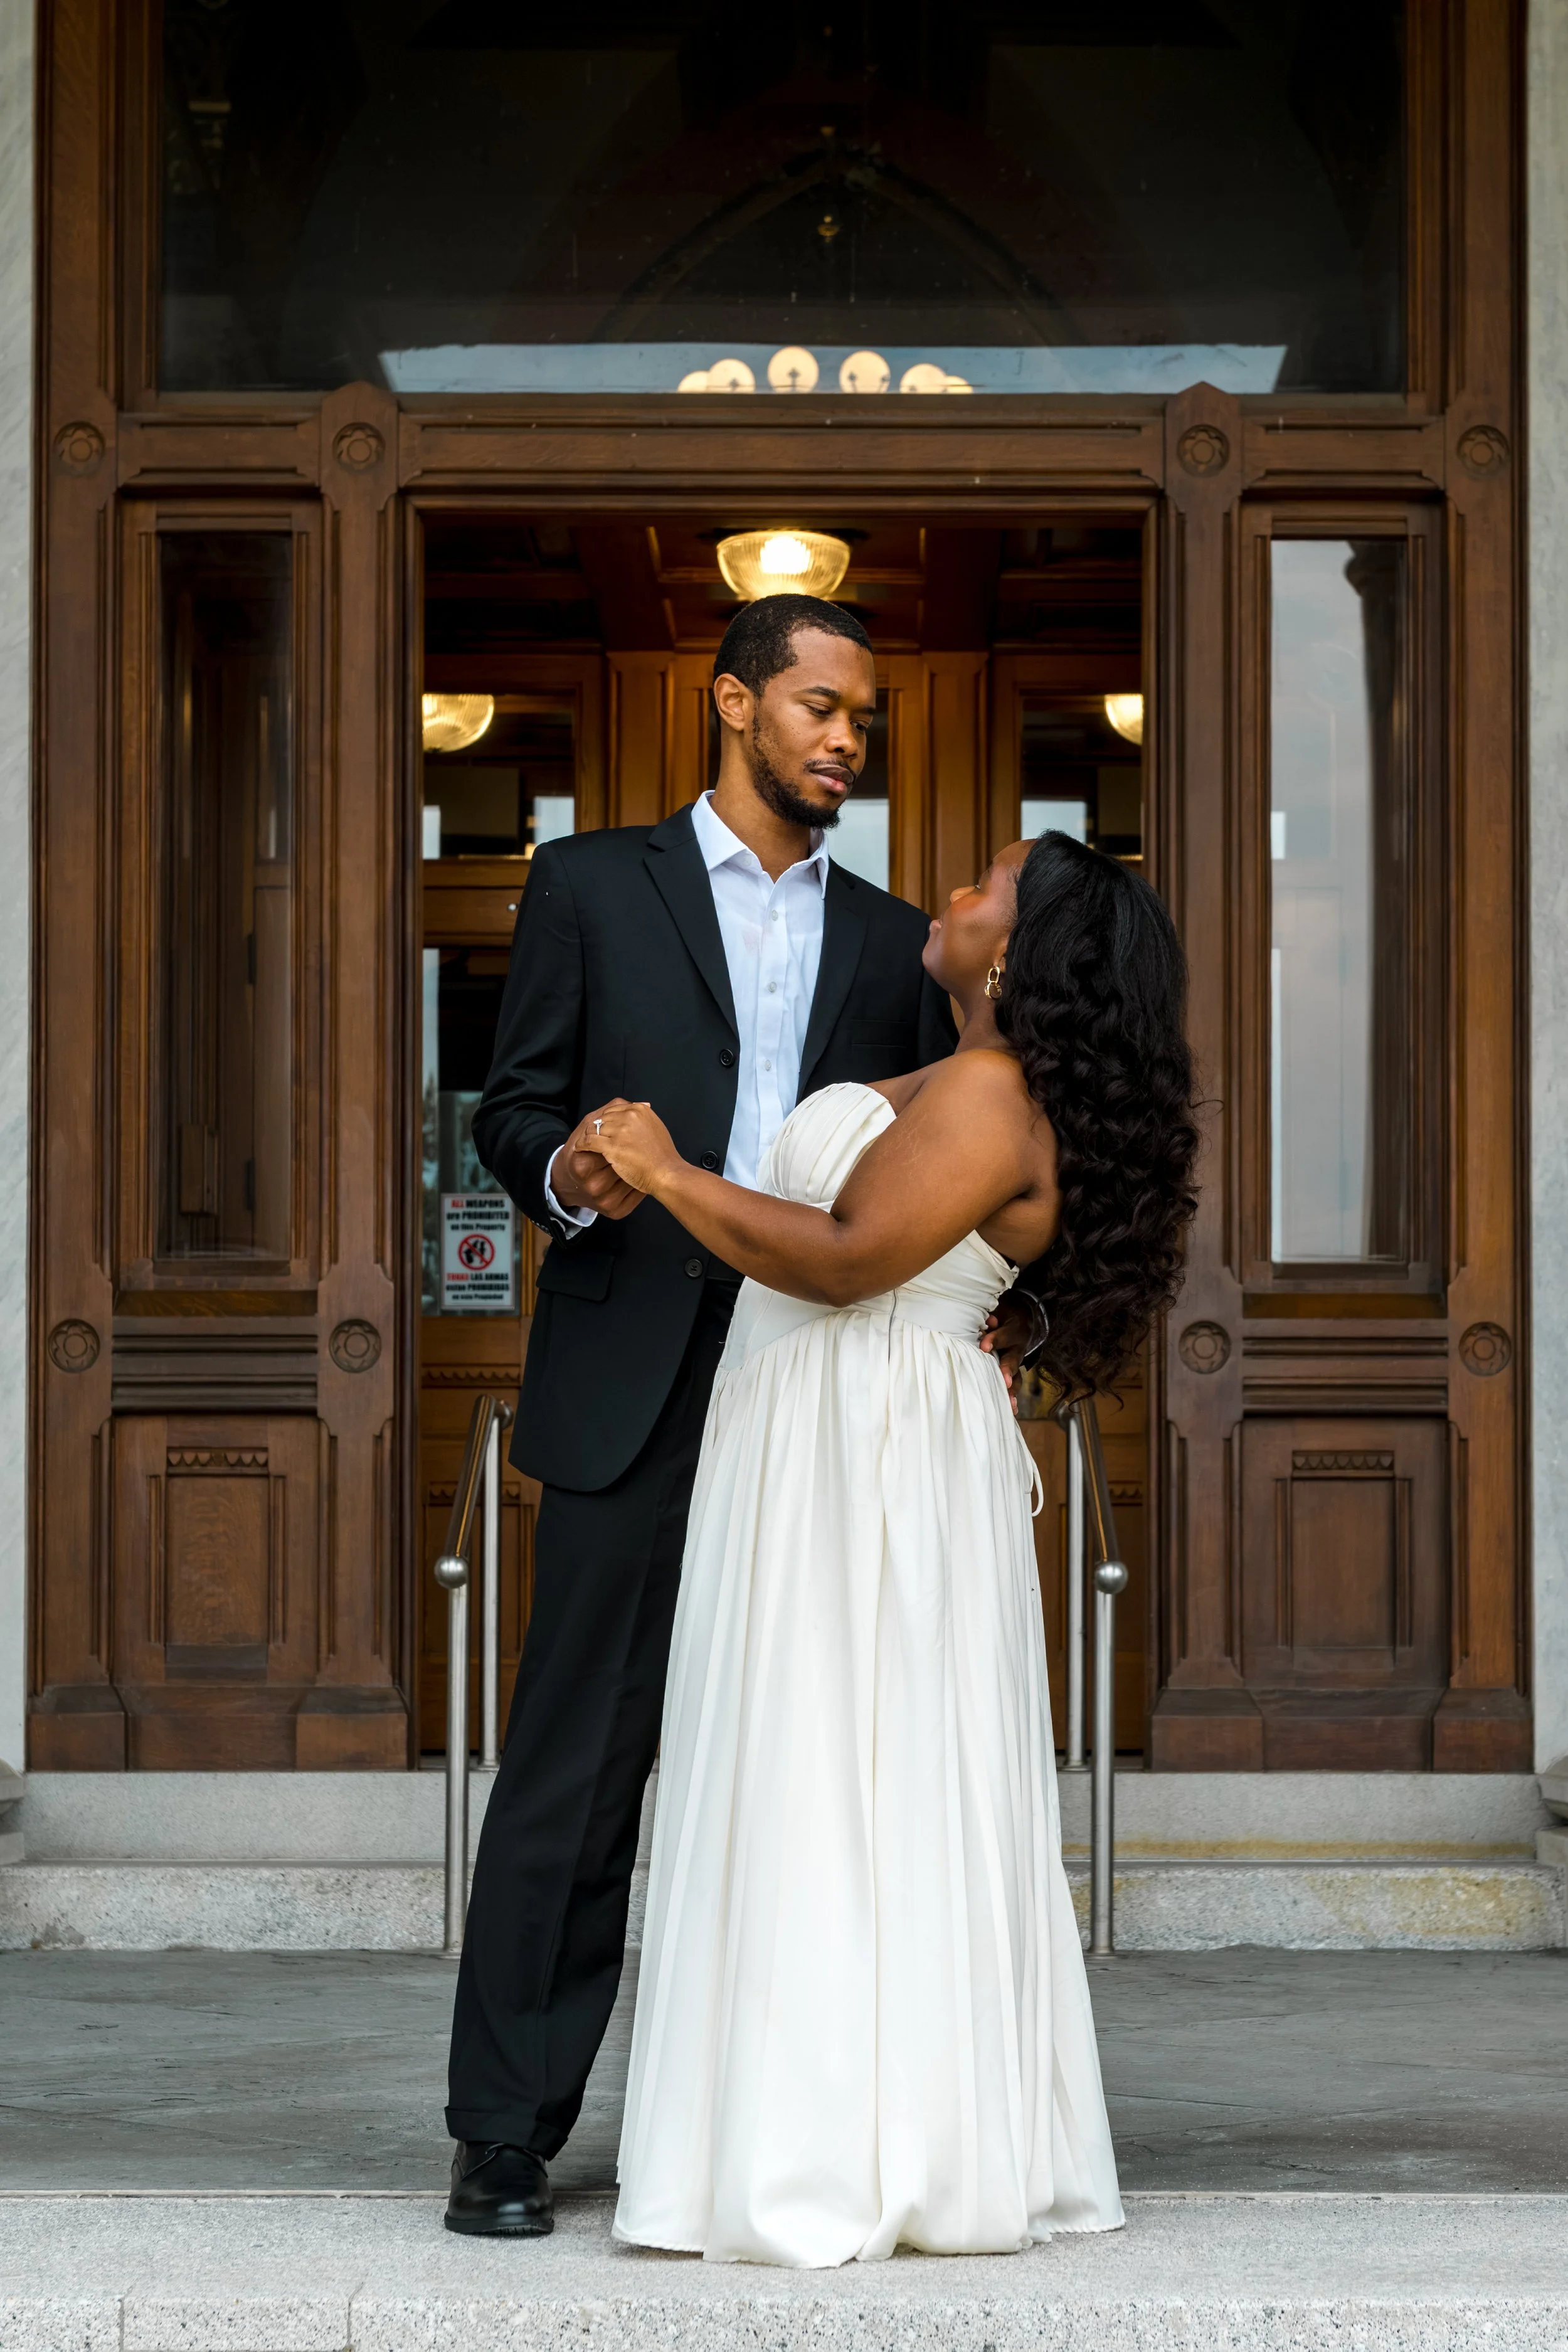
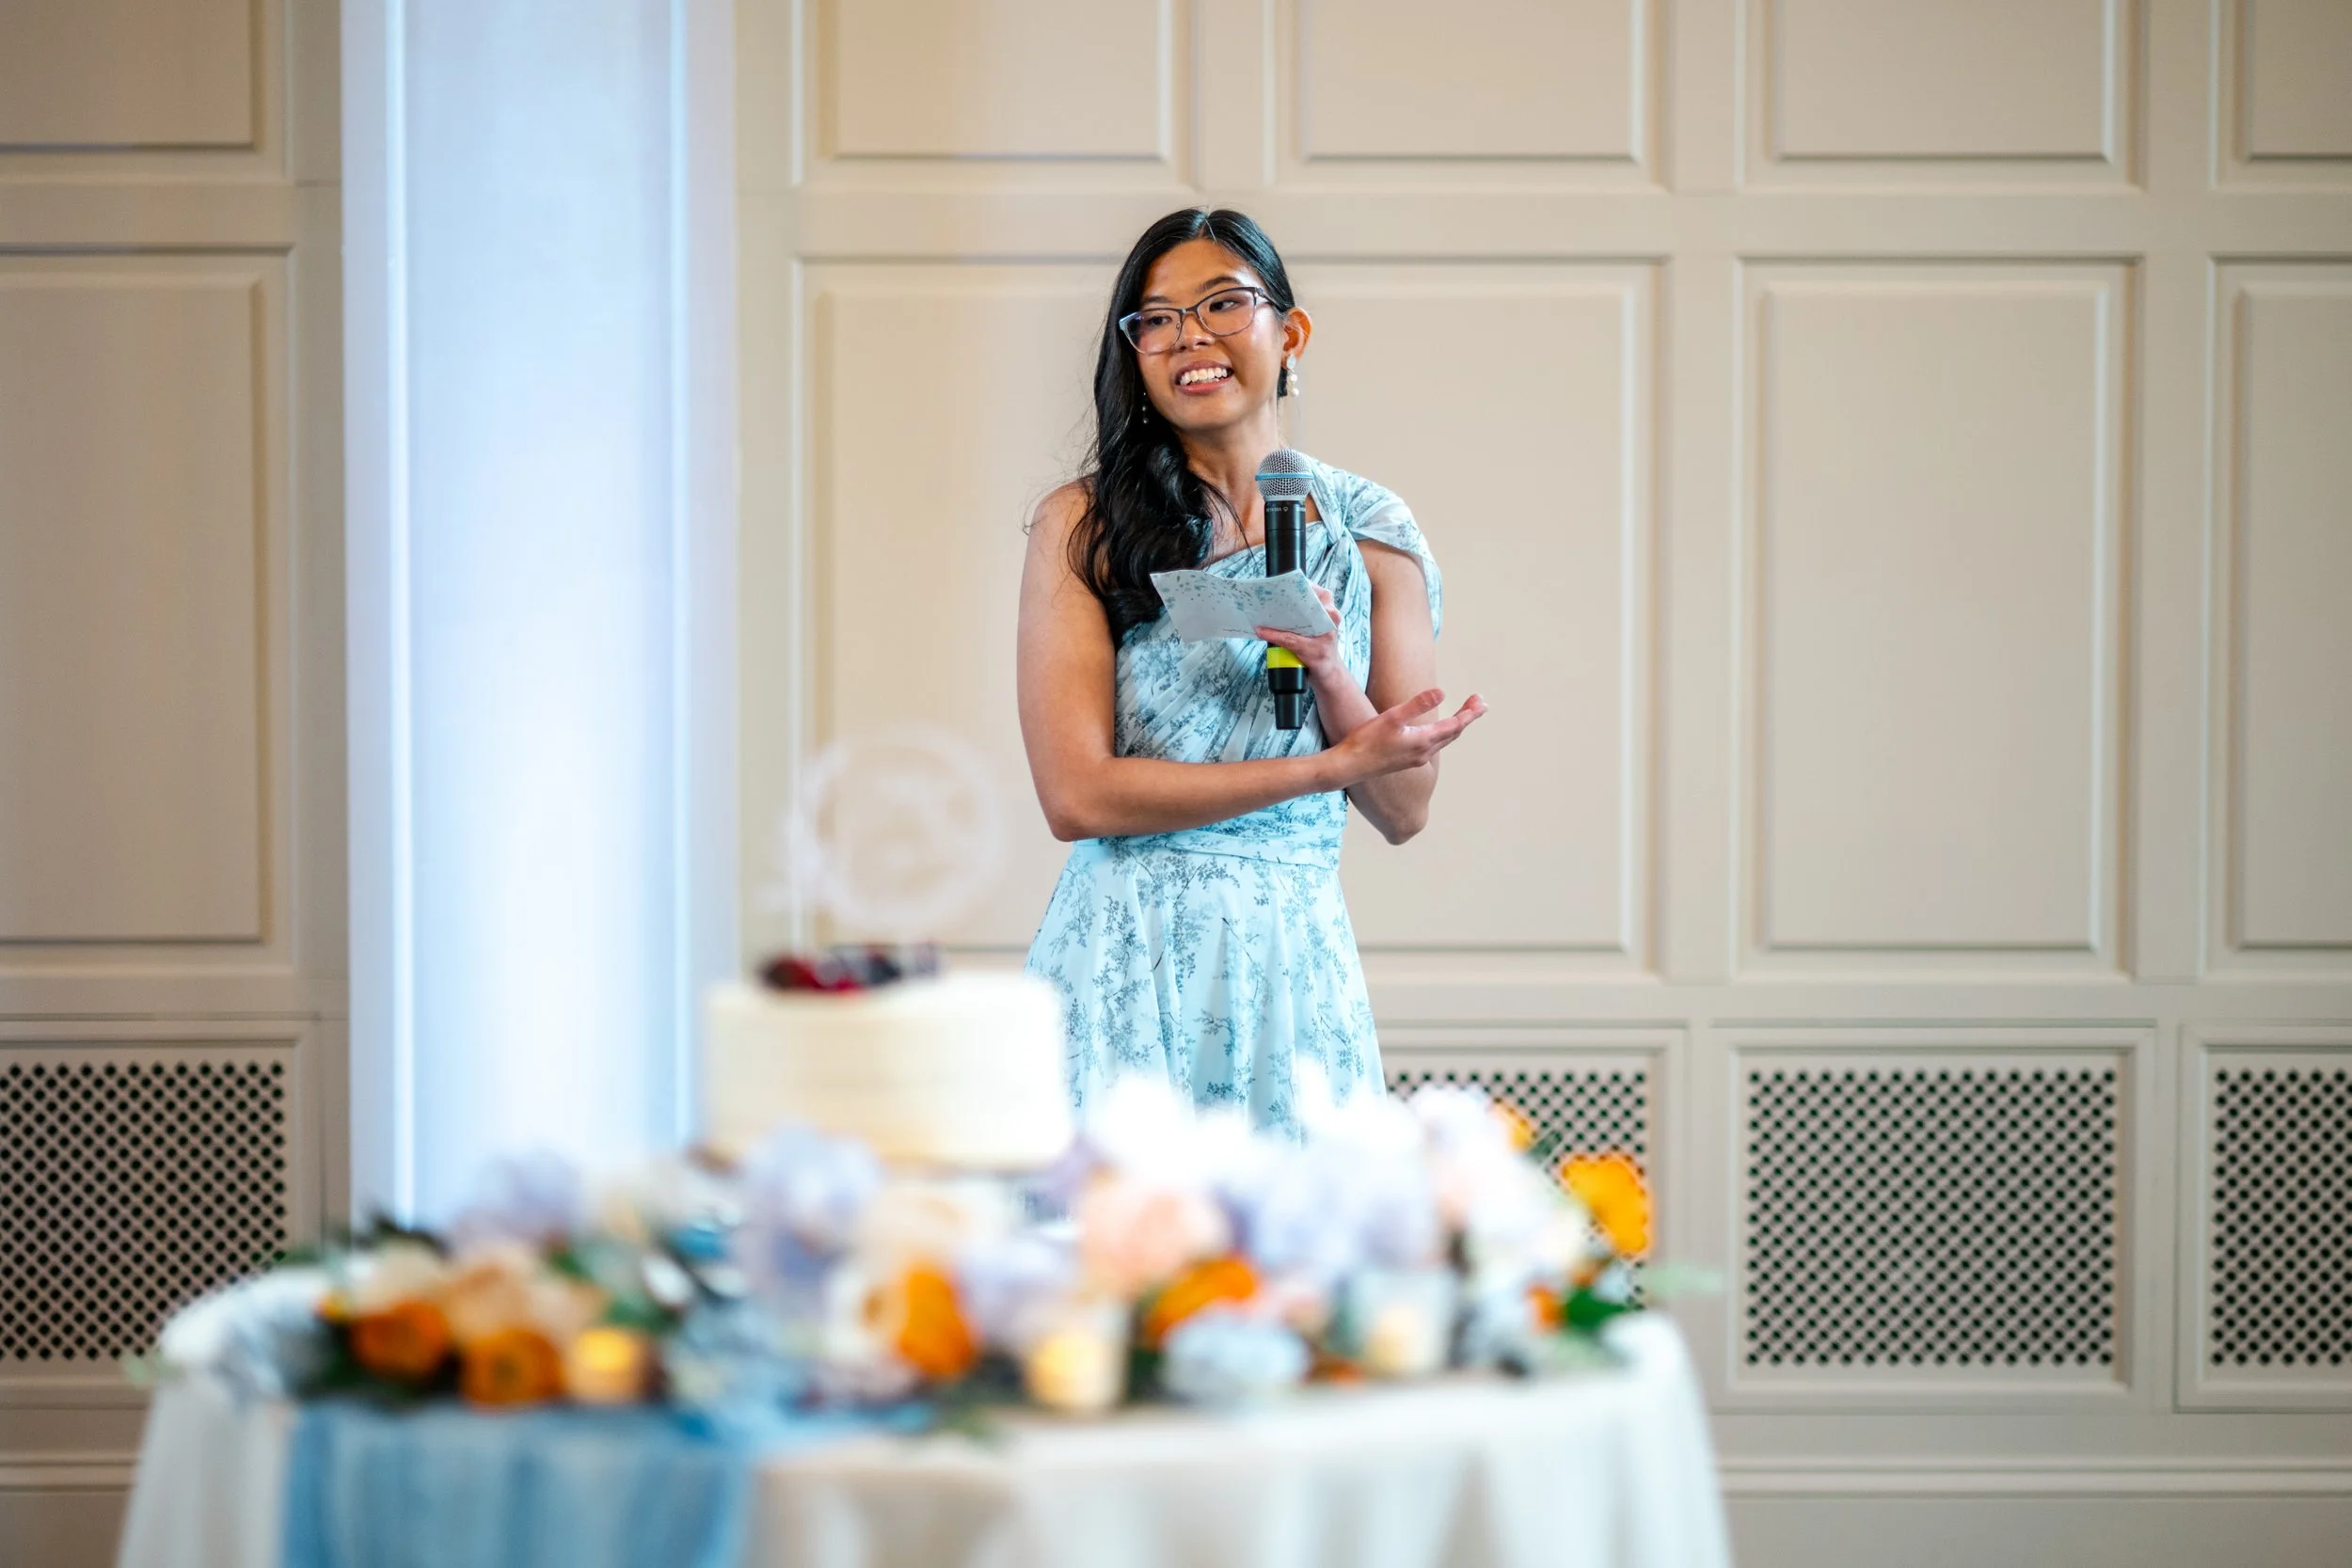
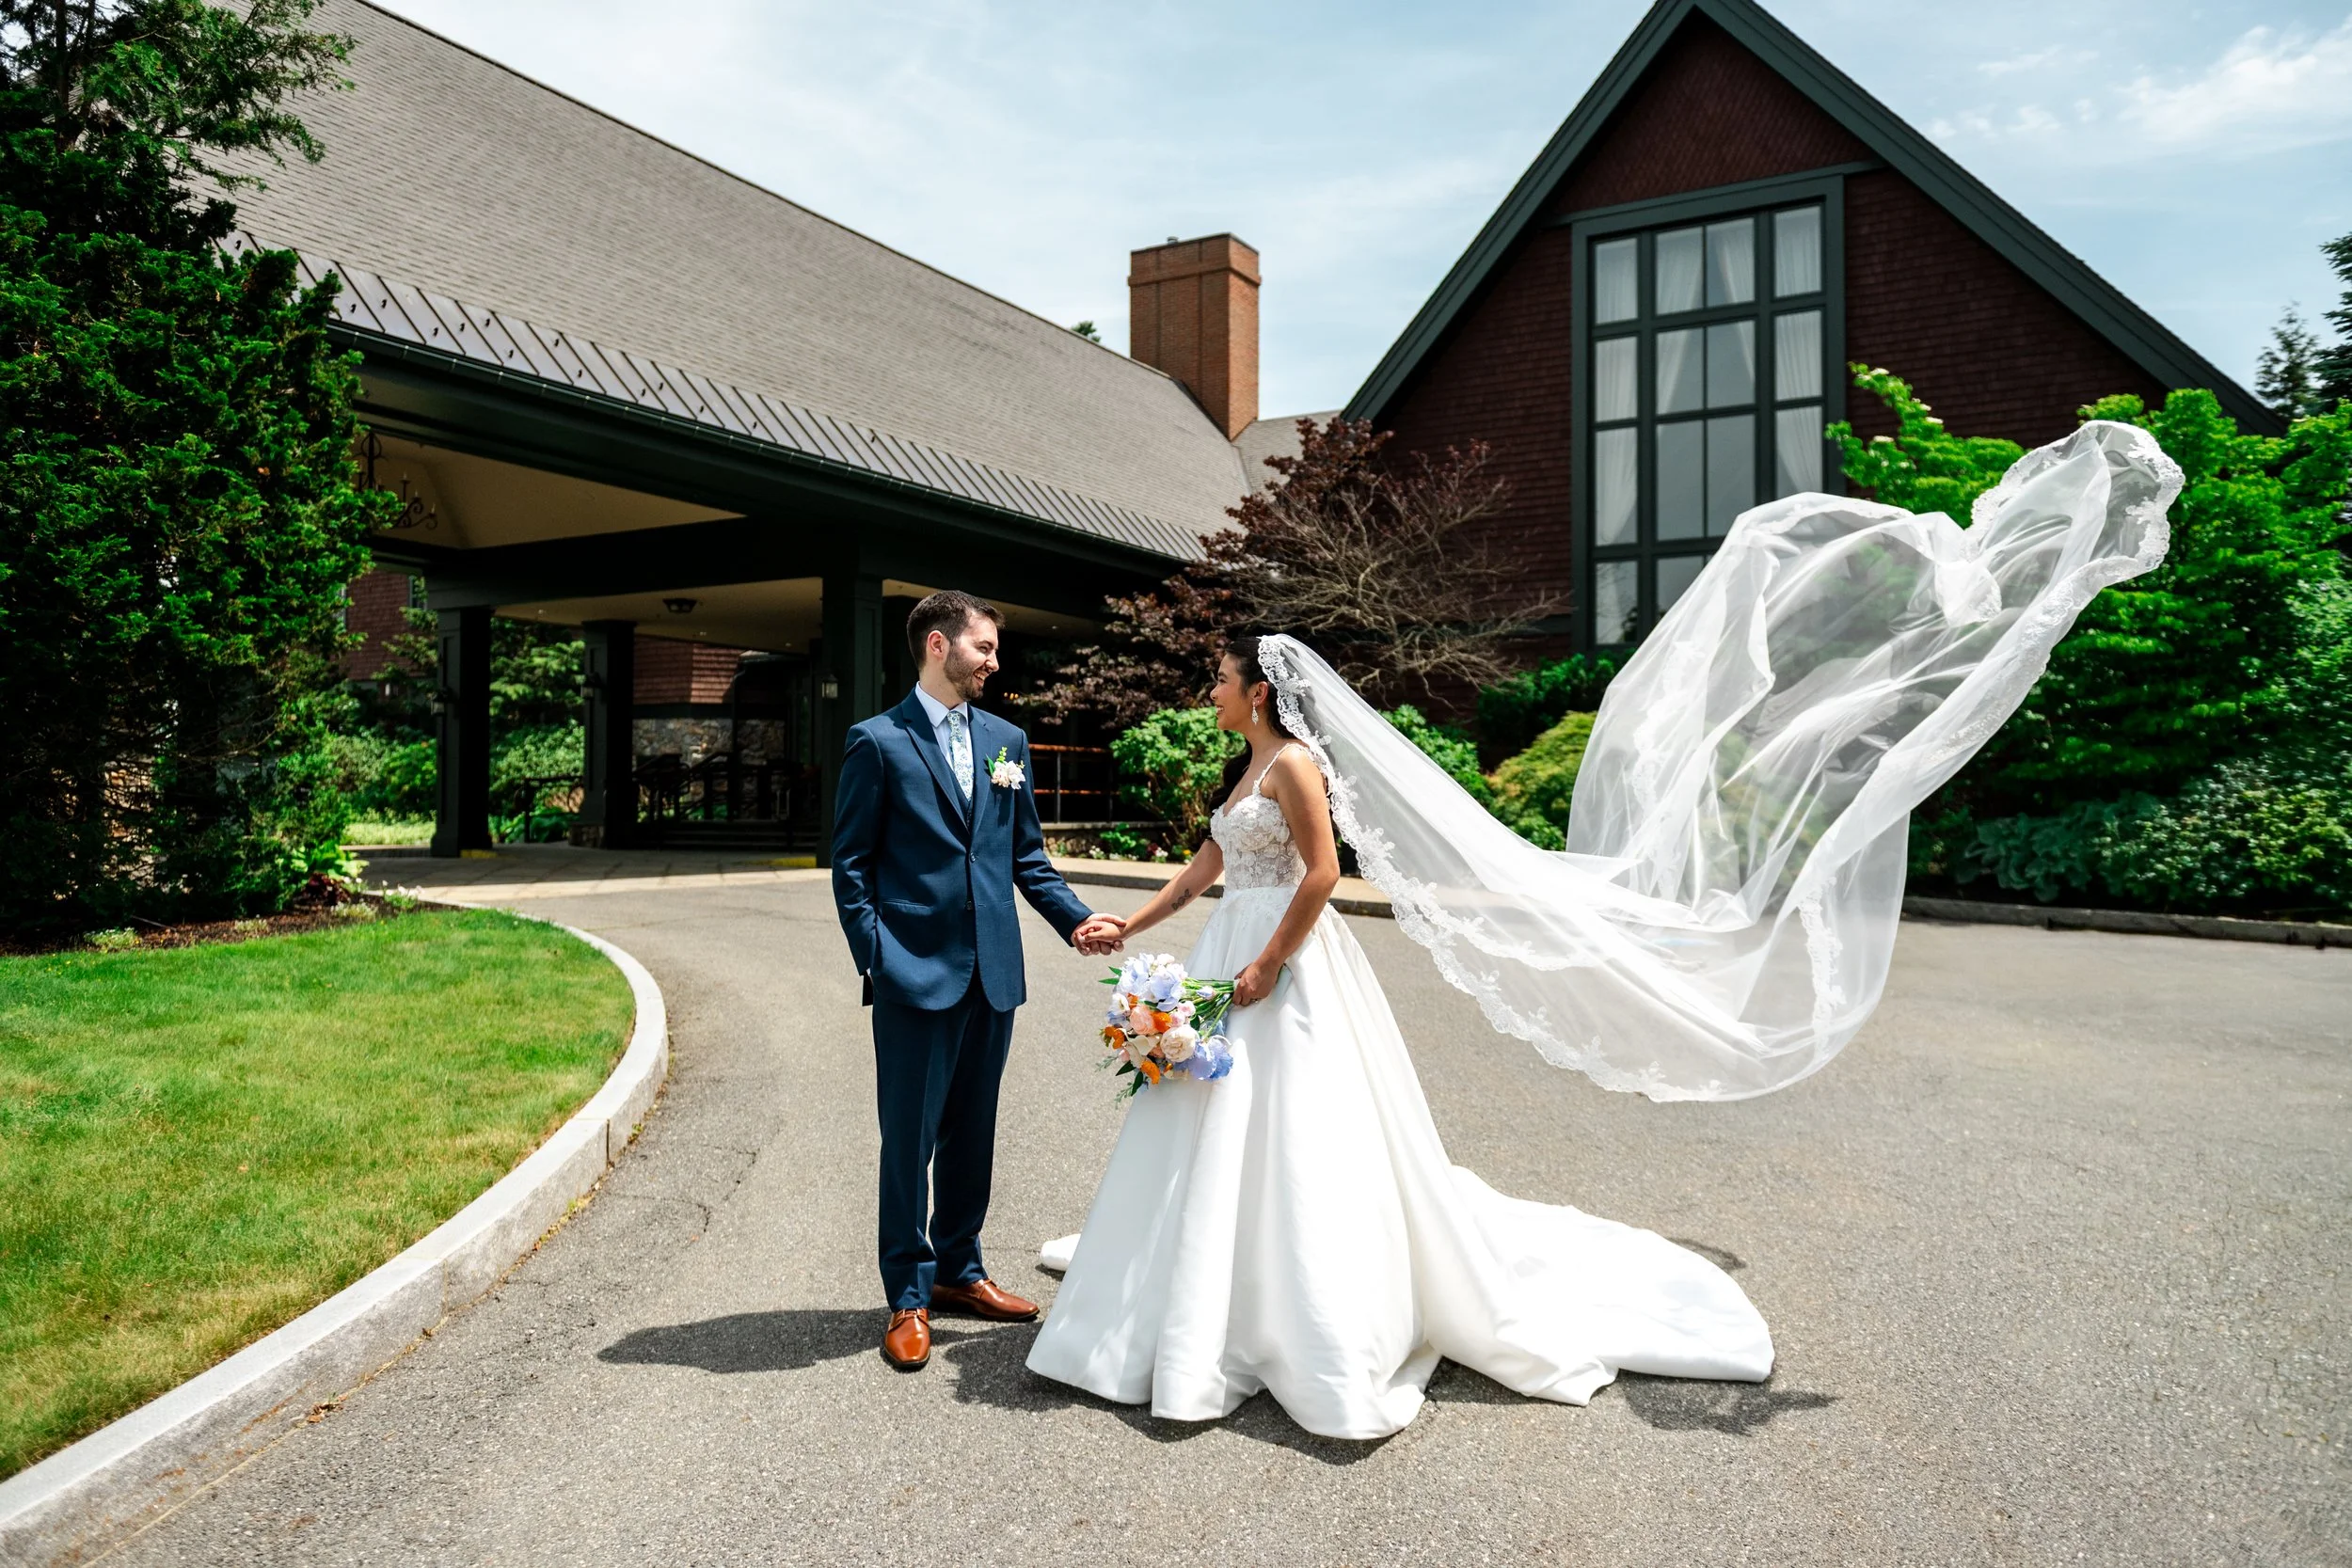
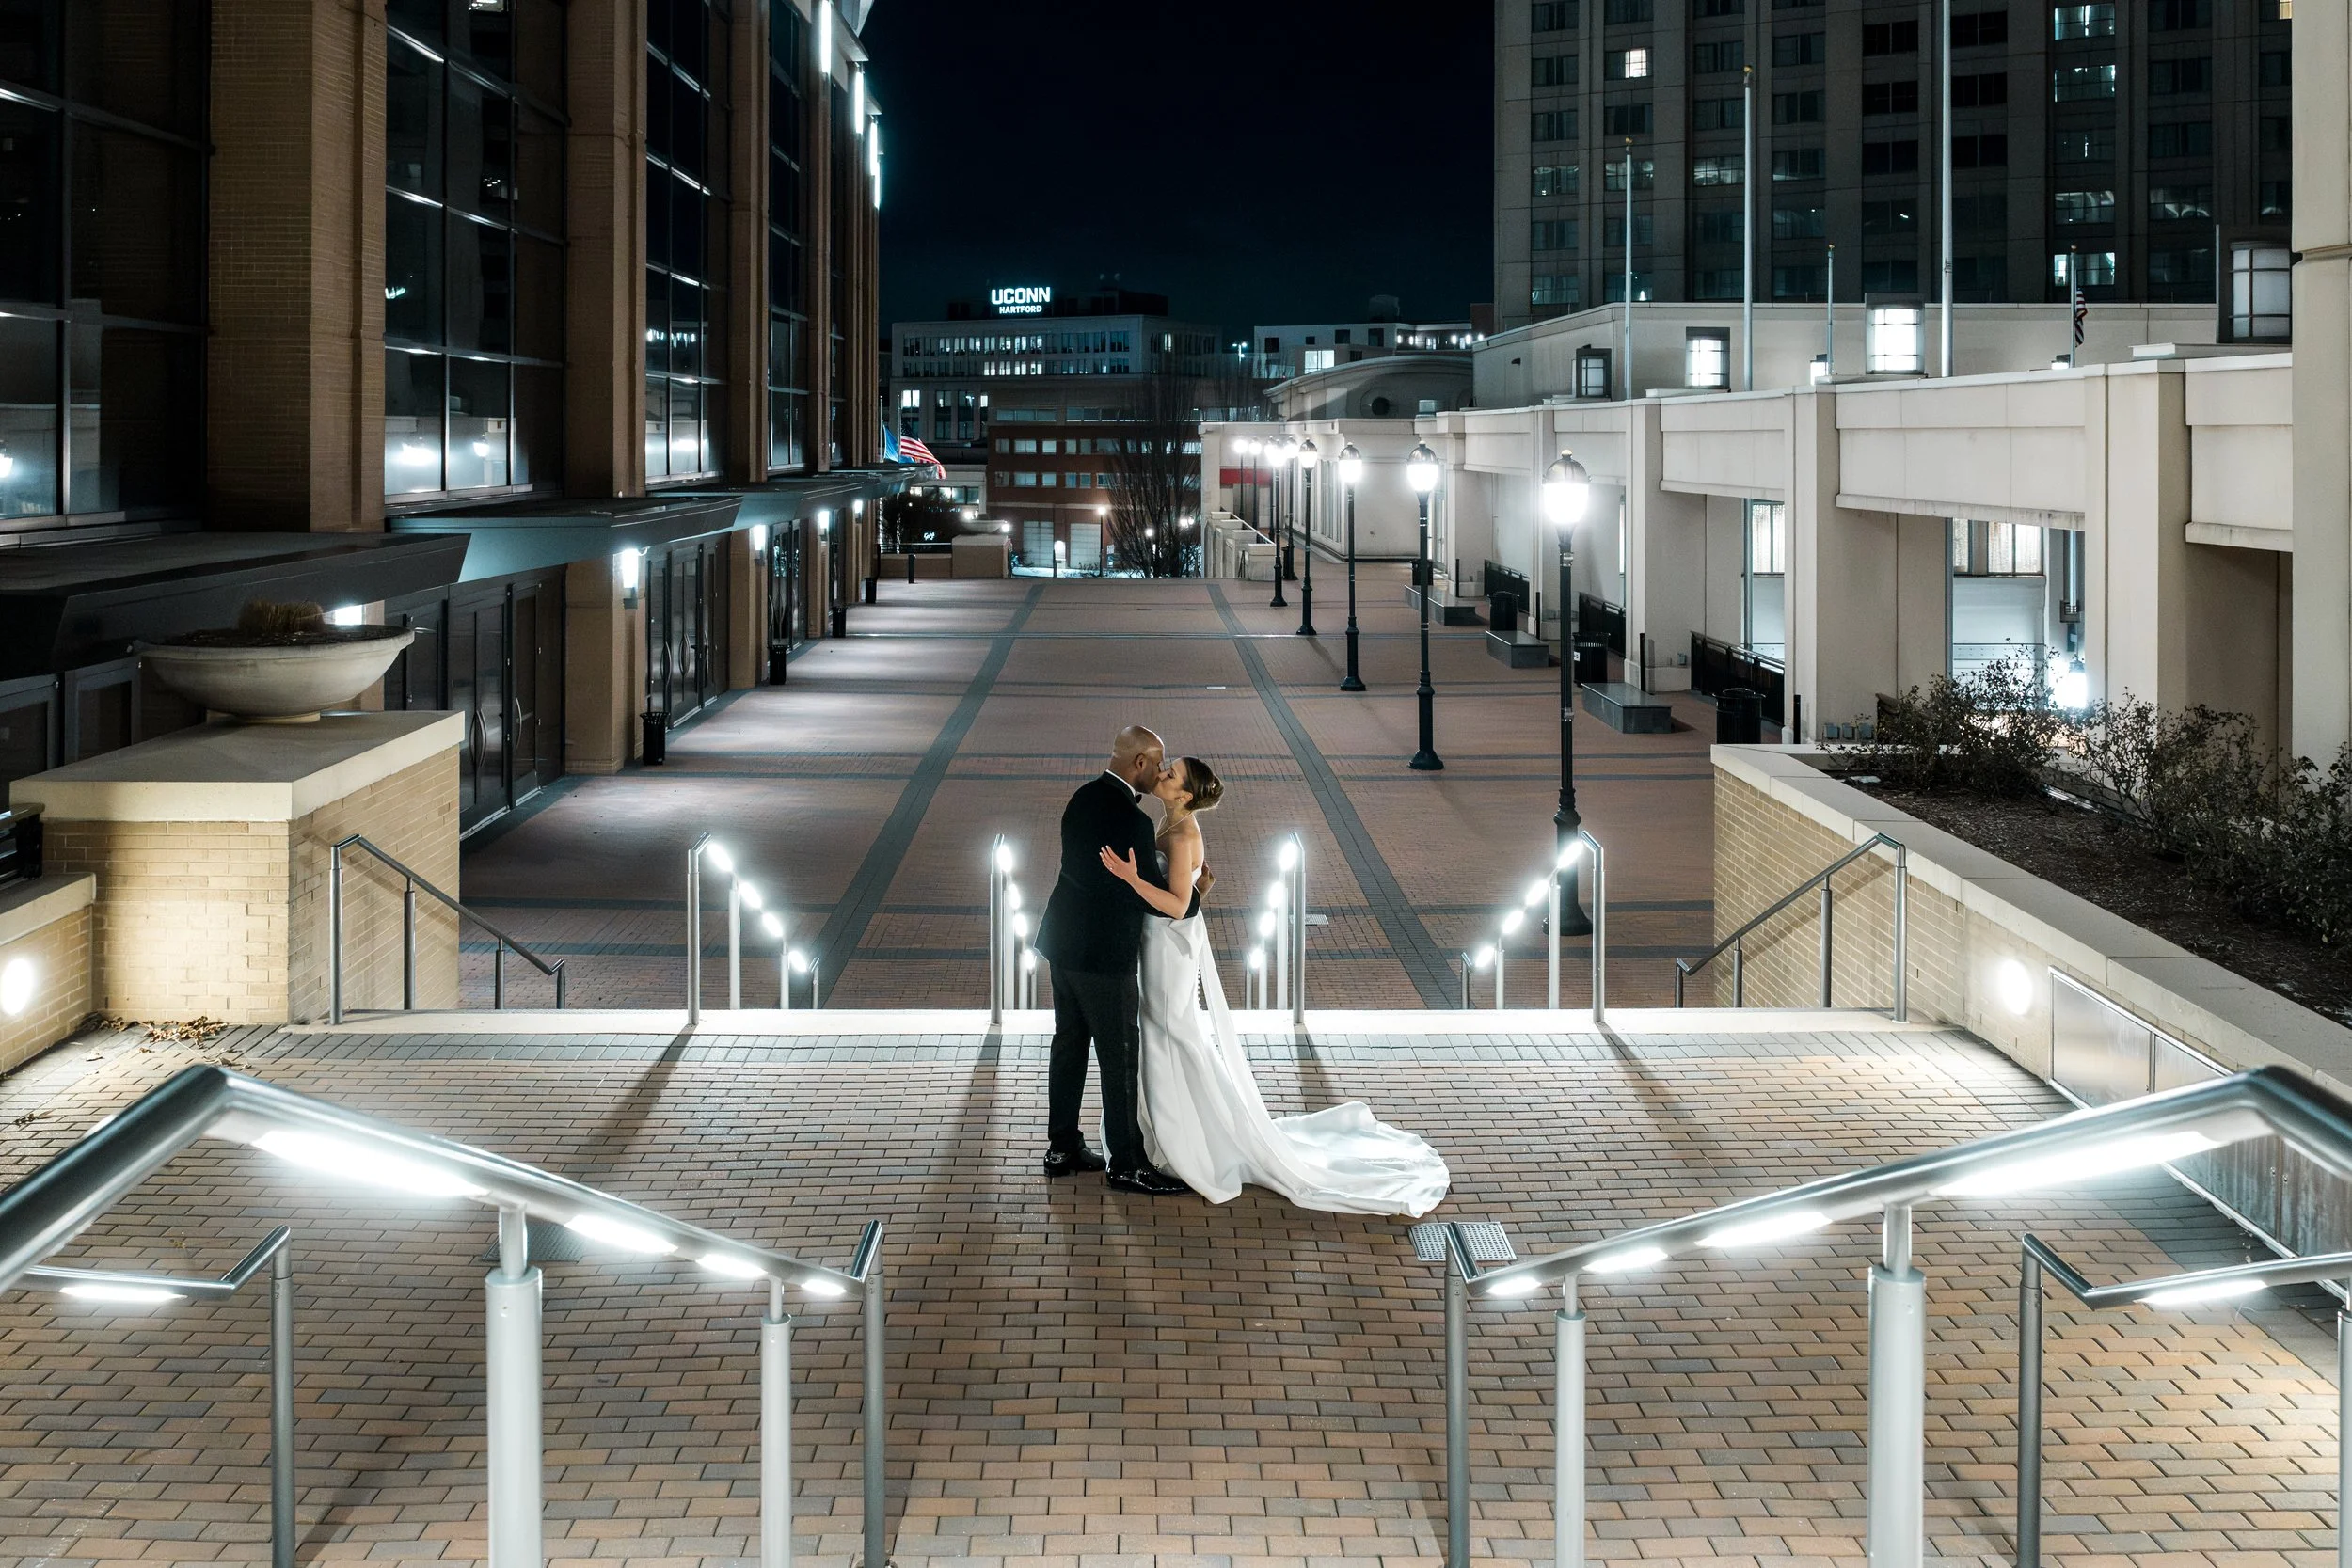


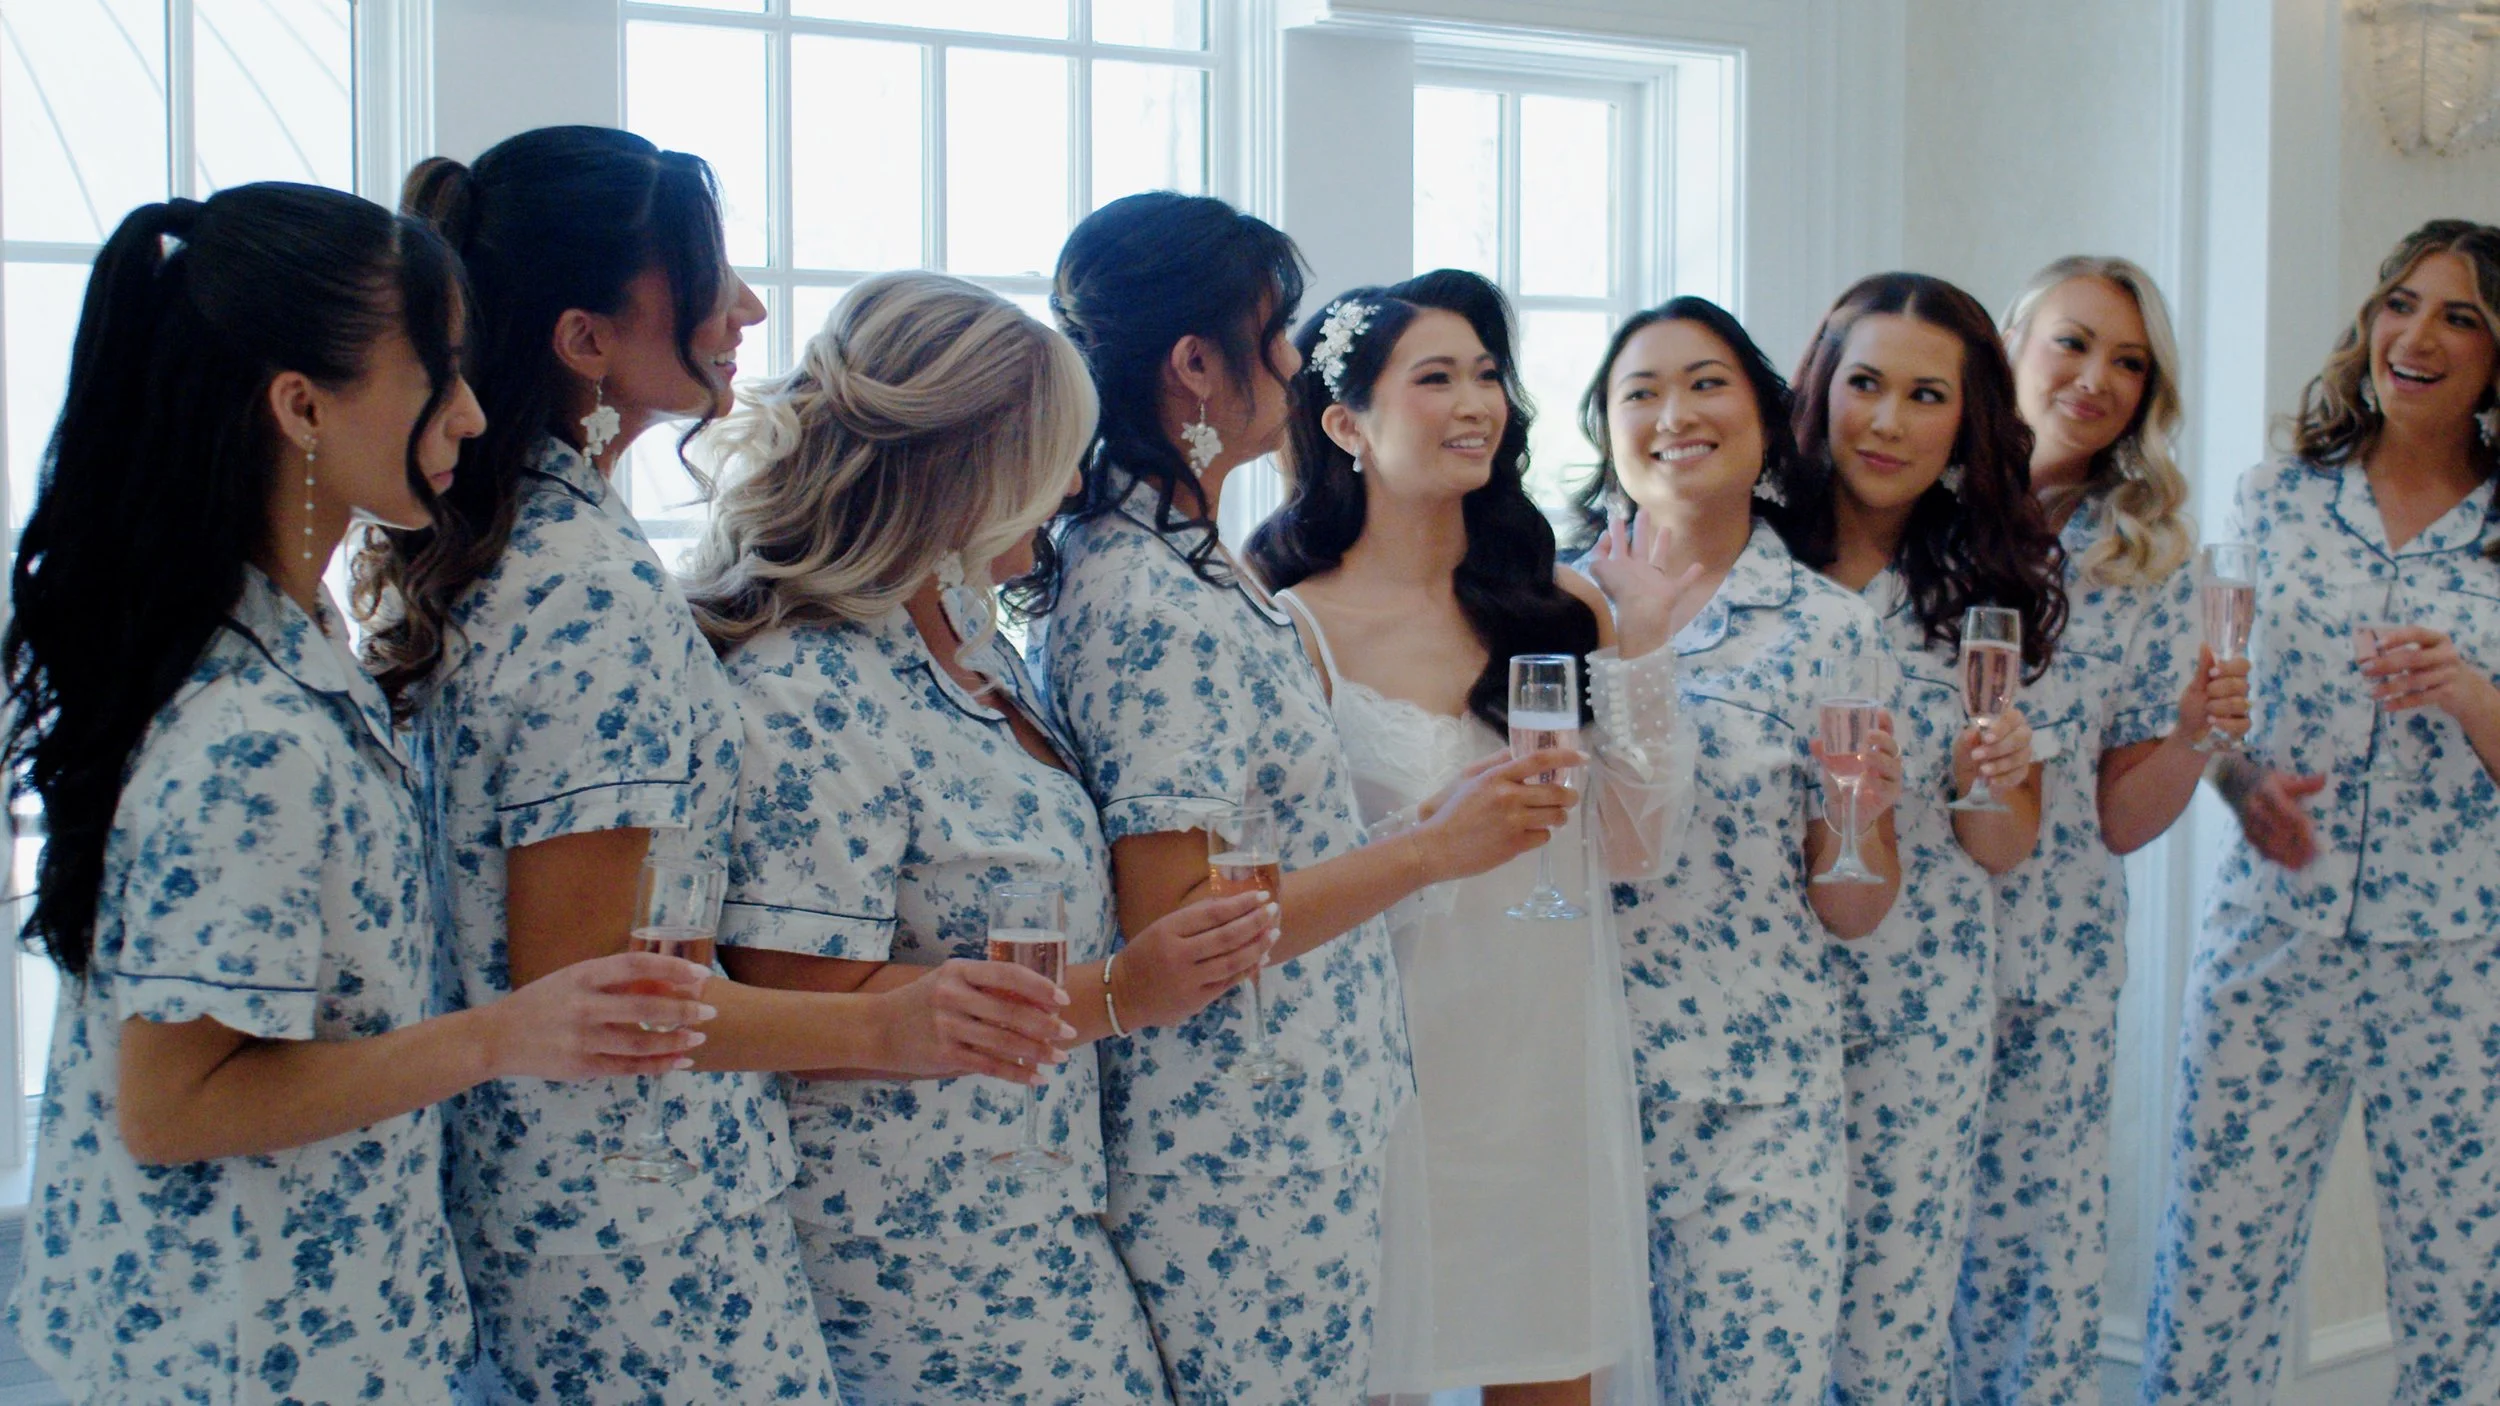
From quiet, emotional morning preparations in Easton to an unforgettable, high-energy reception at Mainline Catering and Events, Caitlin and Dale’s wedding day was filled with unscripted, genuine moments. Take a look inside their full wedding story.