
The Richard J Nieves Photography Podcast Episode 3: Shutter Speed
Welcome to the third episode of the Richard J Nieves photography podcast. I'm Richard J Nieves portrait and wedding photographer, and owner of Richard J Nieves Photography located in the Bronx in New York City. It's great to have you here, ready to listen, learn and use the information we're putting out here for you today.
We'll be diving into the second section of the exposure triangle called shutter speed. Your DSLR or mirrorless camera has a small shutter that rises and lowers in front of your camera sensor at a specific rate managed by you or the camera's preference, depending on your current mode of shooting, the faster your shutter speed closes, the less light reaches your sensor, oppositely, the slower you show to speed, the more light spilling on your sensor.

Episode 3
Shutter Speed


The examples above show photos of a fan taken at various shutter speeds. 1/8000, 1/2500, 1/1000, 1/500, 1/200, 1/80, 1/20, 1 second, and 30 seconds respectively. The Aputure was f/4 and the ISO varied between shots.
Take note of the differences in exposure between each photo. The faster the shutter speed, the darker the photo, where as the slower the shutter speed, the more blown out the photo is.
Transcript
Welcome to the third episode of the Richard J Nieves photography podcast. I'm Richard J Nieves portrait and wedding photographer, and owner of Richard J Nieves Photography located in the Bronx in New York City. It's great to have you here, ready to listen, learn and use the information we're putting out here for you today.
We'll be diving into the second section of the exposure triangle called shutter speed. Your DSLR or mirrorless camera has a small shutter that rises and lowers in front of your camera sensor at a specific rate managed by you or the camera's preference, depending on your current mode of shooting, the faster your shutter speed closes, the less light reaches your sensor, oppositely, the slower you show to speed, the more light spilling on your sensor.
I forgot to mention this aspect with aperture in the last post. When your aperture or f-stop, is that a lower number? zero point 95 also referenced as being wide open. The more light is being led onto the sensor. Whereas when you're shooting at an f-stop of F 25, for example, There's a substantial amount of light being blocked by your lens.
The value representing shutter speed on your camera is represented as fractions of a second. For example, my Nikon Z6 can start from 30 seconds, which is the longest available value my camera can manage outside of keeping the shutter open indefinitely, all the way to one eight thousands of a second, which is the fastest my shutter speed will go. Each individual camera has its own maximum and minimum shutter speed.
We'll delve further into the implications of light making contact with your sensor in an upcoming episode, covering the sensor in your camera. When you're capturing a subject, the most important aspect to remember when using shutter speed is if your subject is moving fast, you want a faster shutter speed to quickly capture the moving target.
When you're photographing something that isn't moving very much, such as a client for a portrait session or still objects, you'll typically shoot at a much slower shutter speed. Your shutter speed also affects the sharpness of your photo when in different ranges of motion. When shooting with faster shutter speeds, your photo will geometrically be more in focus compared to shutter speeds.
If you're moving while photographing. When shooting at a slow shutter speed, you typically want to have your camera stable using tools such as a tripod or something fashioned by you so you won't have any unwanted blurring in your image. You can get creative using your shutter speed. Maybe you want to photograph someone in motion, but still sharp while the background is out of focus to show us the subject is moving at faster speeds than usual. Shutter speed adjustment along with aperture will accomplish that for you. I'll have photos with examples in the blog post for this episode, over on my website, www.richardjnphoto.com/blog. Thank you so much for making it to the end of this episode of the Richard J. Nieves photography podcast. It really means the world to me, for you to listen to this information and hopefully incorporate it into your journey with photography.
Please follow me on Instagram at @rich_photog that's R I C H underscore P H O T O G. If you'd like to schedule your next portrait session or give us the honor of photographing your wedding. Visit my website. www.richardjnphoto.com or email Katherine@richardjanphoto.com where my partner will guide you along your journey with us. Don't forget to keep creating. Stay humble and enjoy the journey. Catch you later. .
The Richard J Nieves Photography Podcast Episode 2: Aperture

Episode 2
Aperture


Every photo was taken using the Nikon Z6 with a Sigma 105mm, f/2.8 lens on an FTZ adapter.
image 1 and 2 were taken at f/3.
Image 3 was taken at f/22.
Image 4-6 are examples of bokeh taken at shutter speeds of 1/20th, 1/25th, and 1 second intervals respectively.
Transcript
Welcome to the second episode of the Richard J Nieves photography podcast. It's great to have you here to ready to listen and learn a little something from me. What going to learn about today is the aspect of a photo I previously mentioned in episode one called the aperture. To recap, the aperture is the element of a lens that controls how blurry the background and the foreground of your subject is. You know what I'm talking about, even if you don't recognize the term. You've seen photos where the focus of the photo is a person, a place, a thing in focus, but you can't really see what's in front of them or behind them.
That's what the aperture of the lens controls. They also call this feature the depth of field of a photo. It surely is a feature, seeing as you can buy lenses with different aperture ratings at wildly different price points. When changing the aperture your camera, you have to know the values involved in measuring aperture.
That value you can start as low as 0.95 to as high as 22. That value is called an f-stop. You'll find it's locked in your camera with an F and a slash followed by the numbers just mentioned. The part that took me for a whirl when I first started photography was the understanding that the smaller the number, the less in focus your background or foreground will be.
Whereas it's the polar opposite with larger numbers. If I'm taking a photo of my adorable two year old playing at F/22, I can see the bit of Farina he had for breakfast still on his cheek that I missed when cleaning from more than six feet away from him when shooting portraits, that shallow background and foreground is celebrated among double tappers on Instagram, but there's also a place for getting as much in focus as you can.
Beauty, fashion, or portrait photography for instance, where getting the most of the product in focus is more important than that's shallow background. One term you'll hear a lot when talking about aperture or depth of field is Bokeh. Bokeh is essentially the quality of background rendered by your camera when you have an extremely shallow depth of field. When you see those awesome photos and when someone is in focus and the background is incredibly out of focus, you'll sometimes see sources of light turned into almost balls of illumination. The way those little spheres come out in your picture can change depending on the quality of your lens and how the camera renders your photo after capture.
I know I threw a lot out there, at you involving just one aspect of the exposure triangle, but I hope the info was concise enough for you to understand and use the next time you're taking a photo. I'll be including photos with examples in the blog post. For this episode, over at my website, www.richardjnphoto.com/blog to show you the aperturer in use. Be on the lookout for the next episode, when we'll discuss the next portion of the exposure triangle, shutter speed.
If you've gotten this far. Thank you so much for listening. I think we'll try and keep this streak going Monday through Friday until we start getting into heavier topics and interviews with other photographers.
Remember, keep creating, stay humble and enjoy the journey. Catch you later. .
The Richard J Nieves Photography Podcast Episode 2: Introduction to The Recipe

Checkout my podcast on all your favorite podcasting platforms!
Transcript:
Episode 2: Introduction to The Recipe
[00:00:00] Welcome to the Richard J Nieves Photography podcast, where we're sharing knowledge, experience and skills with photographers just beginning their journey. I'm Rich, a published photographer and filmmaker. I've been practicing photography for more than a decade. And servicing clients quality, professional photography services for two years.
Now it's my time to service you listeners. Let's get started.
[00:01:00] Listen, I love food. I had dreams of being a chef before I became a photographer. I love the way it binds people together, all because of one specific goal: to experience the end product of a creator. That creator being the chef or cook, and the end product being a delicious meal. Photography isn't all that different in that regard, a picture taken by a photographer with heart and soul can bring people together to experience the combined memory and feeling in a photo.
Now like with any meal, a photo is made with multiple ingredients. Three of the most important ingredients are combined into a set called the exposure triangle. That exposure triangle consists of the aperture, the shutter and the ISO values. Put simply, the aperture allows you to control the depth of field.
[00:02:00] This value controls how blurry the background and foreground are around your subject. The shutter is a little literal wall in front of the cameras sensors that goes up and down at a specific time set by you. This value allows you to photograph fast moving objects sharply. The ISO allows you to change how sensitive your sensor is to light.
This value allows you to use your camera in dark places where light is scarce. All these settings allow you to tell a story in your own creative way. I'm really simplifying things here for you so you can get a grasp of these important settings, but. There's so much more to learn from them. That's why I'll go more in depth in future episodes and on my website at www.richardandphoto.com/blog. Links will be in the show notes.
Okay. Everyone show's over. Thank you so much for listening. It really means a lot for you to give me this moment of your day. Please take the time to create, inspire and learn every moment you can. Catch you later.
Search Posts
Post Archive
- Wedding Photography
- wedding planning
- photography
- podcast
- Wedding Videography
- Engagement Photography
- Engagement Session
- education
- Engagement Sessions
- wedding photography
- Weddings
- family photography
- Film Photography
- Wedding Planning Tips
- Portrait Photography
- Wedding Film
- Adventure
- Advice
- Bridal Style & Fashion
- Event Photography
- Help
- Suggestions
- Tips
- Wedding Inspiration
- birthday
- Bachelorette Party
- Backyard Celebrations\
- Birthday Photoshoot
- Boudoir Photography
- Bridal Boudoir Photos
- Bridal Party Inspiration
- Charity
- Donation
- Exploring
- Family Photos
- Groom & Groomsmen Inspira
- Jewish Wedding
- Jewish Wedding Traditions
- Korean Wedding
- Location
- NYC
- New Jersey Winter Wedding
- Personal
- Photography Adventures
- Real Weddings
- Travel Photography
- Unique Details
- Update
- Wedding Bouquets
- announcement
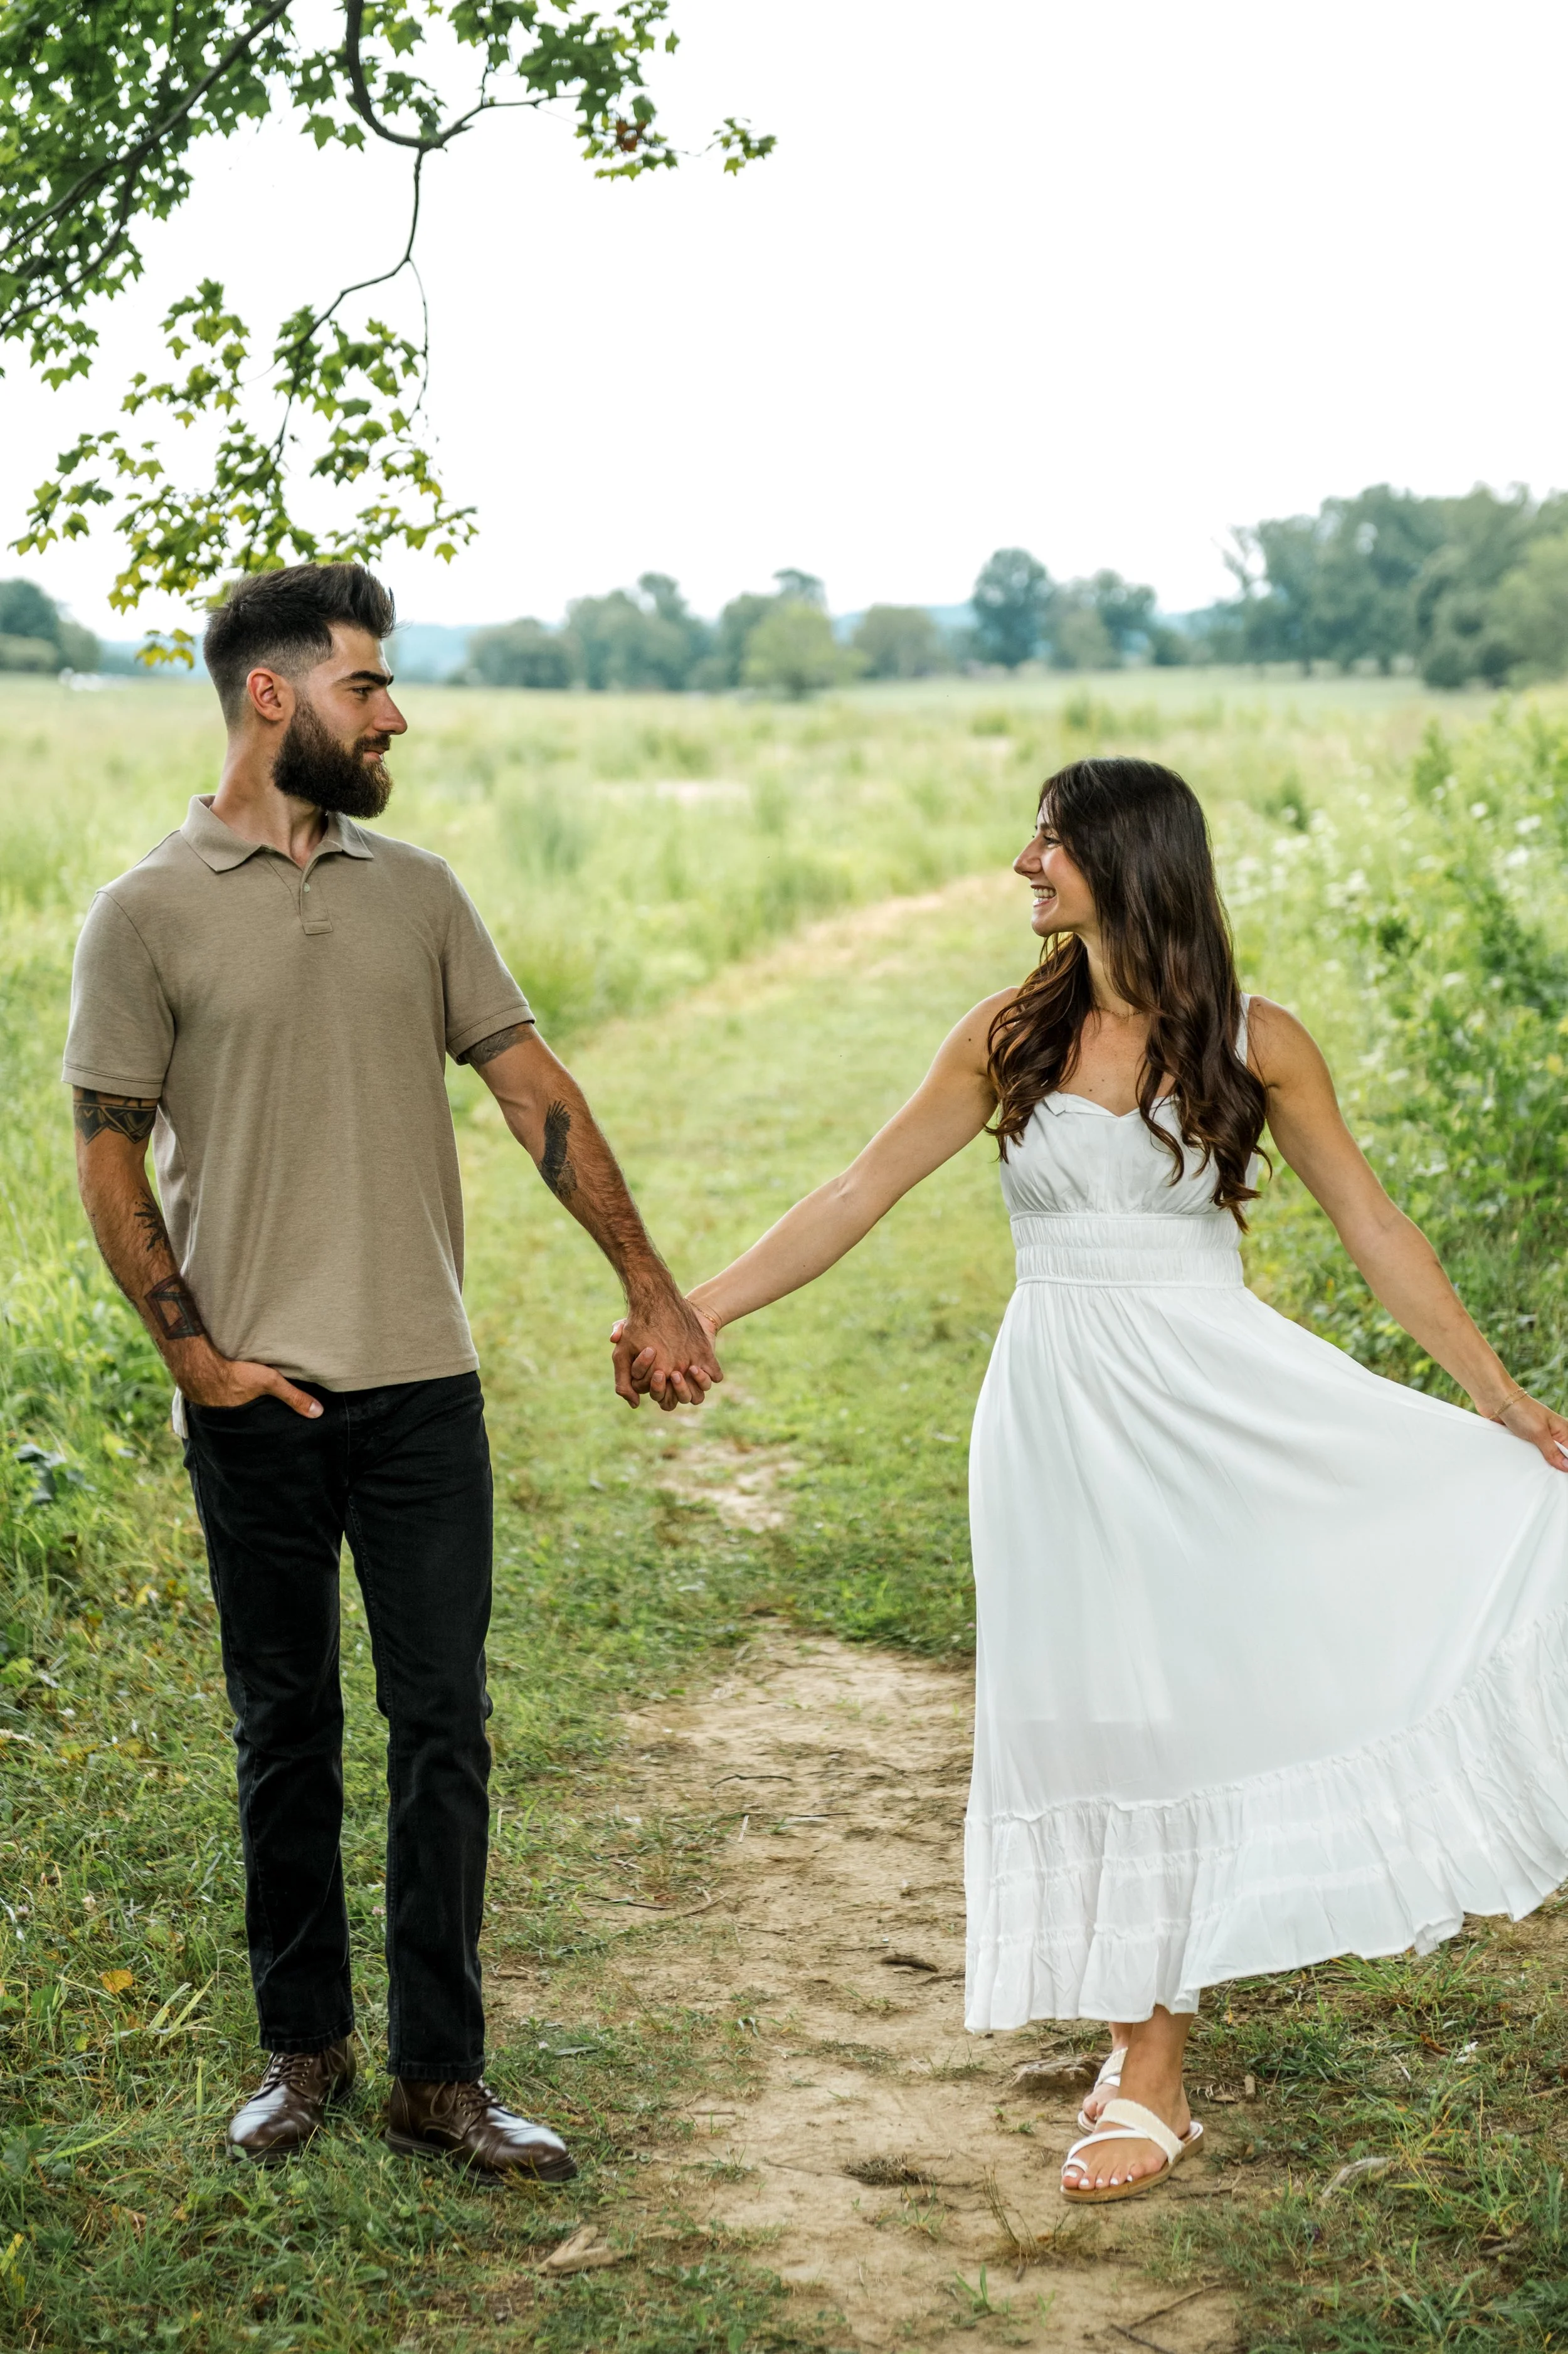
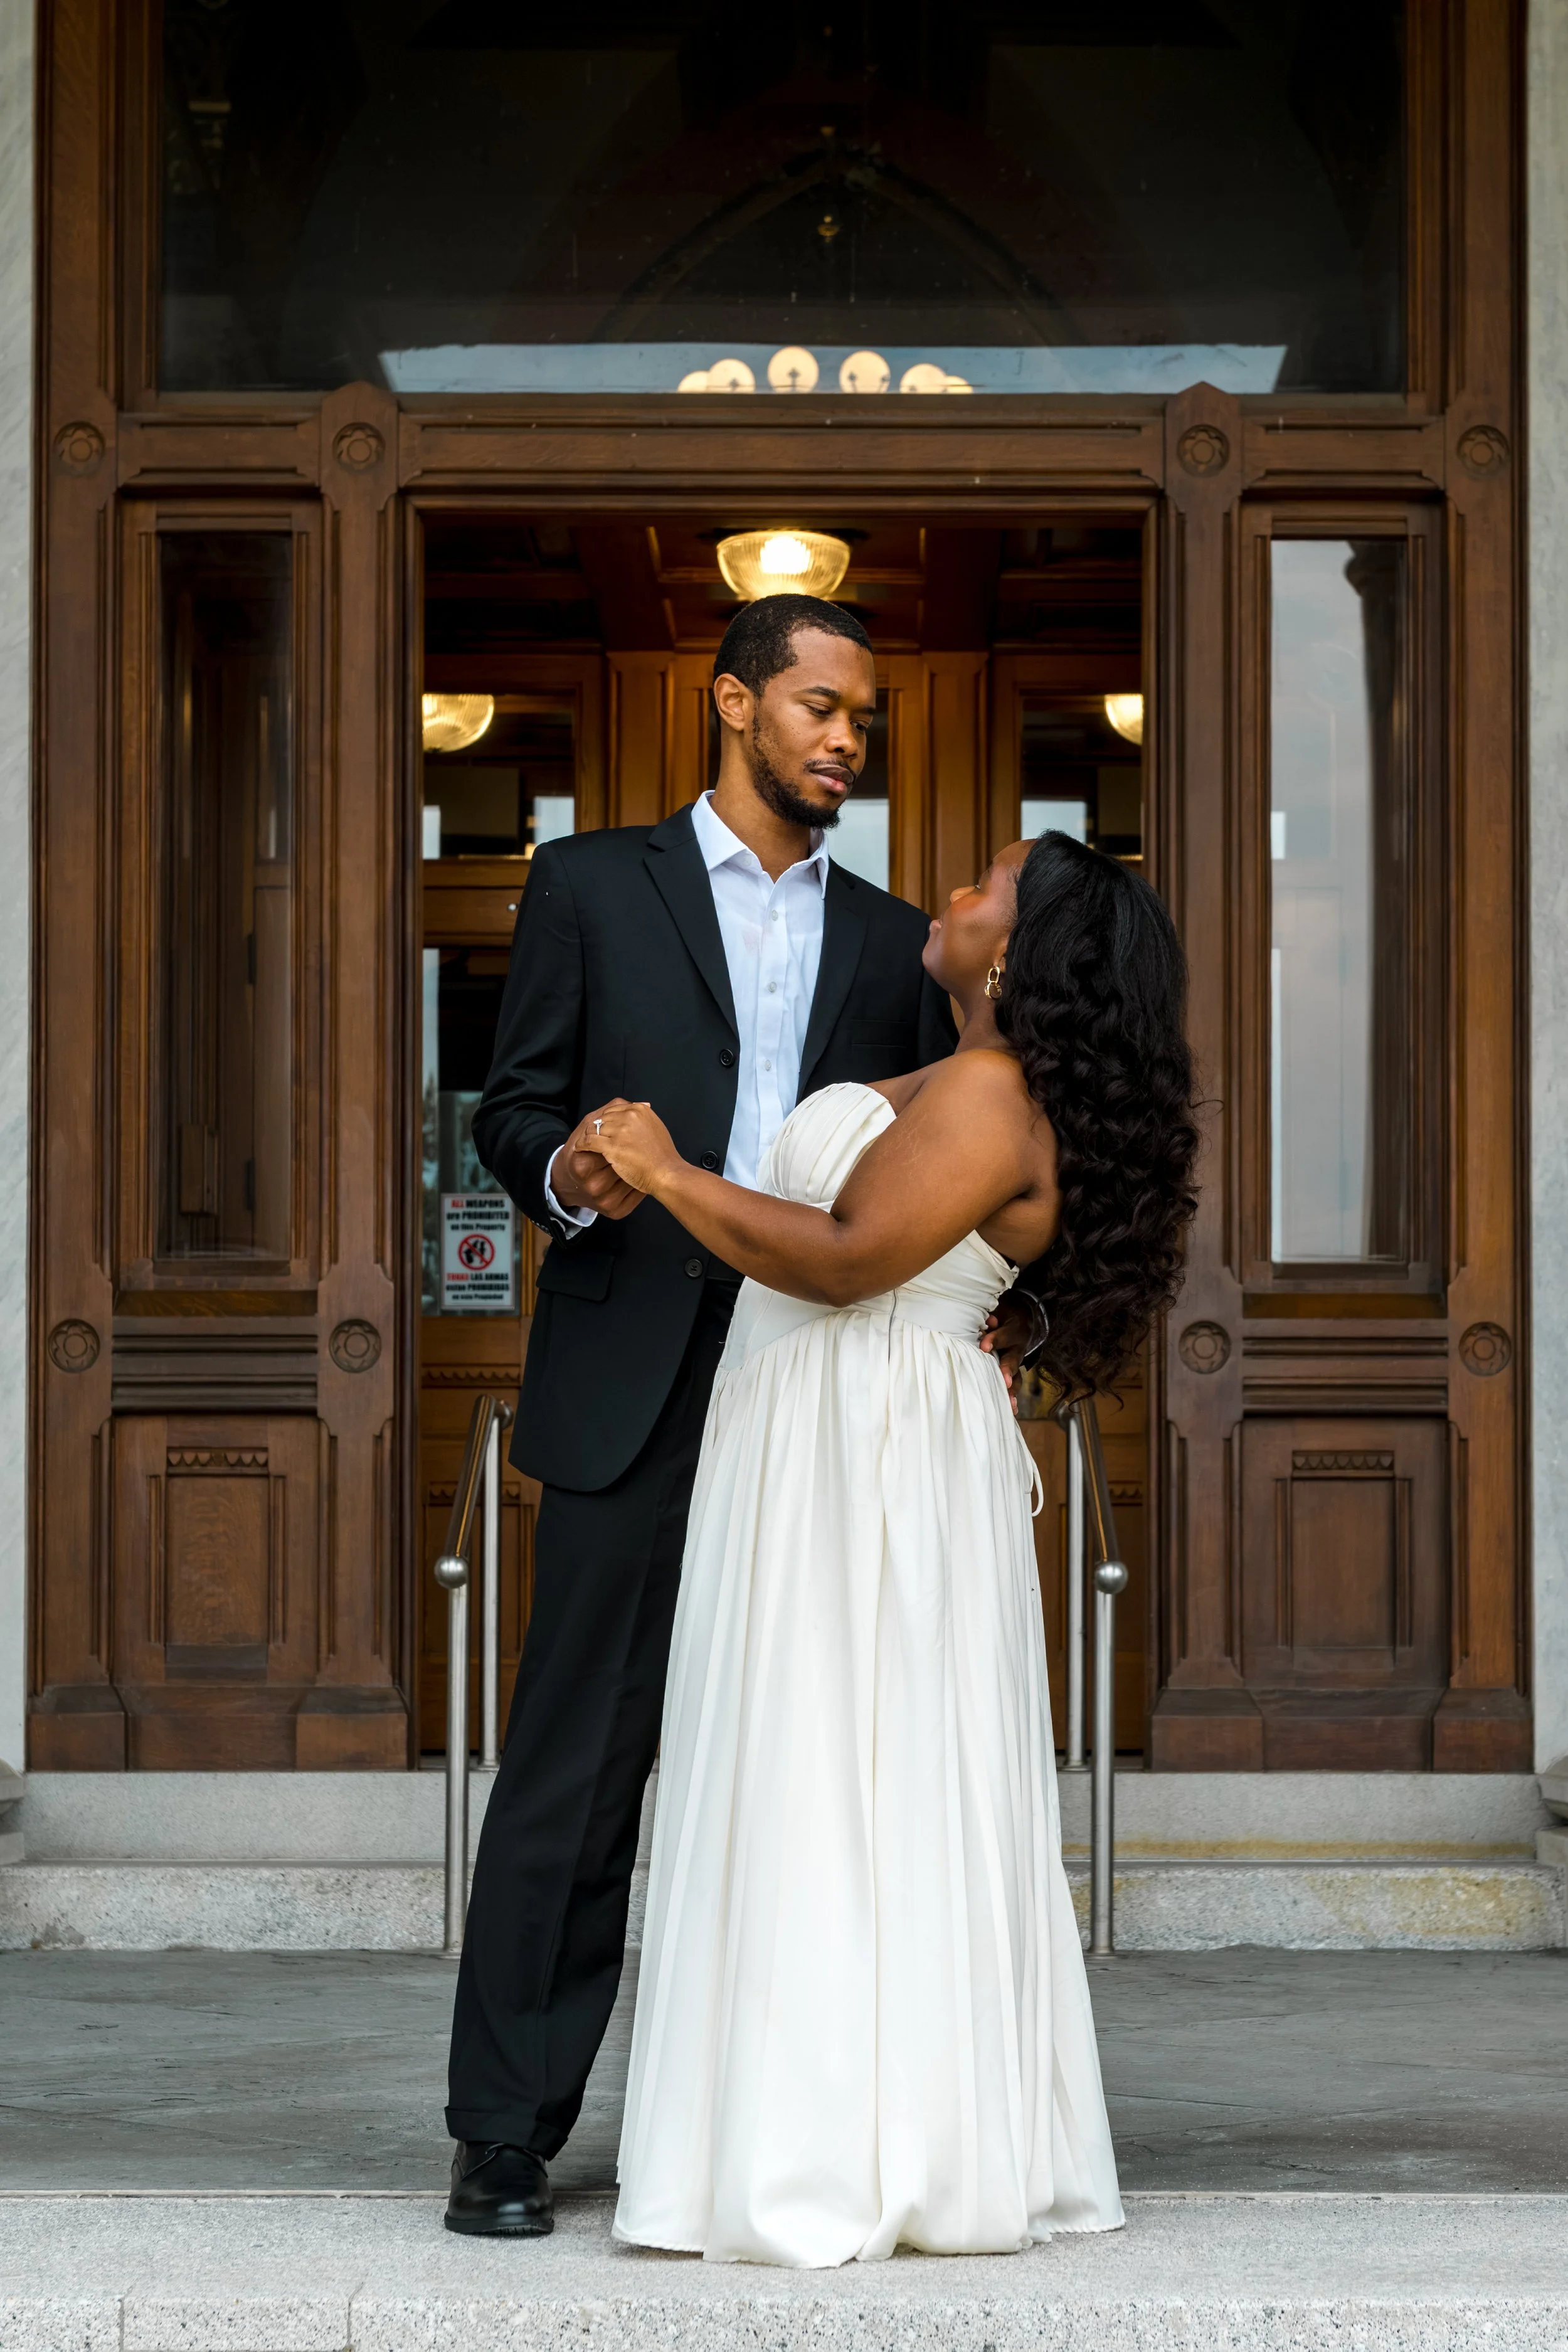
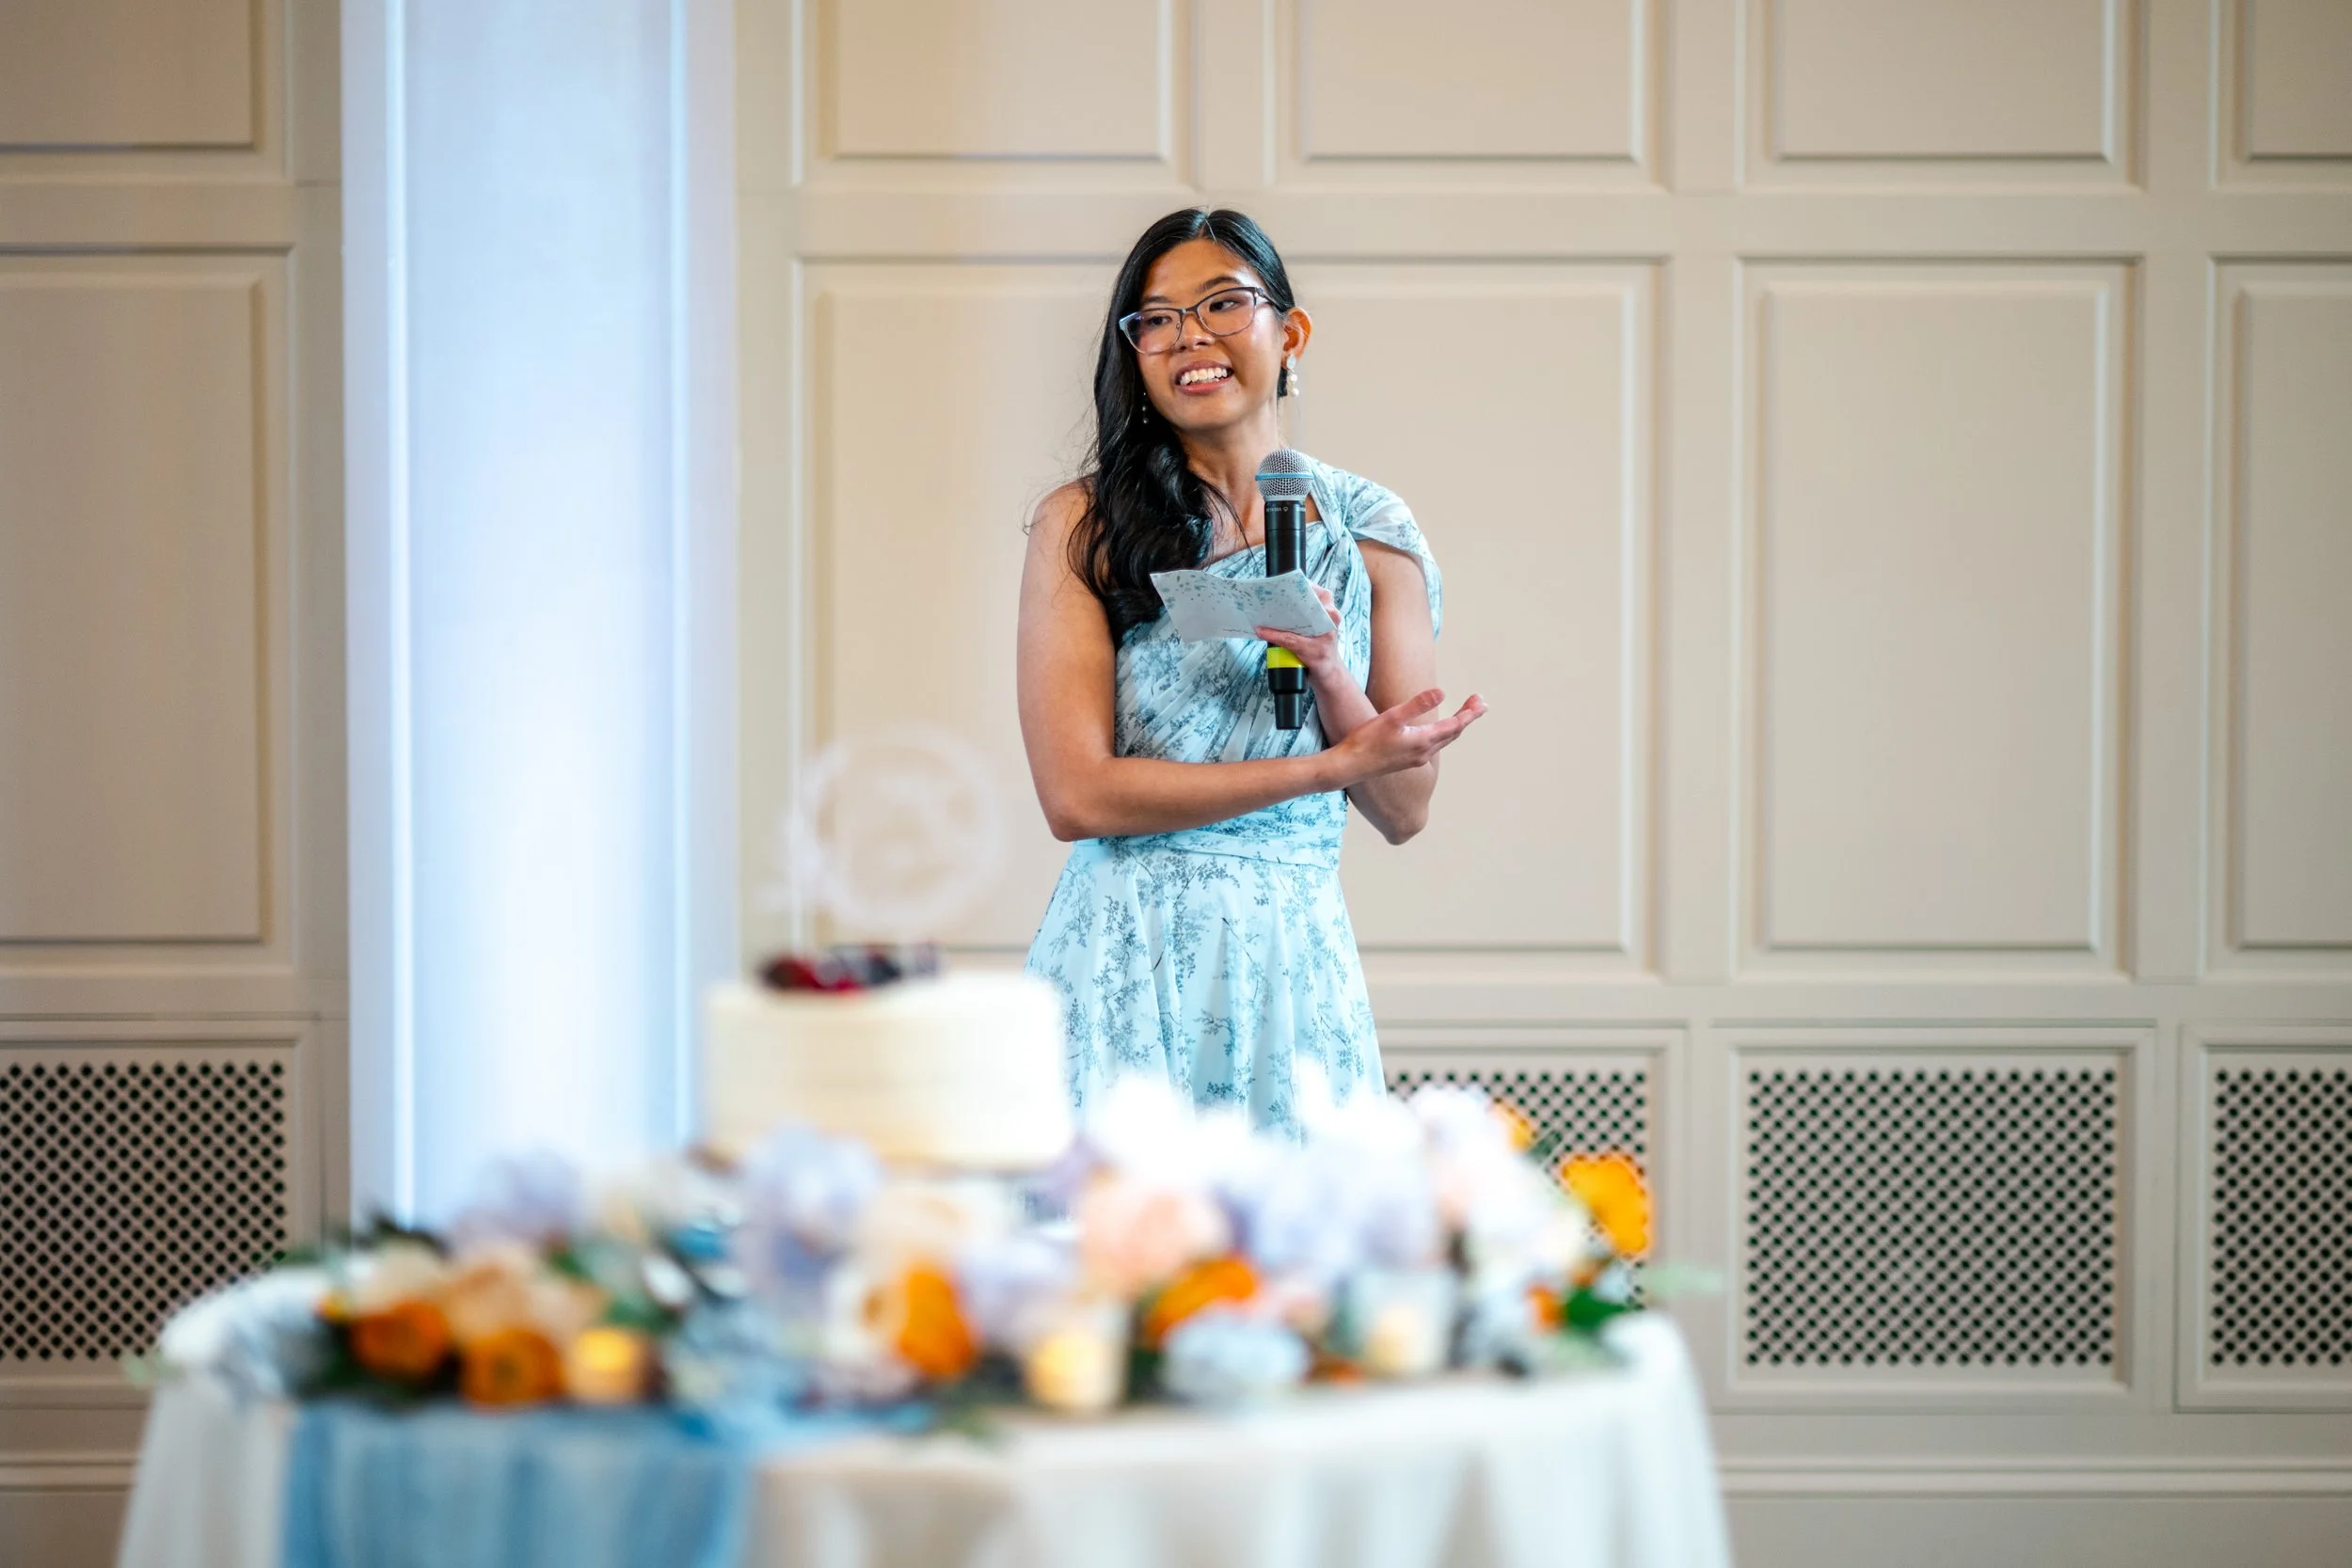
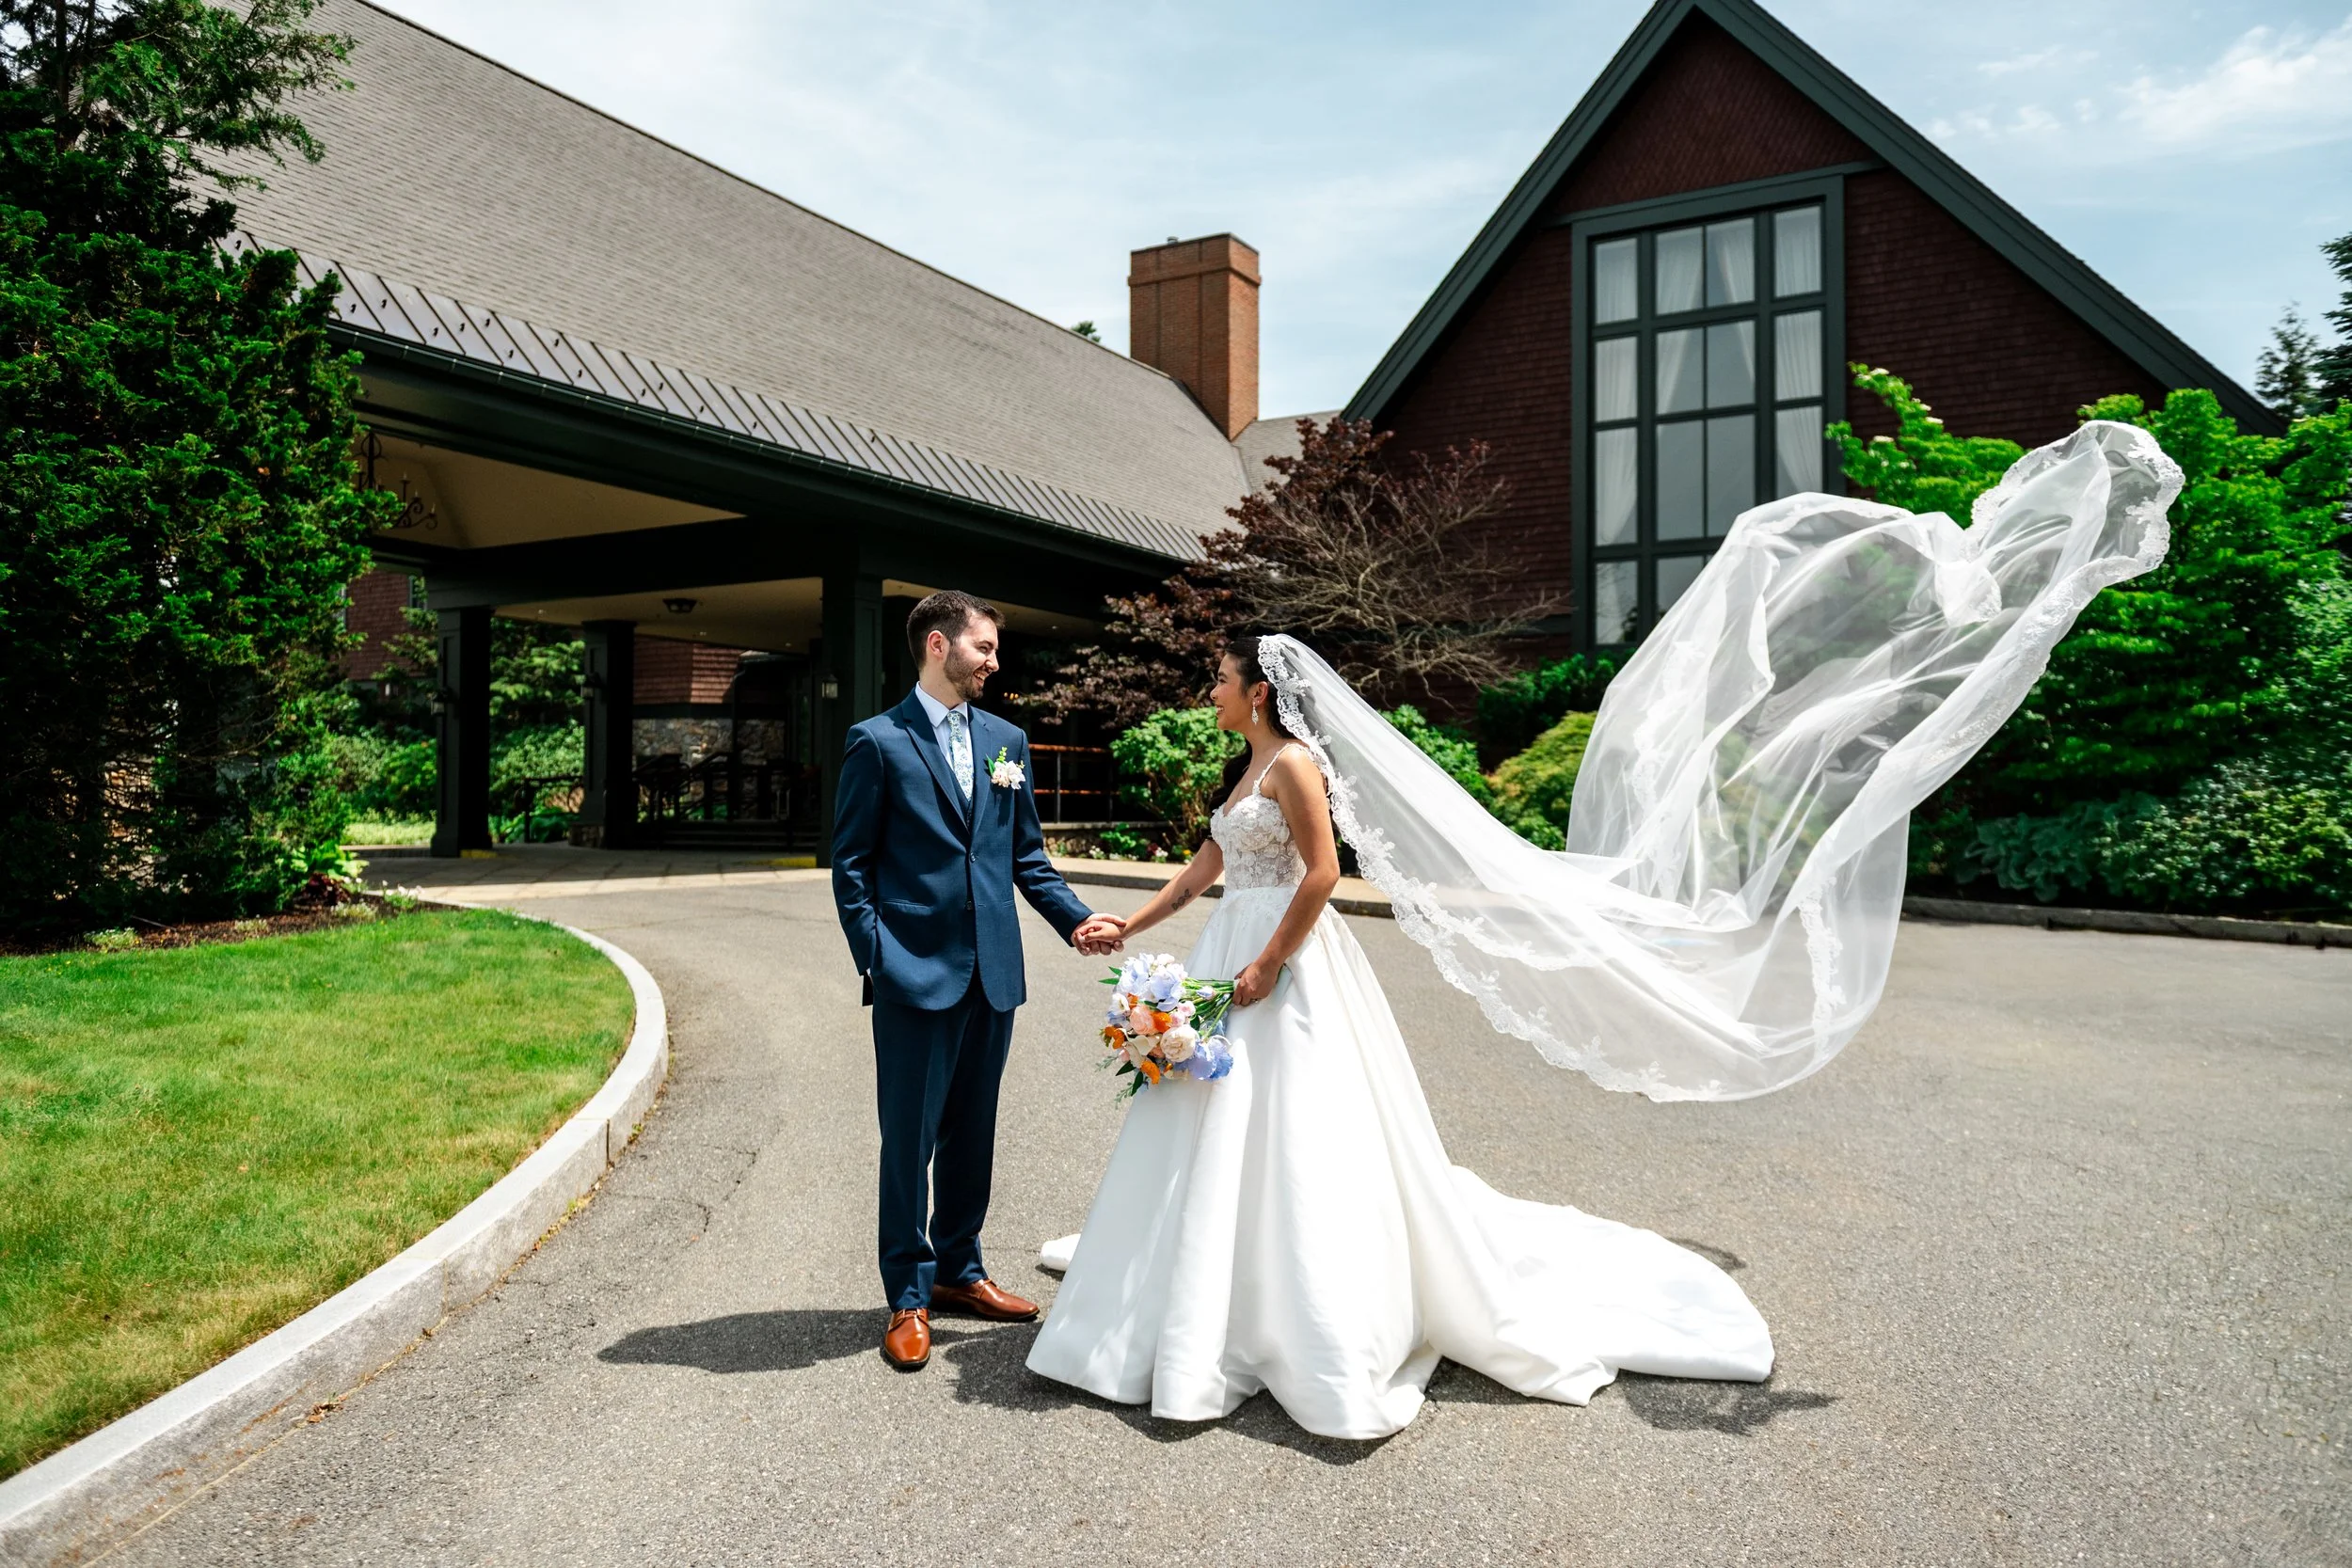
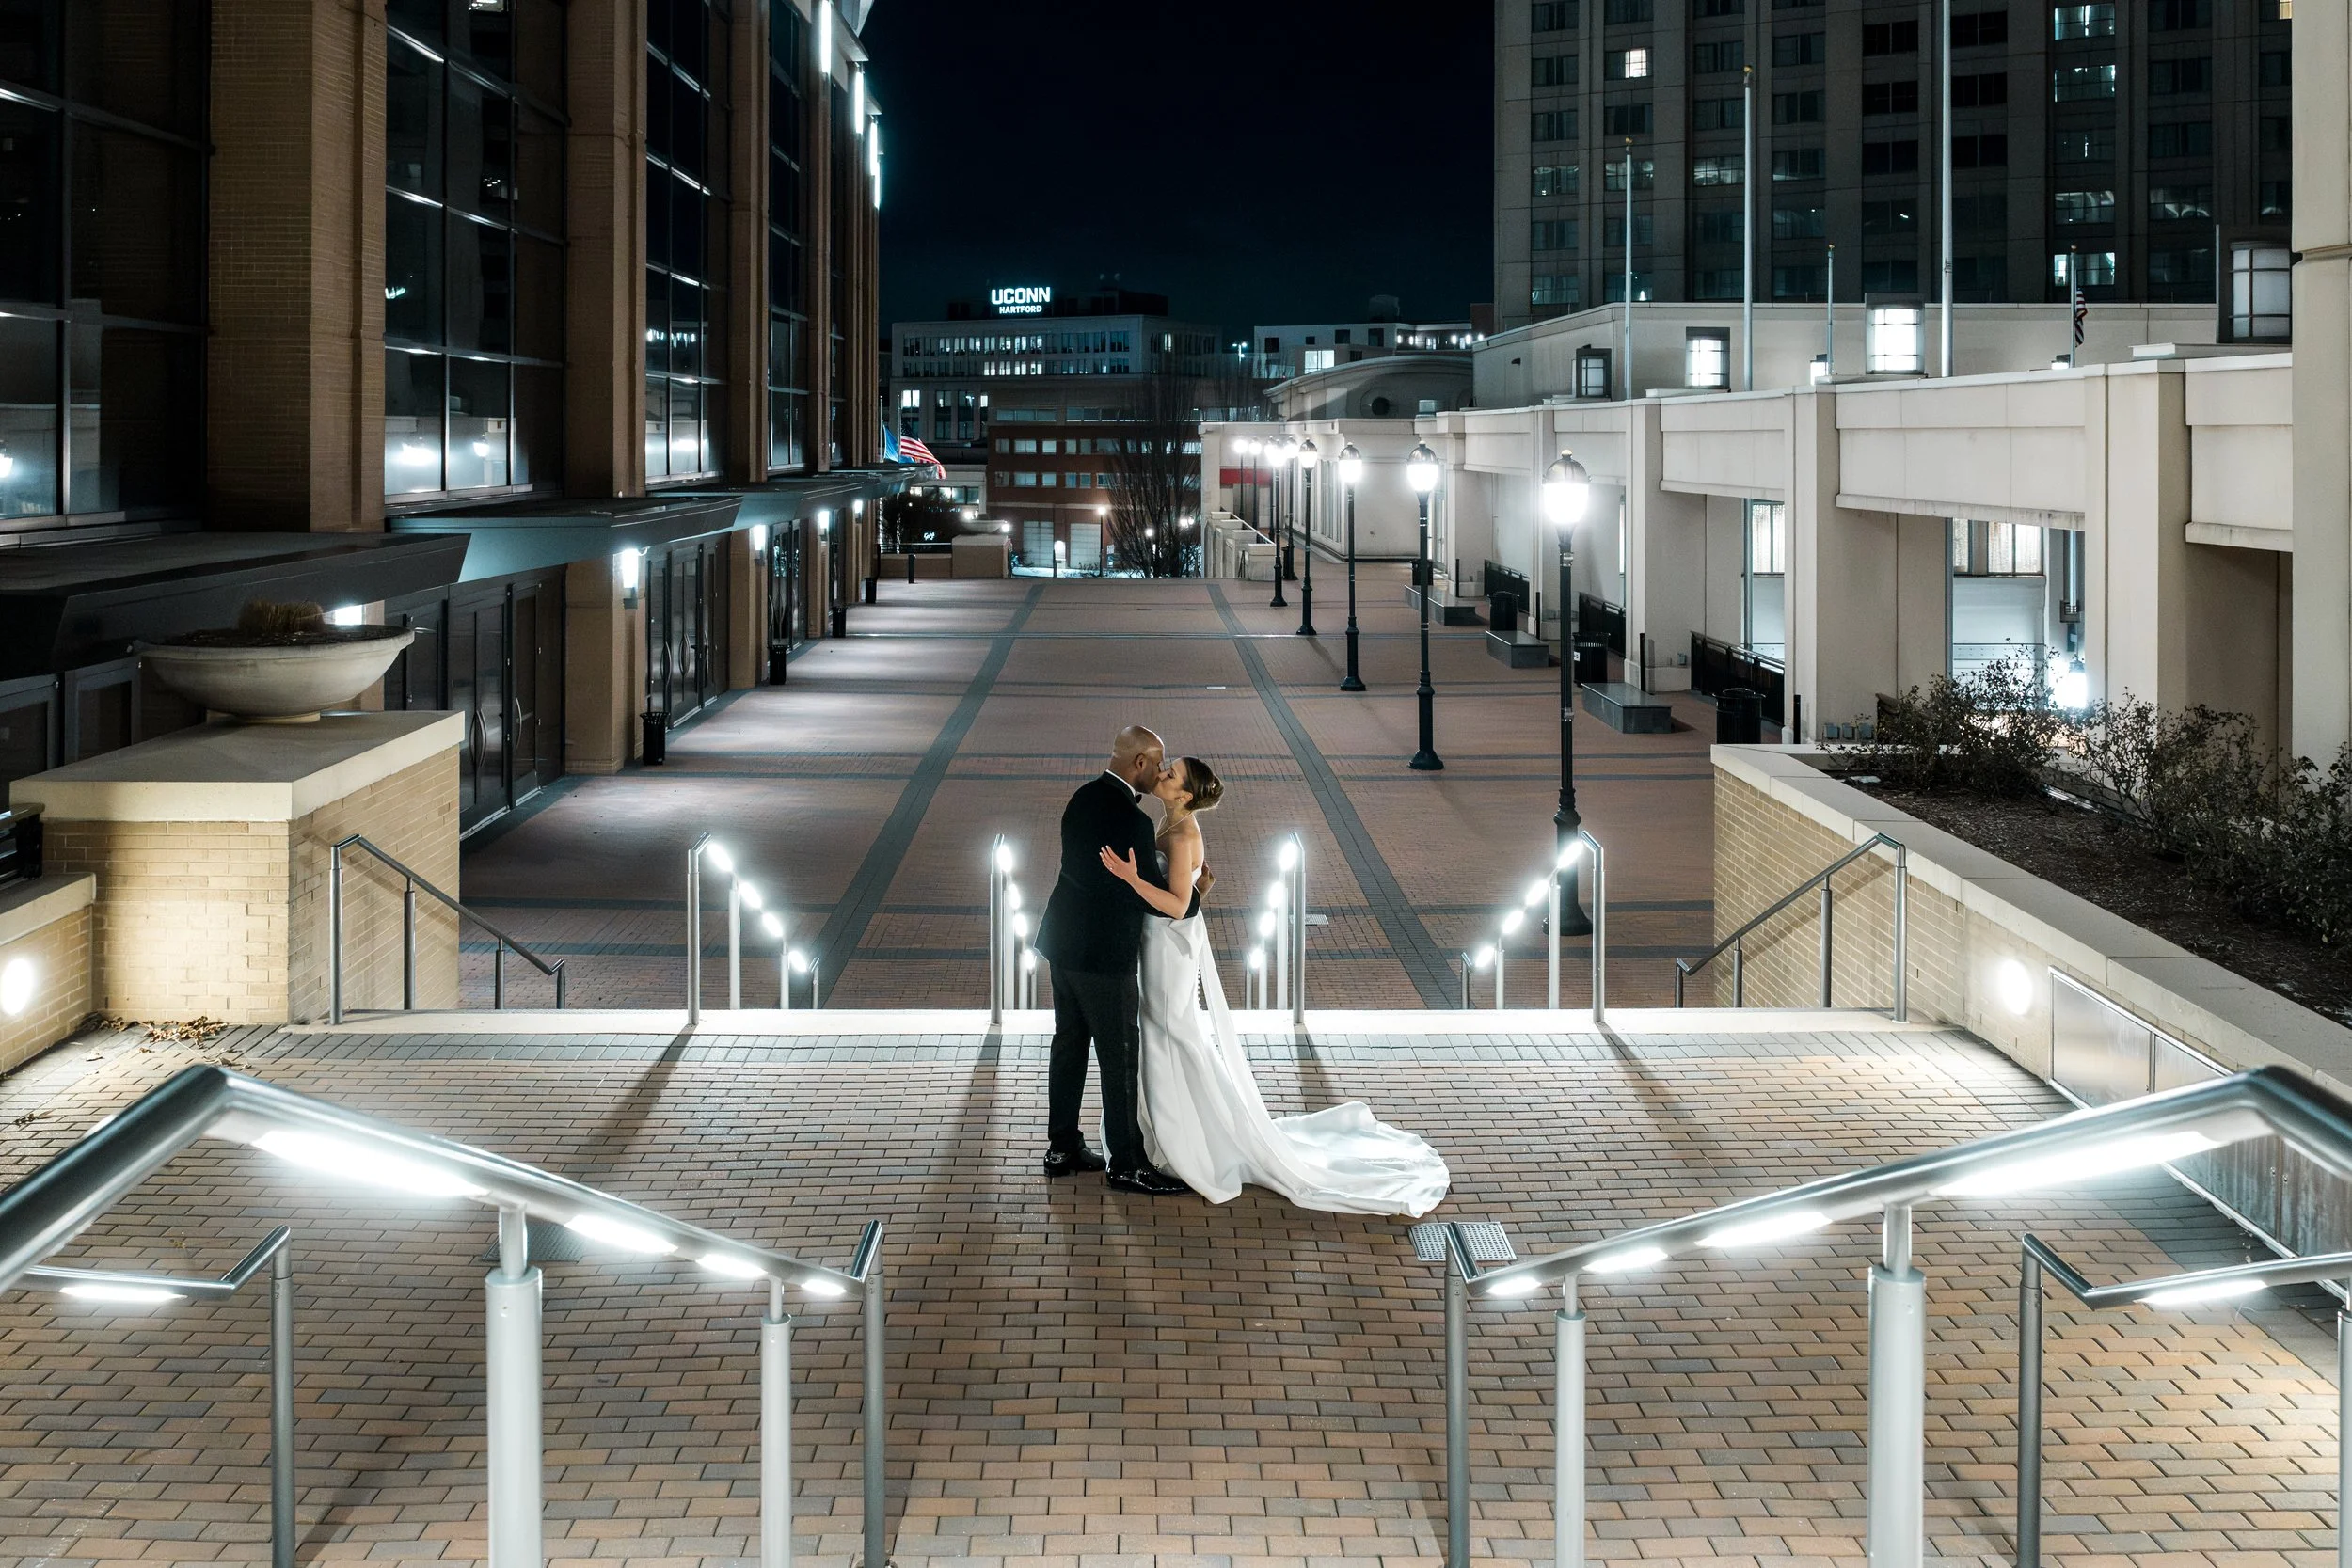


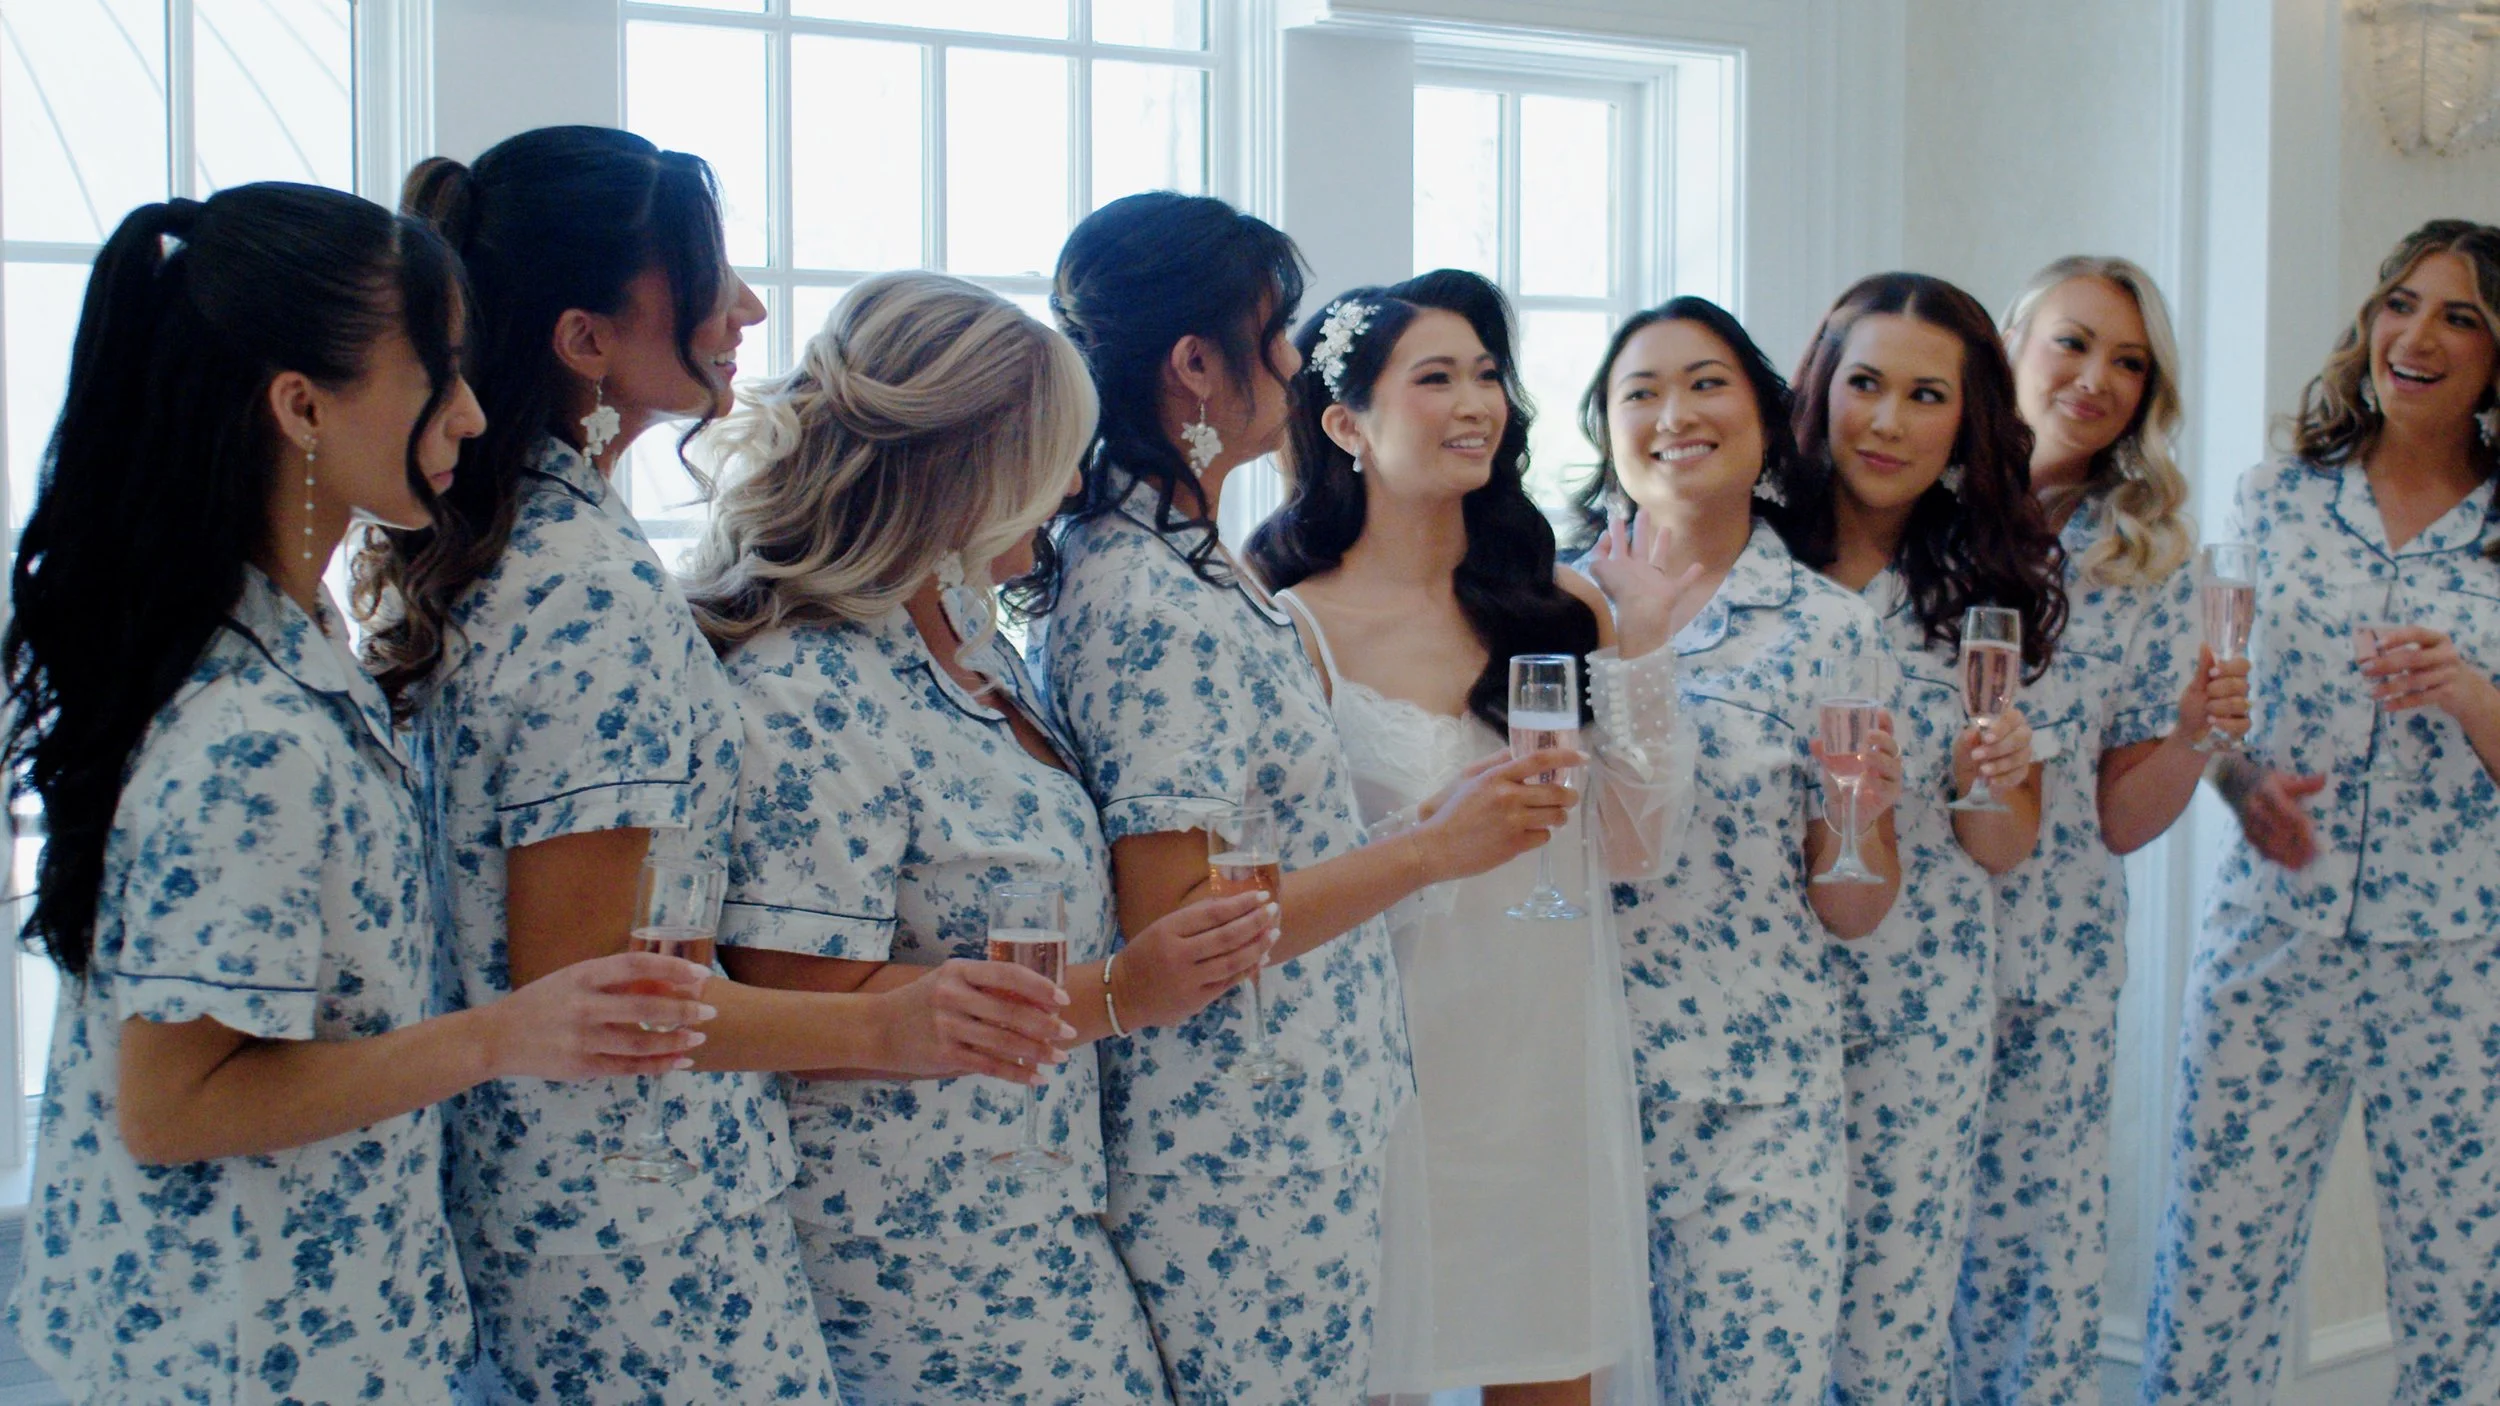
From quiet, emotional morning preparations in Easton to an unforgettable, high-energy reception at Mainline Catering and Events, Caitlin and Dale’s wedding day was filled with unscripted, genuine moments. Take a look inside their full wedding story.